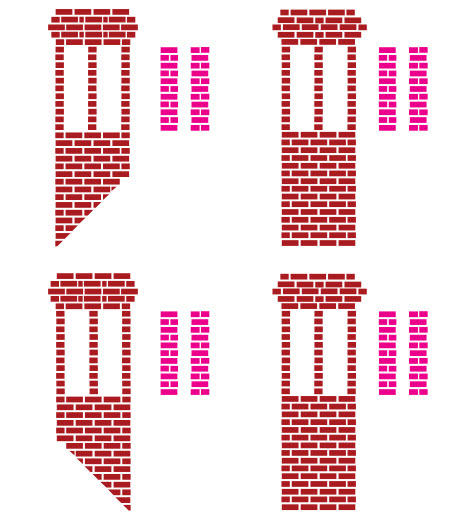
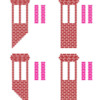
Here's the saga of using Les Lewis' "Brick-by-brick" method to create model walls and chimneys. While this seems slightly deranged, it really produces the most realistic effect. What can be more brick-like than actually using bricks (or pseudo bricks). I started by making my own drawing in CorelDraw directly over the enlarged plans for the station. What makes the chimney interesting and more difficult is the recessed panels on the sides and it's generous size—over 3/4" on a side. The bricks are cut from Evergreen #123 strip which is .020" X .060". The .060" is a good height for an O'scale brick.
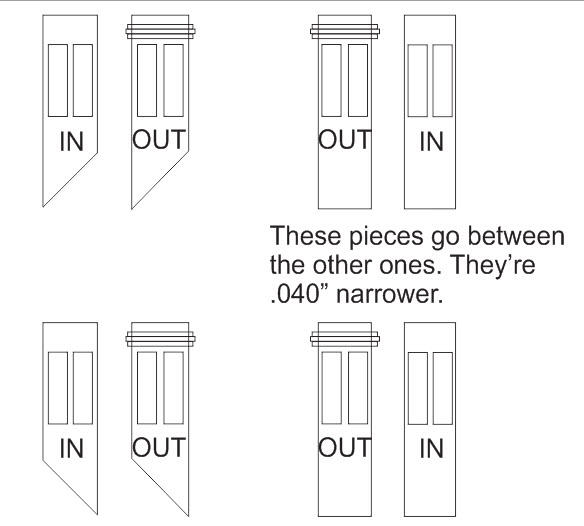
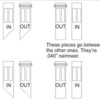
The front and back will be inserted between the sides so they are 2 X .020" slimmer that the sides. This made the bricks fit a little different on these pieces that it will on the sides.
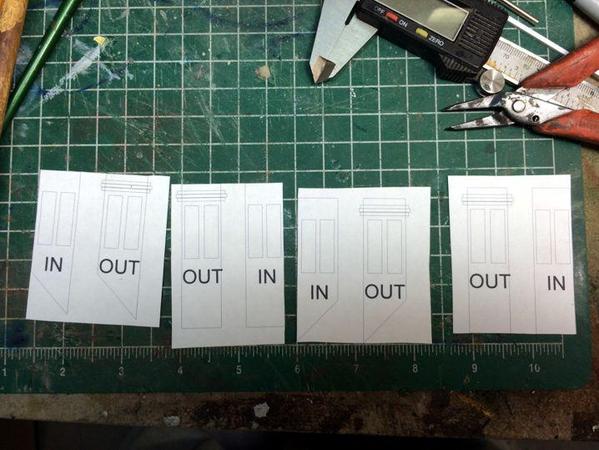
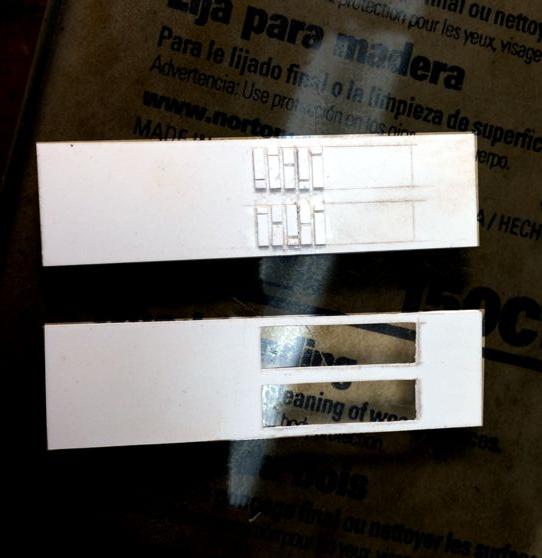
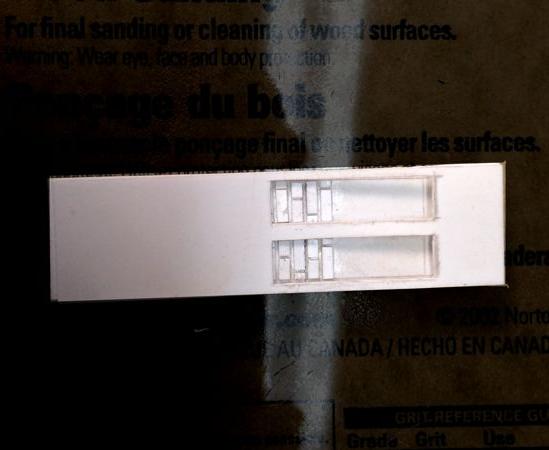
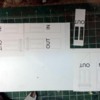
I cut the drawings apart, sprayed them with a light coat of 3M77 adhesive and glued them to the .020 sheet styrene that would form the backing. The recess bricks are laid on the rear piece just so they fit into the cutouts on the front piece. These pieces are then glued together and the rest of the bricks are placed on the front piece. To easily remove the adhered drawings from the styrene, just wet it with some Goo Gone. The glued on paper just falls off. Then use a little alcohol to remove any traces of adhesive or Goo Gone.
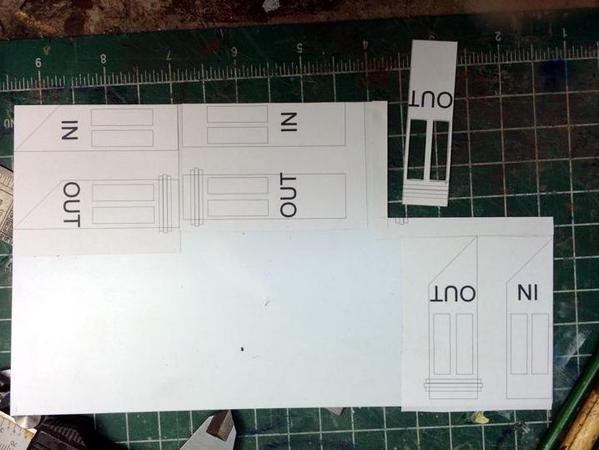 The "In" and "Out" refers to the two layers that form each side of the chimney. I don't know why the Forum's image engine turned some of these pictures upside down?
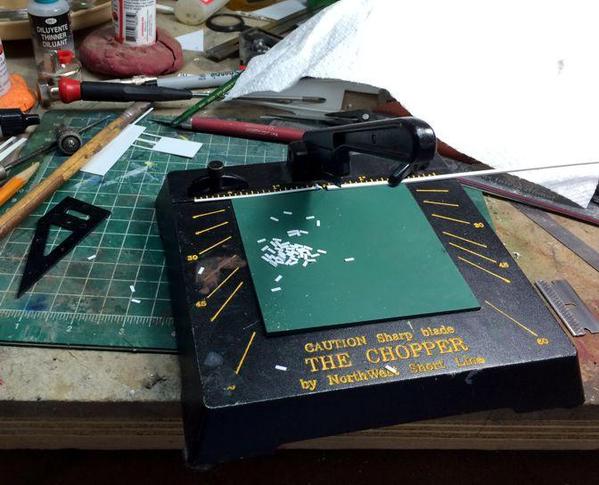
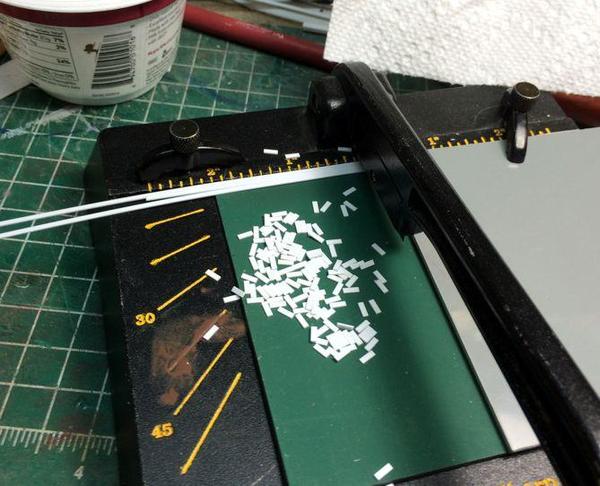
I then had to cut lots of bricks. I figured that they should be about .176" and .088". I set up the fence that's included with the NWSL Chopper, but was finding that the Evergreen strip was sometimes slipping under the fence so I switched to a piece of styrene and started cutting the long bricks.
After about 6 strips cut this way, I realize that I could cut more than one strip at a time. By changing the fence to a piece of thick ABS, I was able to cut 3 strips at a time and greatly increased brick production. After cutting a gazillion long bricks I reset the fence to cut the short ones.
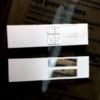
I cut out one chimney side by scribing and breaking the styrene and started laying bricks in the recessed area. I scribed the sheet with the recess' edges to guide placing the bricks. I used Bondene solvent with a small artist's brush to apply the cement at each brick. To space the rows, I have a small stainless pocket ruler that the perfect thickness for the mortar lines.
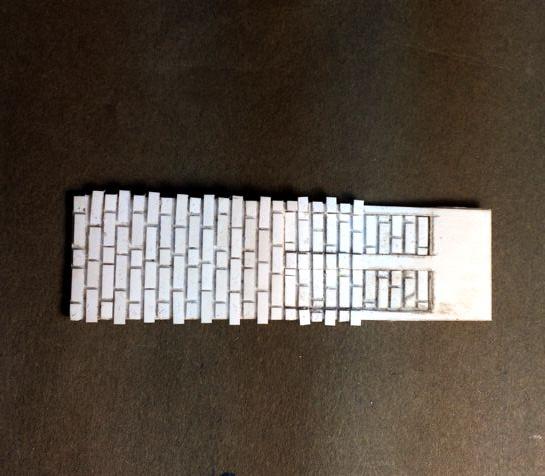
Here's as far as I got this afternoon. It's slow, tedious and meticulous work. You can't get sloppy, but the results are pretty neat.
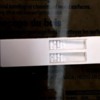
It's hard to see the relief in this lighting, but it's there. Notice that alternating brick rows stick out over the edge. These will mate with alternating brick roles on the adjacent sides. I'll be back at this tomorrow and keep everyone abreast of progress. I still don't understand how Les can do entire buildings this way. I bought a resin fire station kit from him cast from a master done this way and the bricks are stunning. It's especially good when you have to do effects like coyned corners or arched window lintels. After painting and grouting it will look nice and will enhance the station.


