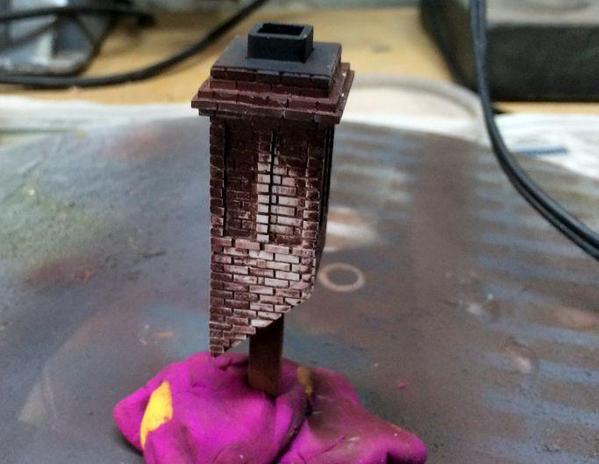
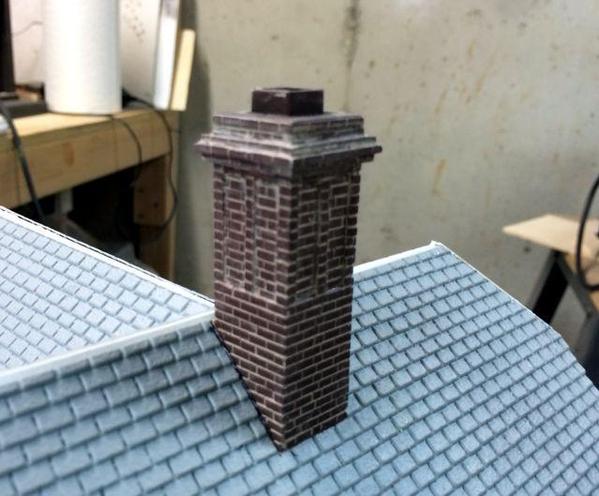
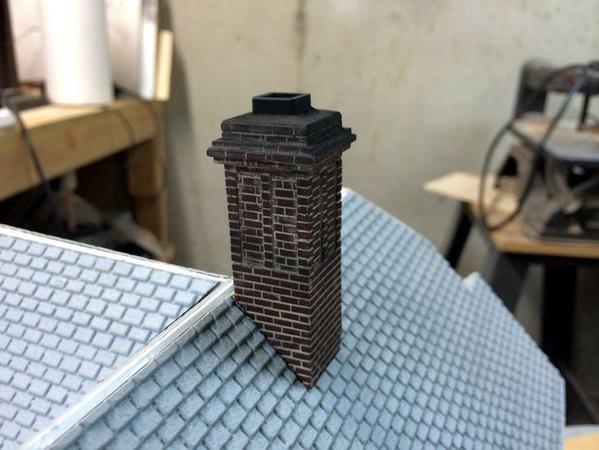
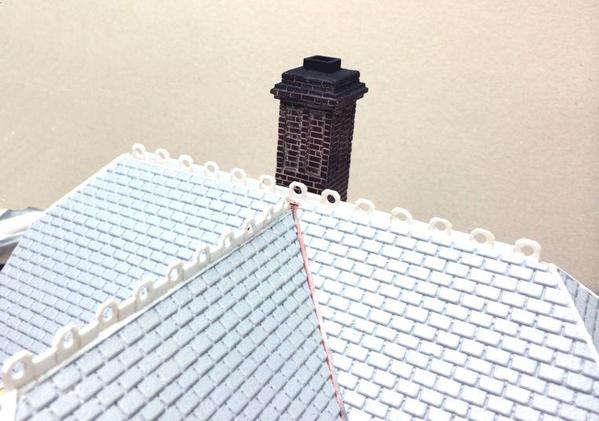
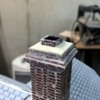
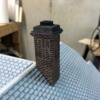
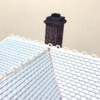
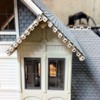
Chimney is done!
I painted the chimney Tuscan Red Oxide by Model Tech. It's a nice dark brick color. I dried it with the heat gun and then smeared DAP pre-mixed joint compound on it and immediately wiped it off. Unfortunately (for me), Model Tech is water-based and so is the joint compound. The result is removal of the paint and white styrene showing through. Time for Plan B.
After re-painting the red, I gave it a coat of Testor's Dullcoat to seal the surface with something not water soluble. This time it worked.
I also airbrushed the inside of the flue with flat black. Next I "cemented" the area around the flue with joint compound to simulate a fire clay cap sealing the flue.
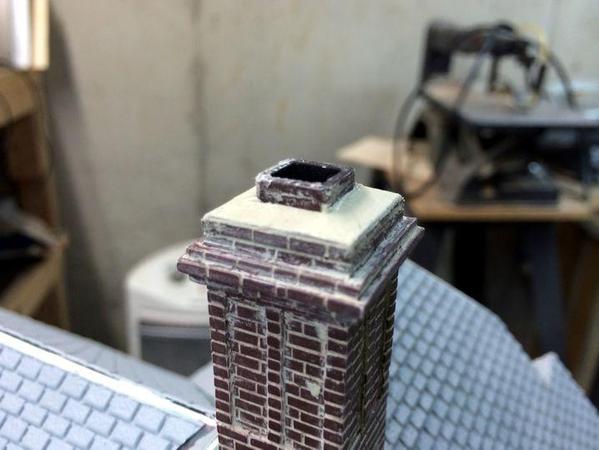 When cured, gave it a another dusting of flat black.
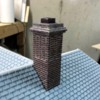
With this I'm calling the "individually laid brick chimney" complete. I don't know about you, but it looks pretty good to me. It greatly increased my confidence in scratch-building sophisticated structures.
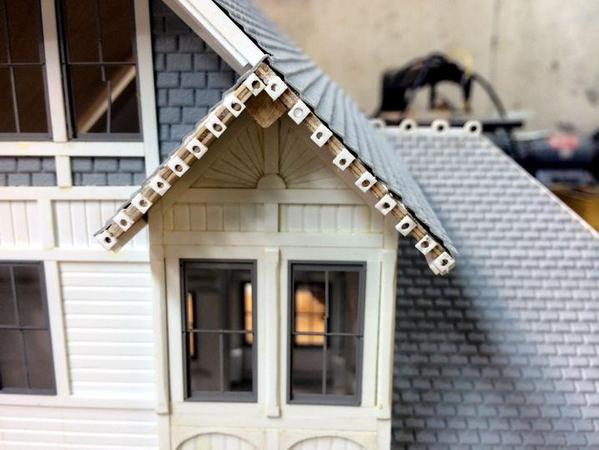
With the chimney out of the way it was time to finish up the rest of the roof. I calculated the spacing between the pierced parts to properly space them across the peaks. This time, I taped the straight edges to the plate glass work surface to give better control gluing up of all these little parts and keep them in line. When they dried I touched up the surfaces with a file stick and then glued them to the roof. I previously sanded the peak filler piece flat to accept this trim.
One other surface needed a similar treatment. The small peaked roof over one of the side bays has a perforated details similar to the roof peaks, but without the spacer pieces. I used a divider to mark out the spacing. When painted they should blend in nicely.
With this last detail complete, the roof is now ready for paint and weathering.
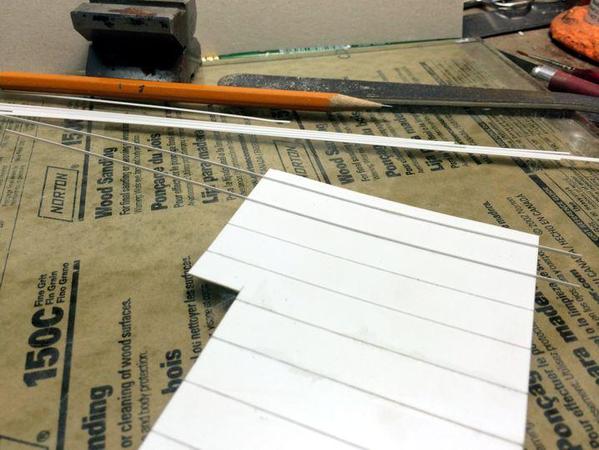
I'm now turning my attention to the rest of the building and cut out the shed roofs that flank the two sides of the station. The street side is a straight piece, but the track side spans three sections with different widths. I'm using Evergreen styrene "Standing Seam" roofing. What you get is a styrene piece that's grooved to receive a very narrow, thin styrene strip that you cement into the roof. I lay in the long strip leaving a bit hanging out from one end to better hold onto the piece and the remainder hanging out the other. When the glue sets, I use the Xuron flush cutters to trim the strips to the edge of the roof. I had to edge glue two pieces together to get to the correct length. In both cases, I made the seam right where the strip would go so the seam would be invisible.
This roof gets adhered to a thicker piece with a bit hanging over the edge. The brackets that hold these roofs are ornate. After the chimney, nothing phases me.
During all this construction, I've been thinking through how to paint this building. Being a Tudor design, the panels are painted contrasting colors from the timber banding, and will require tons of masking. I'm going to air brush as much as I can.
Some of the Grandt Line windows have been suffering broken mullions. There is a weakness in the injection molding right at one spot. I've reglued them many times, and will have to scratch-build some to finally fix them.


