Boy! Go away for a weekend and you're thread is on page two already. We were in State College, PA over the weekend seeing my 8 year-old grand daughter having her debut in a professionally produced Broadway version of "Annie". It was a great show and we dodged all the snow that was coming and going.
Today, I was back in the shop. I stopped working on the station project and got back to the city streets. Since Les Lewis' resin sewer grates had arrived I figured I better install them and get the streets mounted. They have to be in place before I can finish the plastering in the back and then the other ravine which is holding up running trains.
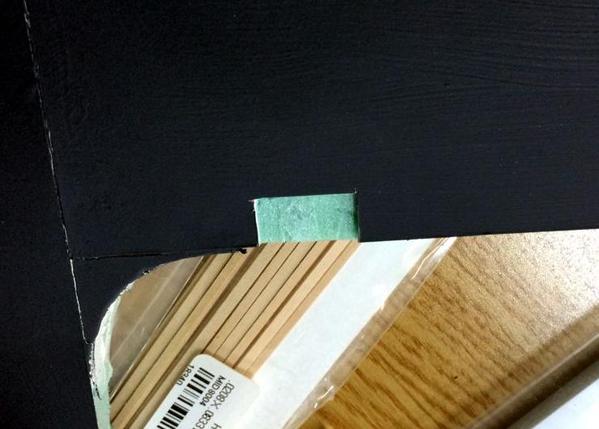
I'm still having delamination problems with the Bristol Board separating from the foam making up the roadway. If I was to do this again, I would not. I repeat... I would not use 3M77 spray adhesive to glue the board to the foam. Every time I turn around another edge is letting go. I've used CA and now turned to Low Temp hot glue which seems to be holding.
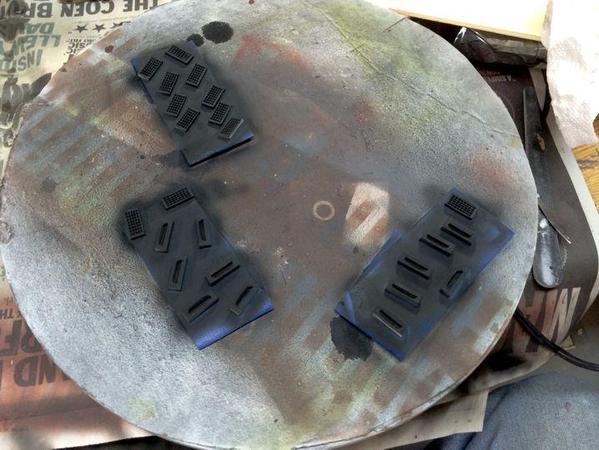
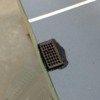
First I cleaned up the casting and then air brushed the grates and inlets Tamiya flat black. After that dried, I gave it a coat of 1/2 and 1/2 burnt umber and burnt sienna artists acrylics. I didn't mind that it's a little lumpier than model paints since this is a cast iron sewer grate and nice and smooth doesn't cut it.
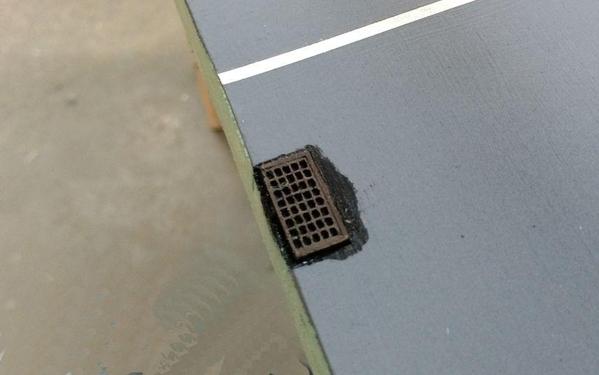
I traced the grate's outline onto the roadway and then carefully cut through the Bristol Board into the foam beneath. I removed just enough foam to let the grate sit level with the road surface. I took an artist brush plus tube acrylic Mars Black and outline this cut area to act as if it were asphalt sealing plus it covered any white paper showing. I then used low-temp hot melt to permanently glue in the grate.
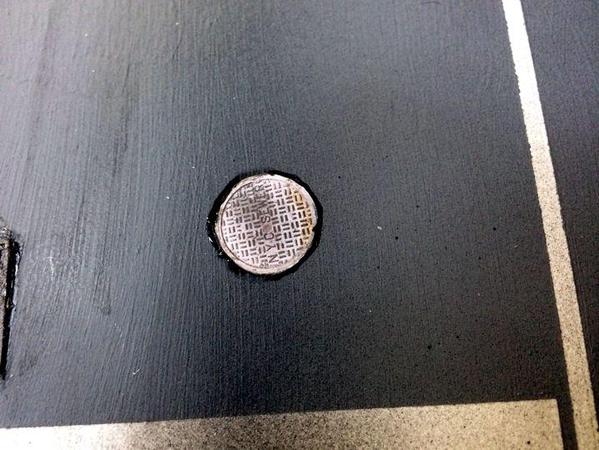
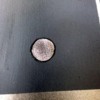
Lastly, I cut out and placed some manhole covers in line with the sewers. I used the same "Black paint as asphalt" technique around it to look like patching pitch and hide the cut edges. Once this was done, I started to permanently glue the streets down using Loctite Insulation Foam Adhesive along with plenty of weights to flatten them out and get them to properly conform to the underlayment.
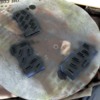
If you remember, those manhole covers are scaled from pictures taken from a Google search for "Manhole Covers". I found those that were taken almost directly overhead so they were circular. Of course, you can always adjust the perspective in the photo editing software to make them circles.
I only had some many weights to use holding down the streets so I did two of them and will do the rest tomorrow. Then it's back to plastering. While the plaster is drying I will get back to the station and finish up the interior.


