I don't mind... just keep reading.
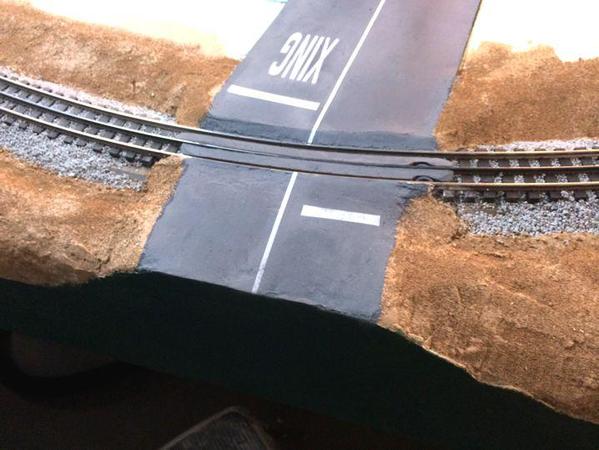
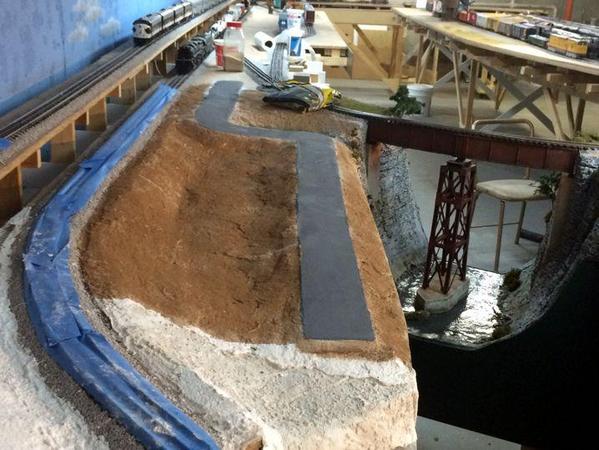
I finished up with the city streets and roads for a while and started working on Ravine 1 (Finally!). To finish the roads I masked the lines to extend them into the new plaster, used some darker gray and dry brushed it over the lighter color to blend, cleaned up the rails a bit more, and painted the back road. My older grandson says he can crawl under the layout to finish up the scenic work in the back if I don't want to after the ravine closes off my normal ingress and egress. I'll take him up on it. With the road painted, I was able to get to work on the ravine.
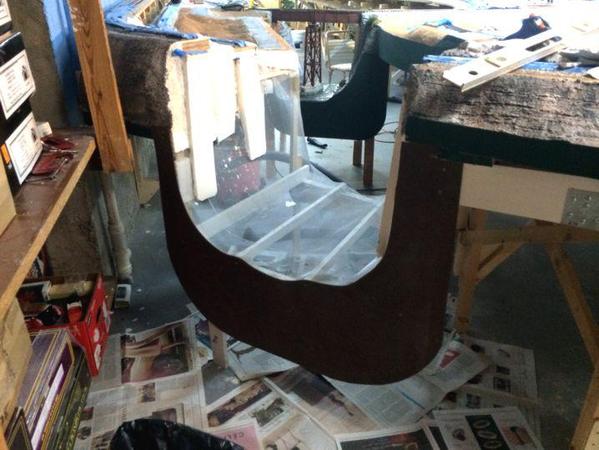
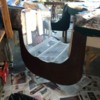
To prepare for plastering as I noted some time before that I'm putting the fascia boards on first so the plaster/paper towels have a more substantial surface to adhere to. The outside board was a no-brainer since all the mounting surfaces were parallel to ravine opening.
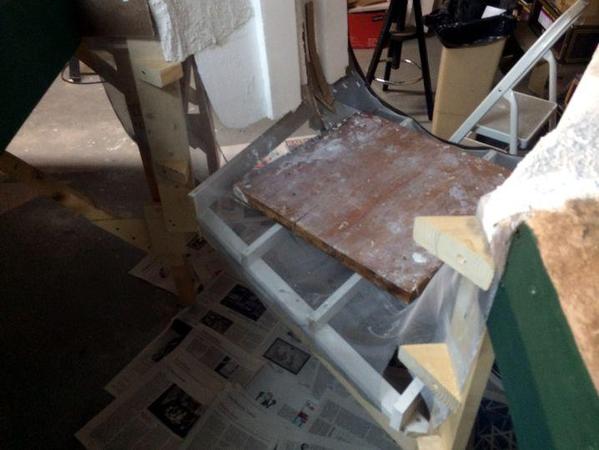
For the inside fascia, the side pieces are at an angle to the ravine face so I measured the angle and cut four blocks to serve as a screwing surface.
After looking at these again, I realized that I mounted some of these upside down. The heel of the blocks is sticking into the ravine space. Tomorrow I'll reverse them. I also did some sweeping and put down fresh newspaper. The floor's an ungodly mess and will require scraping, washing and maybe re-painting once this major work is complete.
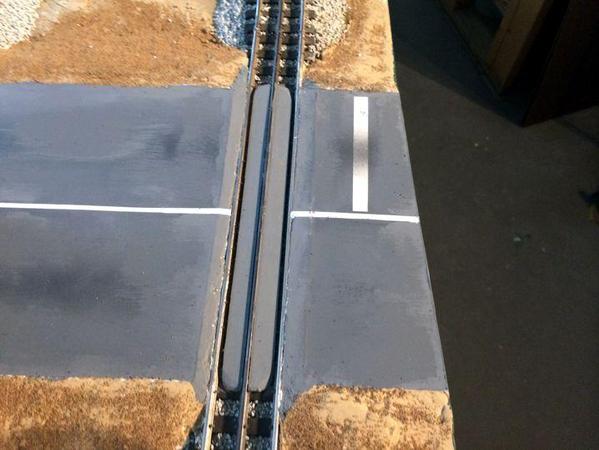
I wanted to see how well a real train runs through these crossing. I only have one "simple" engine, the Lima Center-cab, that doesn't have multiple trucks or exotic wheel arrangements. But the center cab is a PS-2 engine who's battery is dead so I picked the MTH PS-1 Pennsy GG1. First I had to clean the tracks again and remove more masking tape. It ran, but bumped a lot through the crossings.
I thought maybe the flange ways were too tight for a longer wheelbase/larger diameter wheel set and got worried that I may have to remove all the inter-track filler and reshape them. I have a loose driver set from my 3rd Rail Allegheny (it has a traction tire if you want to convert the engine). After running it through the crossing I realized that engine drivers are a wider thread than the hopper car that I used to test the crossings. The driver was actually running up on the plaster a bit that edges the rail. I will have to grind that down a little further so engine drive wheels don't ride up on the plaster. That also doesn't help on engine grounding either.
While I had the power on I started charging up some engines in the yard. None of them ran well. Between the dirty track and low batteries they were frequently stalling or failing to go into neutral and reverse. I'm not going to worry about it now. The rail hasn't been cleaned and the batteries need to charge overnight before I'll get a valid test.


