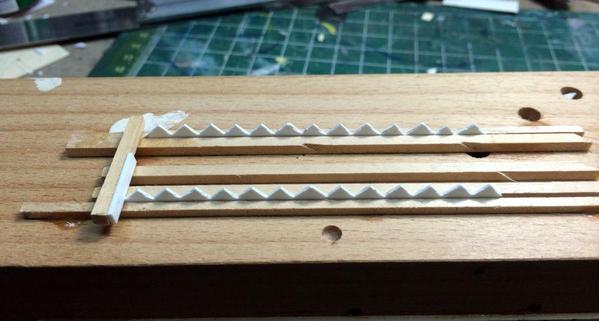
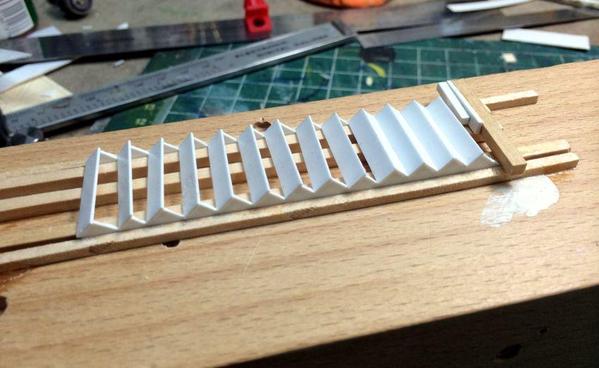
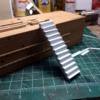
With all that plaster drying (after 24 hours it's still has dampness in it) I again got back to working on the train station. Taking the stair stringer jig I was using last week, I added a couple of pieces of wood to make an assembly jig to build the stairs.
I had purchased some Evergreen strip with the right width and cut them on the Chopper. While my method of cutting the stringers produced a "stair approximation" which ultimately wasn't too accurate. As a result, upon close inspection the variation between the cuts was sufficient that I had to cut a stringer to length and then slide it along the rest of the uncut stringer to find a section where the cuts more or less coincided.
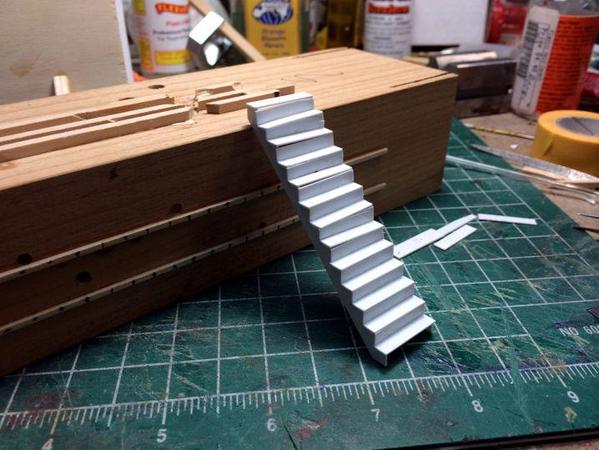
Even with careful matching, some of the steps are distinctly crooked compared to the average. This stairway attempt was a proof of concept for me. When (or if) I make another one, I'm going to lay out the cuts before hand so I'll have a guide to position the corner cutter.
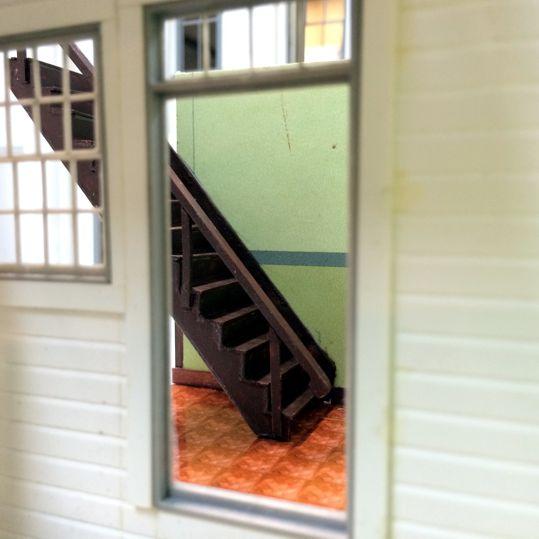
Regardless, I did complete a reasonable stairway for the inside of the station. As you read on, you'll realize that this stair is positioned in such a way that no one will ever see the inconsistencies. Viewers will just know that "there's a staircase in there leading to a second story".
After fabricating a banister out of rectangular stock similar to that I used for the little watchman's tower I brush painted it with Tamiya brown and then turned my attention back to the wall structure.
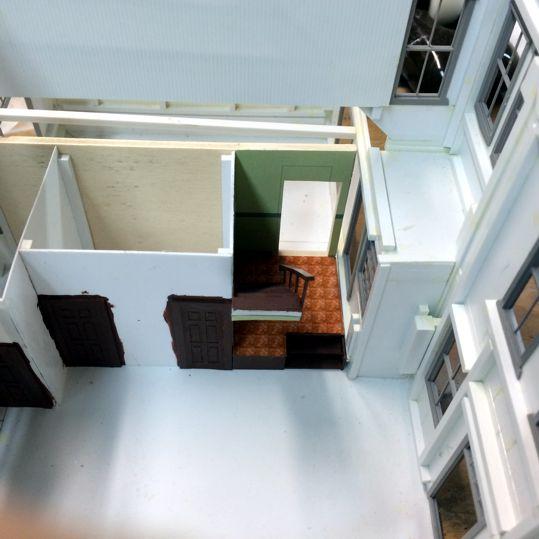
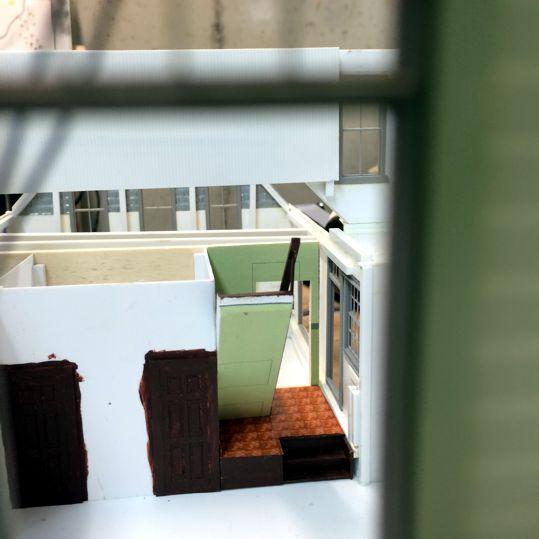
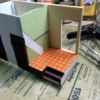
This installation needed to have a raised floor in front of the center door. It's about two steps up so I fabricated them out of styrene. I also added the floor out of 0.040" stock and then covered it with my computer adapted parquet flooring. The parquet is printed on glossy photo paper and looks like a polished wood floor. For the walls I'm using "wall paper". Rather than masking and painting, I printed out a two tone pattern and applied it to the walls. For all of this paper to substrate I'm using MicroMark Pressure Sensitive adhesive. When you paint it on both surfaces thinly and let it dry a bit, it's a great contact cement.
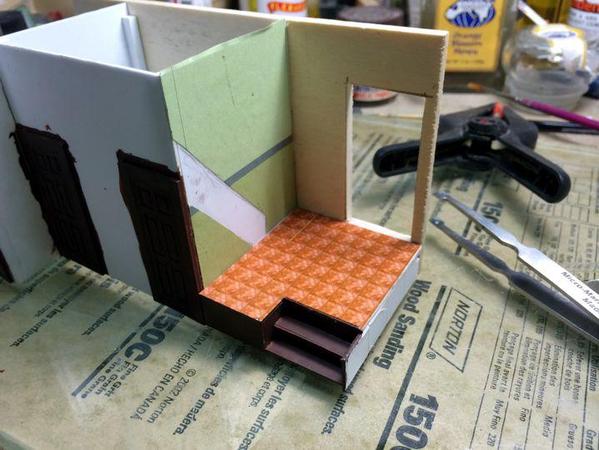
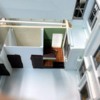
I reinstalled the unfinished wall assembly in the station for the following pictures. It's coming out just like my computer designs and I'm pleased with it.
In one of my designs, I had turned the stair around to have it facing into the waiting room, but it didn't work so I went back to my original design. The walls in front of the restrooms will also get wallpaper which accounts for the not-so-precise painting.
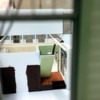
Tomorrow, I'm probably going to back at plastering since the Gypsolite should be sufficiently dry to lay on the Sculptamold. When I get back to the station, I'm going to try and finish up the interior. Meanwhile, I've ordered some material from Grandt Line to replace parts that were lost in the move. I especially need another set of porch posts for the porch that's outside of the door where I took the bottom picture.


