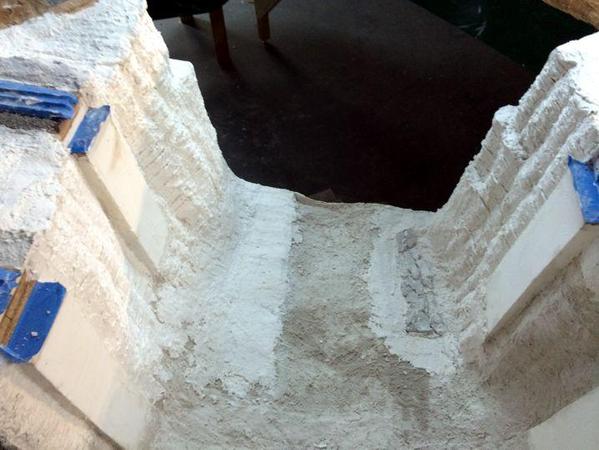
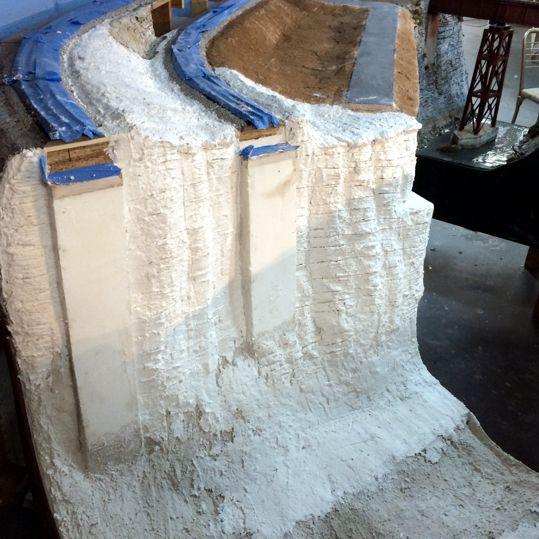
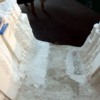
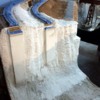
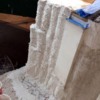
With more time to work, there was no excuse but to get hands dirty doing the decorative plaster work on Ravine #1 which I did until I ran out of plaster. I then went back upstairs and did some more computer work completing some more interior wall details for the station project.
Now that I sort of know what I'm doing, getting the rock detail on the bigger Ravine #1 went much faster as expected. It's that old "learning curve" thing. I now have a routine with the Sculptamold.
1. Mix the material on the thick side (more plaster less water) so it holds on vertical surfaces better.
2. Build the initial profile on one vertical column. I get about one column per batch of plaster that I'm mixing.
3. Build initial profile on next vertical column and then go back to the previous one and cut in the major strata definition.
4. Build a third column and by this time, the first two are set enough to engrave the finer strata details. If the plaster's too soft, the fine strata get too deep and disturb too much surrounding plaster.
5. Continue this routine until complete.
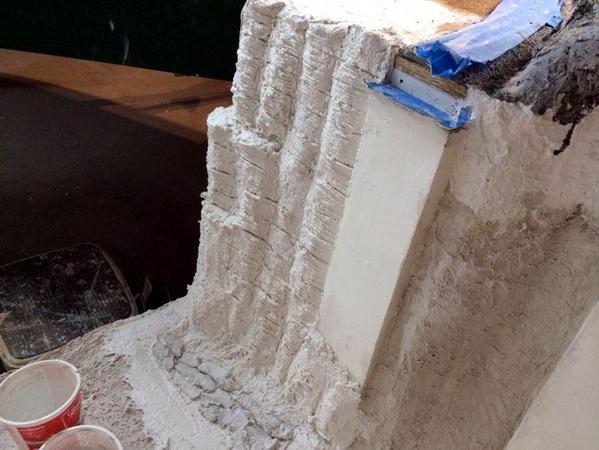
The arrangement of rocks at the bottom of the above pic serves two purposes; adding interest and building up a low area. I'm going to pour some "water" into that area as sort of a tidal pool. It's essential to have this second layer of plaster since even with the amount of overlap I tried to include in laying down the Gypsolite/Paper Towels, there were still areas that were weak and thin enough to put an errant finger through.
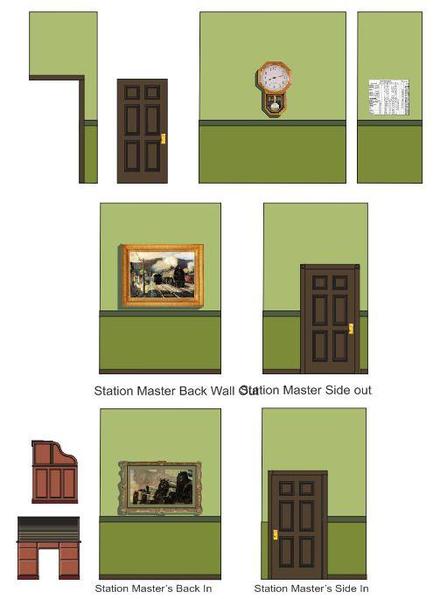
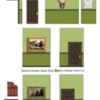
The train station's going to have ticket and station master's offices, the insides of which will be viewable through the windows. Instead of pasting on separate details to the walls, I've created the wall paper to include doors and trim, clocks, pictures, and railroad timetables. When looking through the window, there will no way to tell that's it's not 3D. I still have to produce a facsimile of a newsstand and waiting room benches.
I shaded the lower lefts of the clock and pictures to give them some relief. The roll top desk was drawn from plans I found on Wikipedia. I'm going to make that a little 3D object along with some other furniture I've collected.
When I get the rest of the plaster I'll finish off the terrain work and finish the Station interior while all of that's drying.


