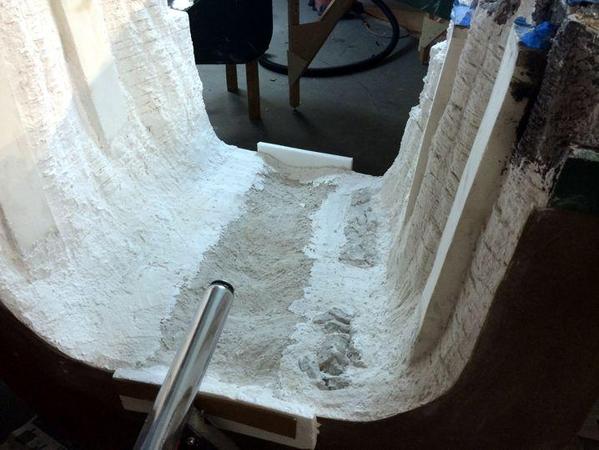
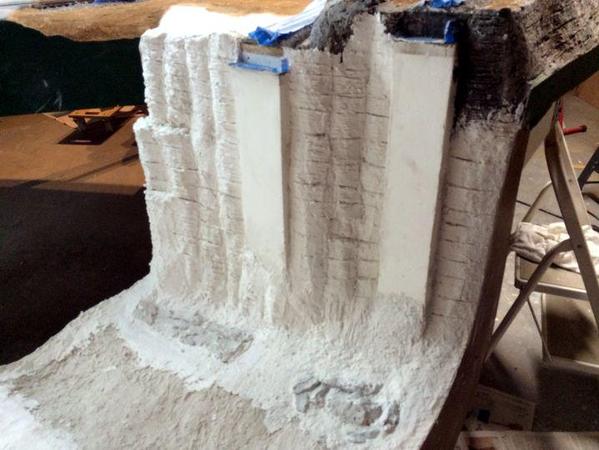
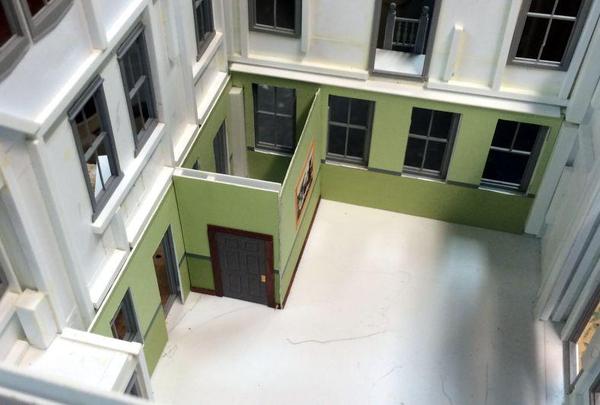
Armed with two more bags of Sculptamold, yesterday I finished adding the texture layers to the Ravine 1 and the new hump. After it was done and drying I installed the inside walls for the ticket office.
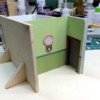
Today I added the dams at the end of the river in preparation to pour the leveling Hydorstone. While the Liquid Nails foam adhesive was curing I went back to work on the station, cutting out and assembling the Station Master's office that will go in the opposite corner of the waiting room.
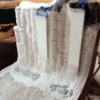
Here's Ravine #1 fully sculpted and waiting for paint and "water". The silver cylinder in the foreground is part of my saw support that's pressing against the dam so it conforms to a slight curve in the fascia panel until the foam glue sets.
I added more rocks at the base of the cliff and when blended with the terrain should look decent.
The center, un-Sculptamolded channel is where the water will actually be and is the part that gets the Hydrostone leveling pour, so it had to be dammed up to keep it in the channel. I think it will be "plaster tight" I probably won't get to pour it until Monday.
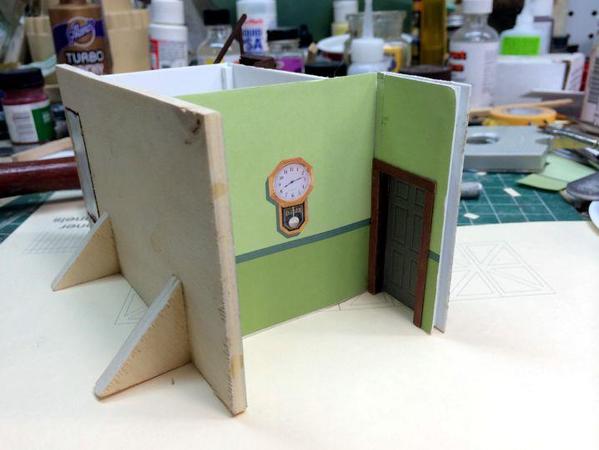
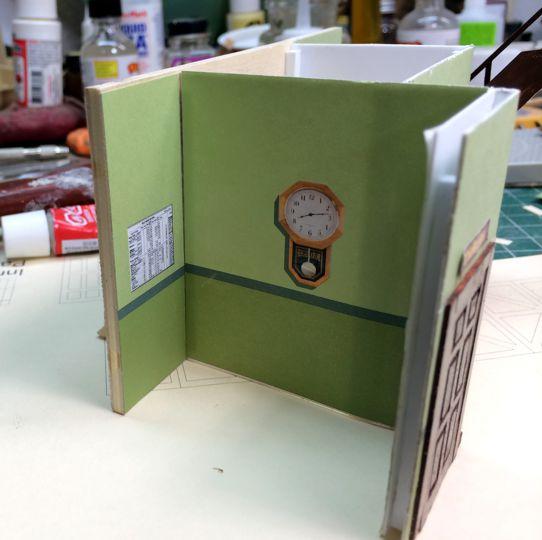
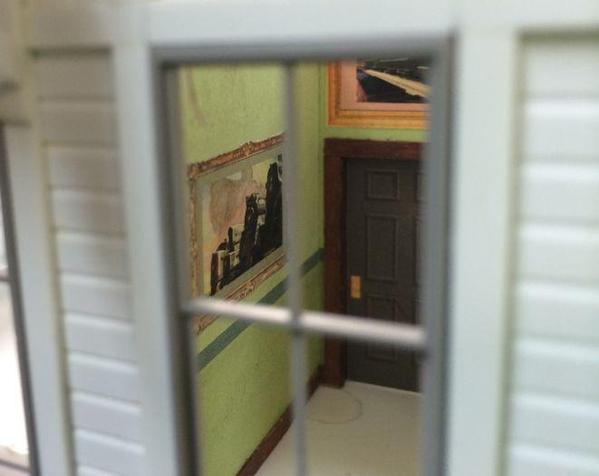
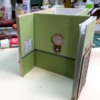
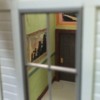
Here's the ticket office interior. The doors in this case are artwork. I'm figuring that looking inside this building through windows from 2 feet away people won't know if they're looking at a 2 dimensional or 3 dimensional door. In this case the clock and time table are also part of the original graphic.
By making the door wall scale thickness and putting the door image inside the opening really gives the impression that the door really accesses this space.
For the Station Master's office I originally even printed the artwork directly onto the walls. That was until I totally screwed it up a few times. Luckily, I also had the artwork printed on Avery Label stock.
The first thing I found when I fit the wall sections into the floor plan of the actual station was that my dimensions were all off. I didn't want the walls to end up sitting in the middle of a window so I used the actual plans to position the drawn walls between windows, but on the actual model they ran right into them. I had to trim off about an 1/8" on the wall with the door, and remake the back wall about 3/8" longer which mean messing around with the wall paper.
Since I made the door wall scale thickness again, my back wall pieces were now off since the inside wall paper had to be a wall-thickness narrower than the outer wall. Or conversely, the outer wall now had to be one wall-thickness longer. So I went back to the computer and redrew the long wall. Since the inner wall was blank (for now) I didn't redraw that, but instead used some blank wall stock that I created.
There's only 4 ways to stick the inner wall paper to the styrene substrate and I actually put it on wrong 3X before getting it right. The spray glue holds well but you can carefully remove stuff to reset it. I know! I did it three times!
And even then, it's not really right since the chair rail doesn't align on the outside corner with the door wall. But at this point, I really don't care. I'm beginning to get an acute case of AMS (Advanced Modelers' Syndrome), defined as seeking to detail things at increasing levels of intensity until you reach a point of diminishing returns that no one but you will ever know about. Again... no one will see this stuff in this way once the second floor is in and the roof goes one.
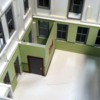
It sure looks cool looking through the window though... BTW: I have 3 of the 4 locomotives in the PRR calendar picture on the wall. The GG1, Q2, and T1 are in my stable. The EMD engine on the end I have, but in Rock Island colors. I want to get the fourth engine and make my own picture replicating that famous one.
Coming up next is possibly a newsstand for the waiting room. I've downloaded lots of pictures, but again, since the newsstand will be facing into the room, it won't be easy to see and will take some work to replicate. I may just skip it and get to work on the waiting room benches. I'll noodle it a while on the computer and sees what comes up.
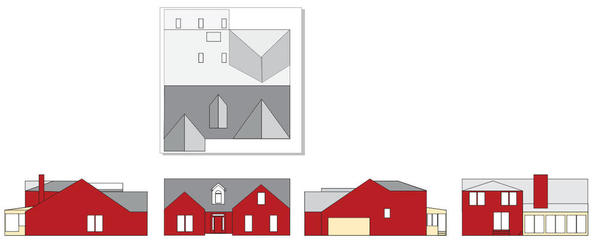
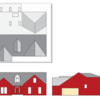
Meanwhile, I just drew the plans for the current home in which we're living. I did this one by using a roof shot from Google Earth to get the overall dimensions and using that, a direct frontal shot that I had and measuring some key windows, I was able to scale the whole deal.
Here's a teaser. While it may not be parametrically perfect, it really will look like our house. I now officially have more projects than I am capable of ever getting to, so I should stop designing and keep building.


