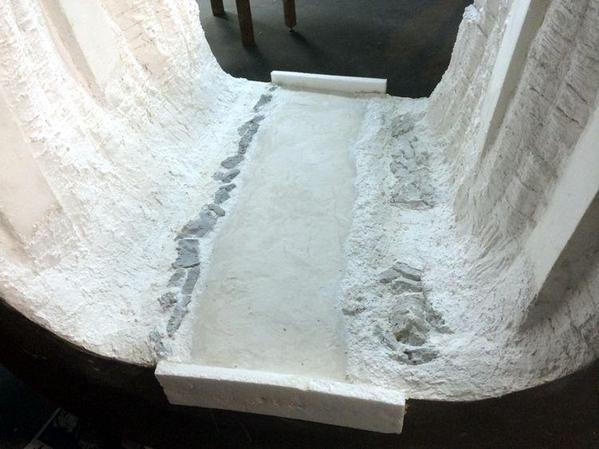
With the leveling plaster hardened, I went back and added more rocks and created a more defined berm to keep the water in the waterway. I wet anywhere new plaster was going. This helps prevent all the water being drawn out of the new plaster before it can properly set.
Tomorrow, I will paint the whole deal, and once the grandkids finish their Loch Ness Monster that's going into the "water", I'll be able to pour the epoxy.
While that was drying, it was back to the station project. I got a good start on making the waiting room seating.
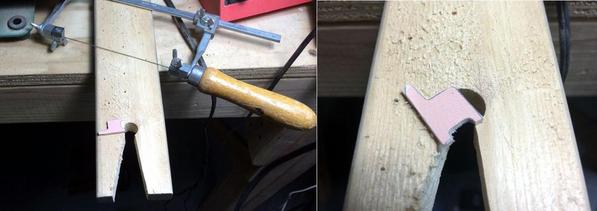
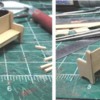
After temporarily adhering the drawings to 1.8" air craft ply, I cut out the profiles with the scroll saw. I then quickly cut a board to serve as a bench block to support using a jeweler's saw to cut out the detail at the bottom of the seat ends. The block is screwed directly into the work bench.
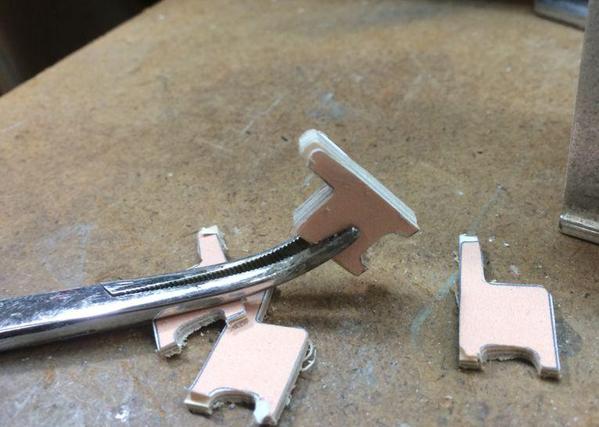
Then, using a hemostat as a clamp, I put pairs together to do the finish sanding. I used the Dremel with a drum-shaped diamond burr to finish up the cutout section.
To facilitate assembly, I put two small braces on the seat ends that support the seat bottom. These aren't shown in the picture. Everything is held together with CA which greatly speeds up assembly. Order of assembly is:
- Seat vertical filler glued to seat
- Mark side pieces using divider to determine seat height and glue little 1/8" sq. wood supports on this line to give more surface area for seat to glue.
- Glue seat to one end, and then glue on other end
- Place seat back between ends and glue to sides and seat bottom
- Measure, cut, taper and glue middle back leg
- Measure, cut and glue center front leg
- Measure 1/8" sq stock and cut arm supports
- Measure and cut arms out of thin strip
- Glue arms to supports and then to seat and back

My strip stock was too wide so I split the pieces length-wise to use as the arms.
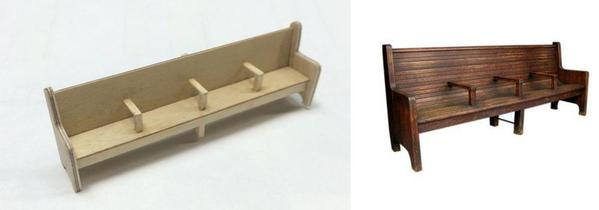
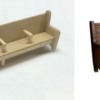
Here's a finished bench next to the picture of the prototype.
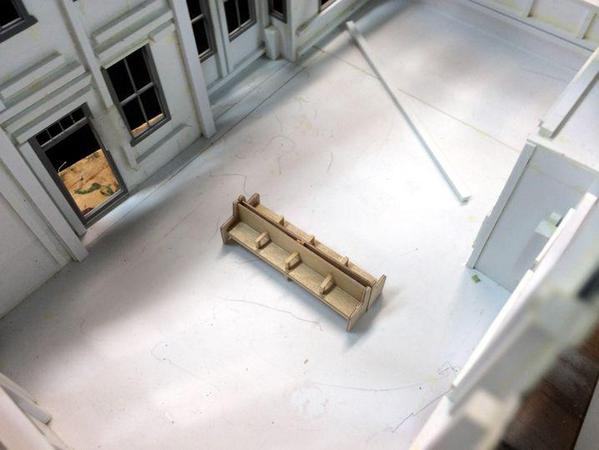
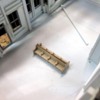
And here's a couple of them (2 done and 2 to go) sitting in the approximate place in the middle of the waiting room.
Two things I did wrong (or not as right as I would have liked to). I forgot to engrave some horizontal lines on the seat and back to simulate the slats on the prototype. No big deal, they won't be seen. I also forgot to pre-stain all the parts before gluing. This one's a bit more troublesome since the CA now will prevent stain from penetrating anywhere there's glue. I was in my usual rush to make something. This means I'll probably have to paint them instead of stain with gloss coat. Oh well...


