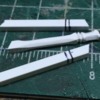
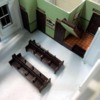
I painted the benches after assembling the remaining two. Then, rather than airbrushing some Future floor wax to gloss them, I made the mistake of using my Krylon Low-odor Gloss Spray from a rattle can. It was disaster! It sploched out and made a nice pebbly finish that was totally un-scale-like. I really don't think that anyone will see it since there's going to be a second floor over the waiting room, so the only view will be through styrene windows or an open door if I decide to leave one that way. Or, the obsessive-compulsive me will try and re-finish them and put a decent gloss coat on them.
Otherwise I'm happy with how they've turned out.
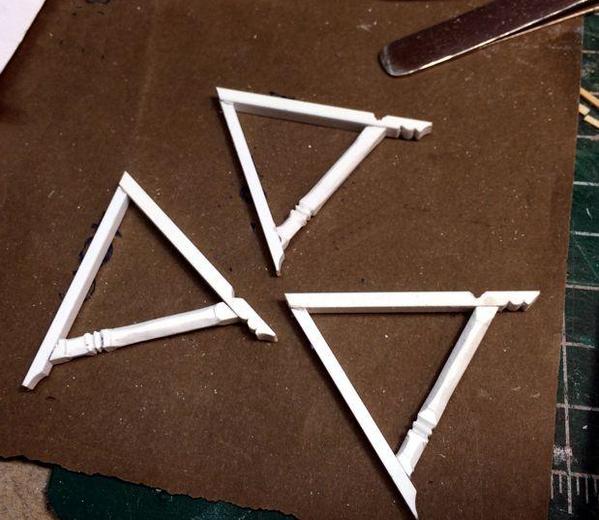
The sculptamold in Ravine #1 is still not fully cured so I continued working on the station. The brackets that hold up the shed roofs are a bit ornate. The HO version of this building that was in the Kalmbach article just used plain stock, but in O'scale I had to attempt to do it.
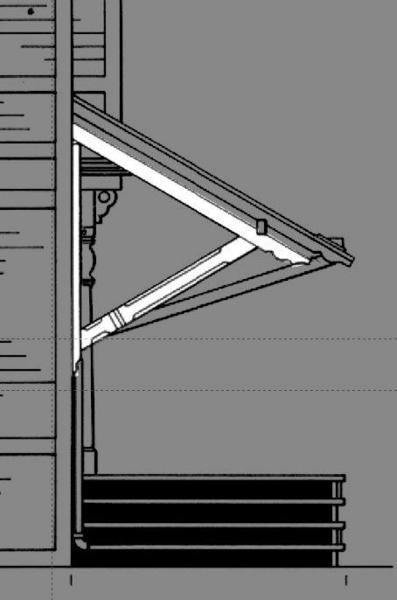
Here's the detail of the street side of the station. In this instance there are three brackets of equal size and shape. The track side's brackets appear to be three different sizes based on the three different parts of the shed roof.
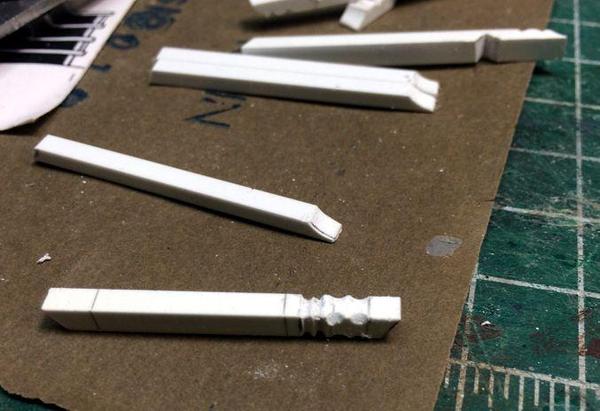
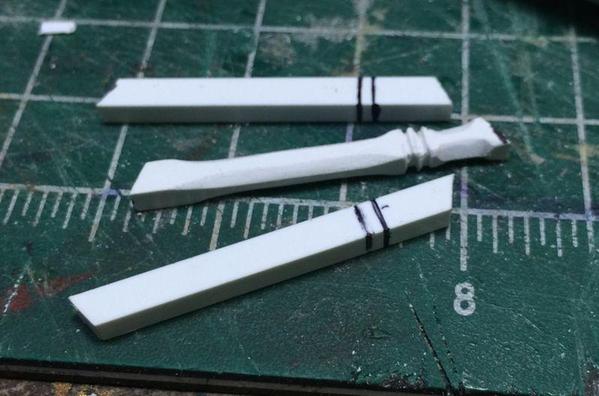
I laid out the various cuts and did two things. For the chamfers I first used a round swiss file to form the ends, then use a small diameter sanding drum with the Dremel for the long ones and just shaved them off with the Xacto.
Here's the first piece fully formed. The chamfers are too deep. When I do the track side, I'm developing different ways of using the Dremel so it doesn't take off so much stock.
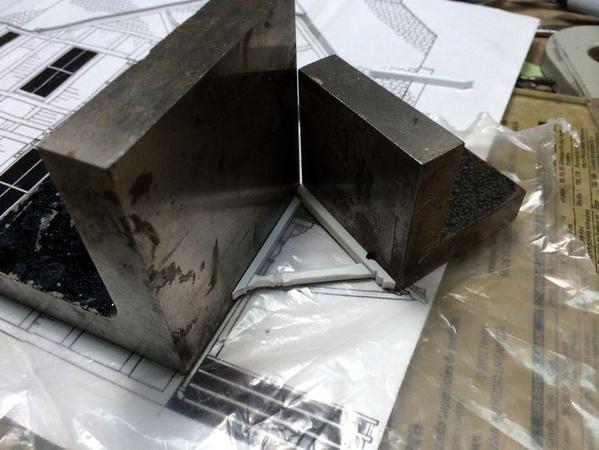
Gluing was done directly on the plans with a piece of polyethylene sheet to keep things from sticking together.
Here are the first three brackets completed.
When using the Dremel on styrene, use the slowest possible speed. Even then it tends to remove stock by melting instead of grinding. Light pressure or else it will simply melt right through the part.
On the track side, the front bracket is fully drawn in the plans, but the middle and far end is a bit of a guess. I'll figure it out and report on it tomorrow.
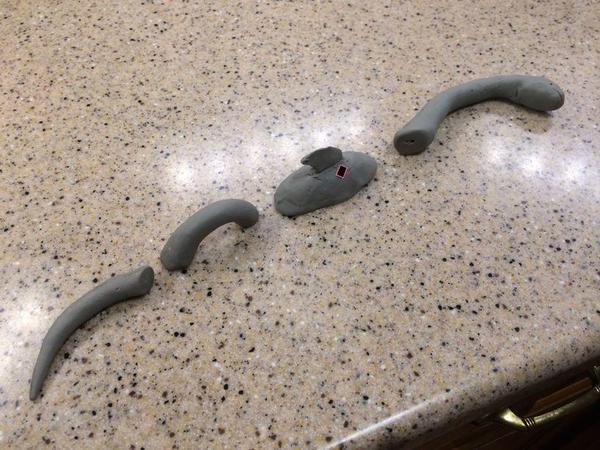
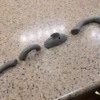
My older grandson formed the head of "Nessie" the denizen of Ravine #1 and we baked the Super Sculpey in the toaster over at 275º for 20 minutes. It's now hard and can be finished, painted and glued to the river after that's painted.
You can barely make it out in this picture, but I colored in the cell phone sitting on Nessie's back. There's a little rectangular piece of clay representing my wife's cell phone that went over the edge of a ravine in Clifty State Park in Madison, IN last Fall. It was the reason we both now have iPhone 5s's. My wife thought my ravines looked just like the place where her phone took the fatal plunge so the kids figured that a sea serpent had it land on its back.
I'm going to have to name Ravine 1 and 2 something more interesting and descriptive. Perhaps I'll give that to the grandkids to come up with.


