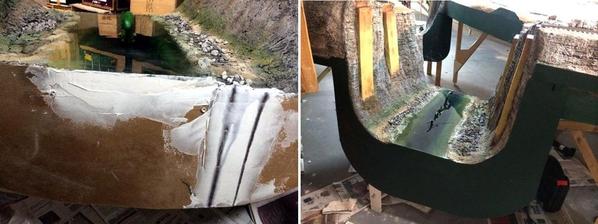
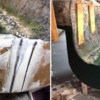
Today, the epoxy was rock solid, totally clear and I was ready to remove the foam dams at each end. Between the foam adhesive and some resin that leaked I needed a chisel and soft hammer to remove them. What was left behind was adhesive and some foam which I sanded off with the B & D Mouse sander.
A coating of joint compound, another quick sanding, vacuuming, and a tack rag and I was ready to put some "jungle green" fascia color on it.
Other than the slop and old newspapers on the floor, the ravine looks pretty good. When I look at it I ignore all that background noise. The camera, unfortunately, does not. The joint compound on one side was dry enough to finish, but the inside fascia was not and that will have to wait until next session. I found out—gladly—that all the spilled plaster on the floor comes off with scraping and washing. That's good since I didn't want to have to repaint the floor...yet.
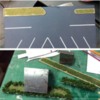
While joint compound was drying I went back to work on the station area. I put a filler piece onto the road to fix that funny curve. After cutting some foam and then Bristol board I glued it all up with hot melt foam glue and Aleens. I tried it out on the layout to make sure that straightened road didn't run afoul of the adjacent track. It didn't.
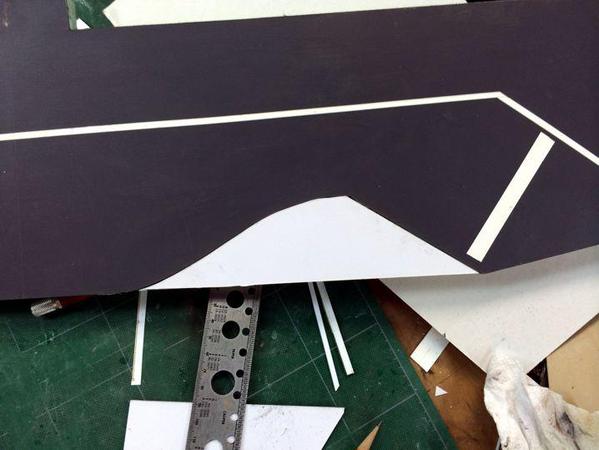
This fix won't be invisible. I may use some filler to hide the seam, or I may purposefully paint it a different shade and leave it as a road patch.
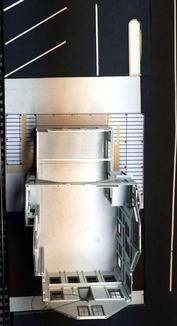
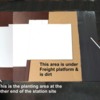
I put all the stuff back on the layout and took an overhead shot of the station area so I could do some more landscape architecture. The first thing I saw was the loading dock being too wide and extending out onto the road. I went back to Coreldraw and rectified the situation by narrowing the road side loading dock a bit.
It was through this image that I decided to make the area next to the parking lot paved as a drive and make a planter on the other end. The loading dock in this pic is just the CorelDraw image laid under the station. I'm glad I did this before I spent several hours building that platform only to find that it was a quarter inch too wide.
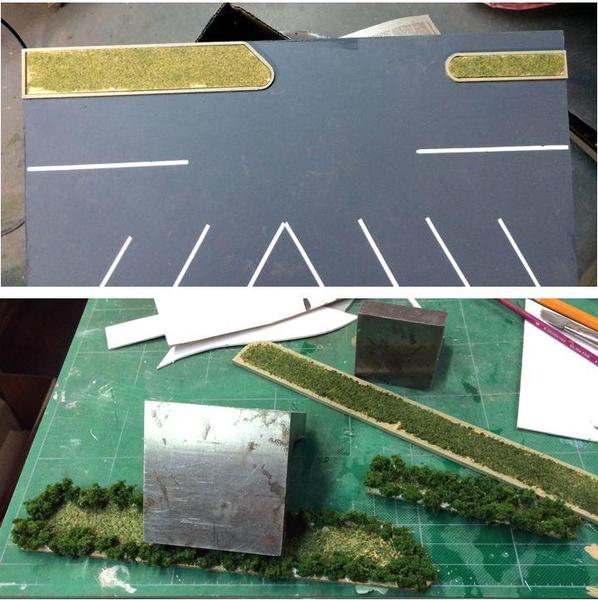
The planters at the parking lot have thick cardboard fillers, painted earth color and with grass mixture added to the wet paint. When this was sort of dry I added bushes around the perimeter using W-S scenic glue. When this is dry, I'll install them in the curbing and add some ornamental trees. The weight is pressing down on the filler until it dries. Between the water-based latex paint, the water-based scenic cements, and the "wet" water sprayed on it to let the glue penetrate, the piece was starting to warp pretty badly. I'm hoping the the weight will help flatten it out as it dries. (I just checked... it's flat)
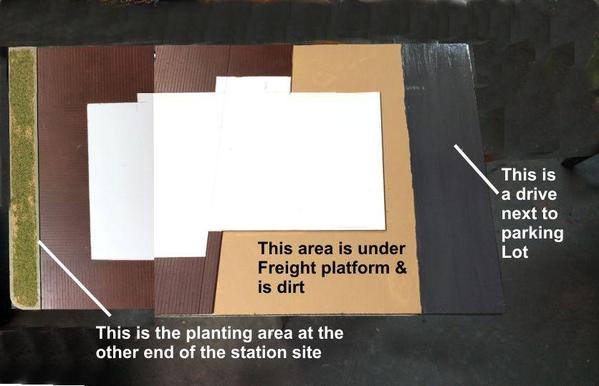
For the other end, I cut the entire thing out of a piece of 1/8" aircraft ply, marked where the curb would be, and then painted the interior earth color and the curb concrete color. I then was a bit more careful in gluing all the foliage to it. This one didn't warp.
This composite picture also shows the coloration of the other end of the station's baseboard.
It's the weekend so I probably won't be back in the shop until Monday. Retirement's great! My work week consists of building my model railroad. What could be better than that?


