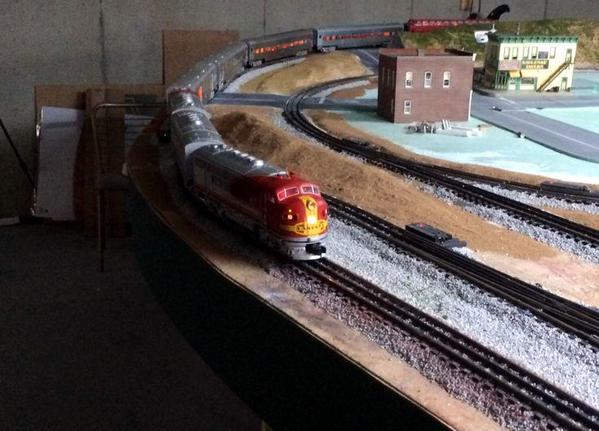
Had some time in the shop today. First thing I did was replace the blue-white LED head and Mars lights in both A units of the Santa Fe and replaced them with some new 3mm "Warm White" LEDs. Since there were already LEDs installed, I didn't have to worry about voltage or current limiting. When this engine was built in .08, warm white LEDs weren't on the market.

The LEDs are part of a large order I made from LED/Switch for 3mm, 2mm and 1.6mm warm white LEDs that I'll use in using for all current and future building projects. After uncrating the Santa Fe, I realized that its headlights blue-white just didn't cut it.
Lionel uses a separate circuit board stuffed up in the nose that holds the head light LEDs and the two marker light green LEDs. The head lights are 3mm and the markers are something smaller, probably 1.8 or 1.6mm.
The head light uses the full-length leads bent 90º in the middle so it reaches down to the lens in the door. One leg has insulating tubing on it. The Mars light is also bent 90º, but is mounted flush with the circuit board. The board has the "+" sign printed on it, so there's no confusion as to polarity. The new bulbs are nice and bright and look terrific with the lights out. It looks so good, over time I may change out a lot of the grain-of-wheat bulbs in many of my other engines. My Atlas SD-35's LED front lamp is not working so I may change that out also. It took is a cool-white LED. When going in reverse the rear lamps do work.
The rear A unit does have a TMCC board in it so I could imagine that under digital control, that headlight would turn off when going forward. Right now, the rear headlight is on all the time.
With this mod finished, I started building the loading dock for the station. This is the last major sub-assembly before painting begins.
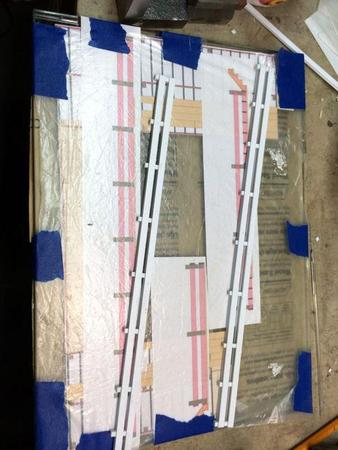
I attached the plans directly onto a piece of plate glass, covered it with so polyfilm and built the parts directly on the plan. The 1/8" supports were cut on the Chopper II, but my fence had moved during the cutting and I had to trim and sand many of them to get them back to size. The Chopper uses a single-edge razor blade. While very thin, it is wedge-shaped and there is side thrust when it cuts stock. On thin stock the force is minuscule and doesn't affect things, but with thicker stock the side thrust is sufficient to move the fence. If it moves a small amount at each cut, it starts to stack up and piece #20 was almost a 1/16" too long.
I don't know why the above picture turned itself 90º clockwise.
I'm going to use a piece of 0.020" sheet under the flooring strips. My first design used model joists set a scale 16". While this would have been very prototypical, it would be overkill in the extreme. Unless you're building a house under construction, showing joists is a waste of time. Instead, I going to lay the flooring over a sheet. In fact, I may just scribe some 0.040" sheet stock with the slats and call it a day. I'll see what I feel like. This loading dock is right up front so having individual slats with slight gaps between them would look nice...
It's fun to get back to building again. I enjoy this more than plastering and landscaping. Different strokes...


