I will keep sharing as long as folks keep reading.
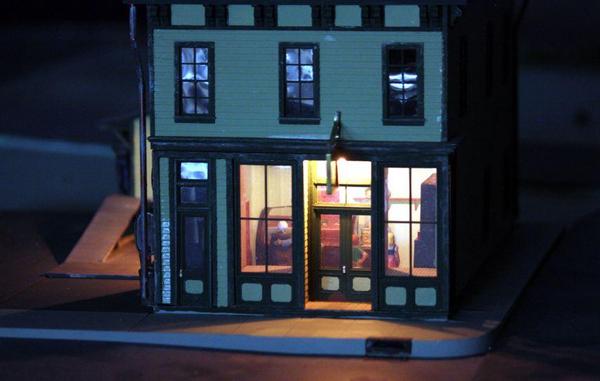
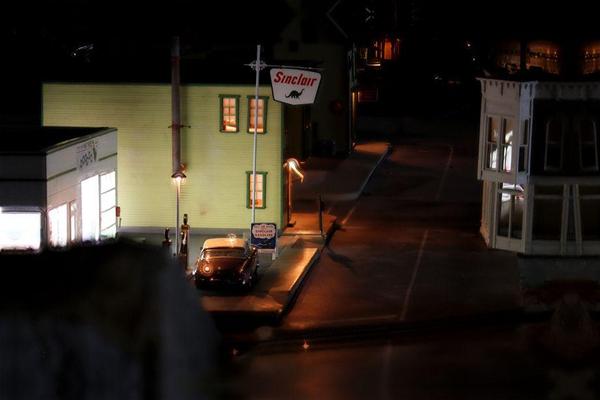
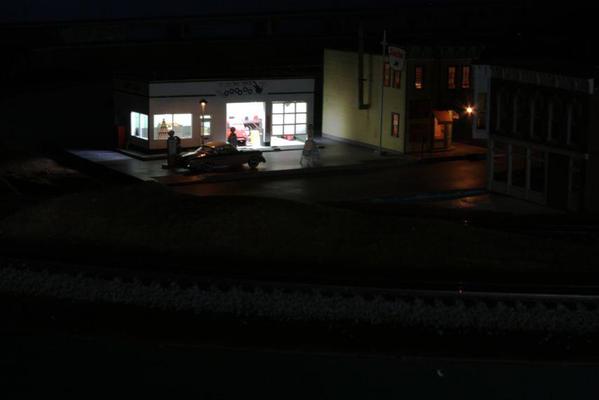
I powered up the candy store (hereby known as The Newtown Chocolate Shoppe) and the Sinclair station. It's amazing how well it worked when I had the polarity right.
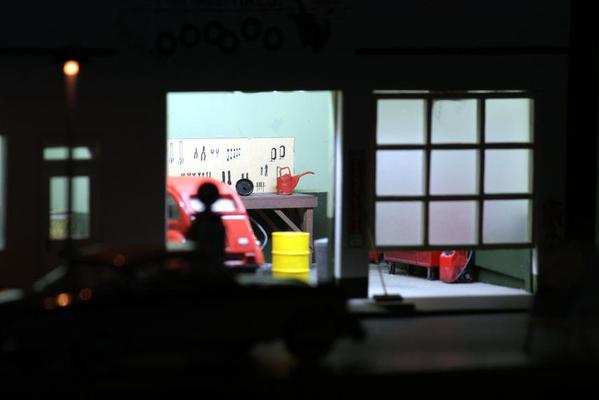
Here's the interior. If you look really closely, you can see images of candy in the show case. If I were to make that case again, I would have use clear styrene instead of acetate. Acetate couldn't hold the curved shape in the middle and bowed out. Styrene is stiffer and would have worked better. Oh well...
The florescent lighting really works for a 1950s gas station interior. For the incandescents in this part of town I switched from the 10 VAC to the 12 VDC since it made the grain-o-wheat bulbs a little bit brighter.
Here's a closeup looking into Saulena's. You can just make out the tops of the beer taps on the bar. This was hand made out of brass. I dipped the ends in CA and then gloss black paint to build up the end handle ends.
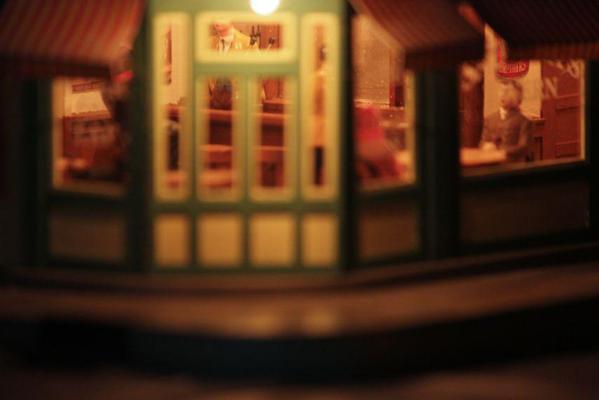
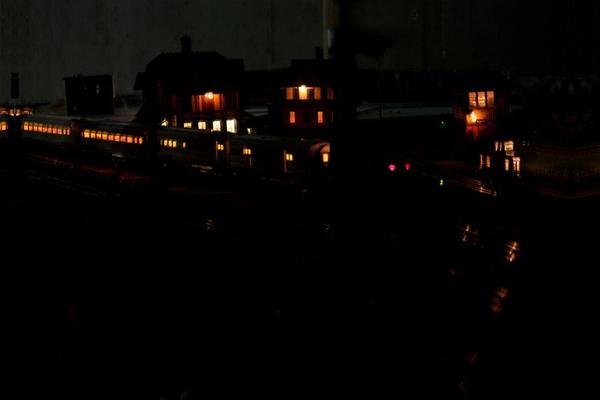
With these added illuminated buildings in place it was time for some more night shots. These were taken with the Canon. I experimented with various exposures and then after finding one that worked took a series at different focal points and use the CombineZP depth of field software to blend about 7 shots. This scheme works pretty well, but had a little problem with the bright points of light. You can see this as a sharp halo around all the light sources.
While waiting for the laser windows, I started the Gravely Building by Bar Mills. Bar Mills kits are among my favorites. They're very carefully engineered and laser cut. Windows and frames are assemblies that are self adhesive. This is my third kit with Saulena's and the Idaho Hotel being the other two.
The come in these splendid wood boxes with sliding lids which you can't throw away.
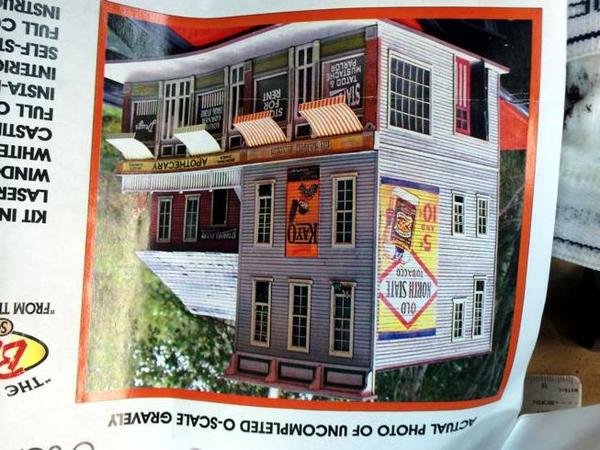
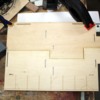
The footprint will fit perfectly down main street behind the Night Hawk's location. (Why is the picture upside down? I re-formatted it and reloaded it three times and it's still showing up upside down!!!)
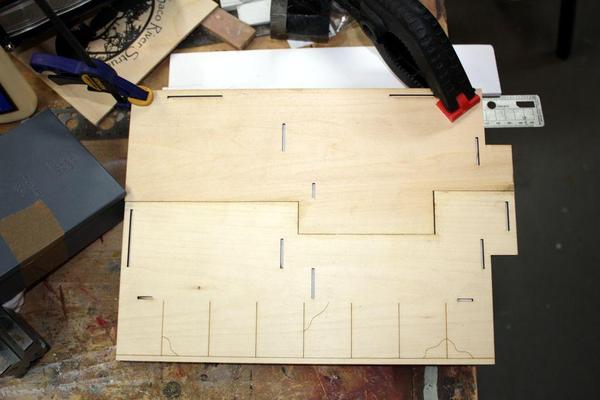
The base plate is glued to 3/16 foam core which in turn is glued to 3/16 Masonite for stiffness and flatness. It's in two parts which I glued together at the same time as I glued it to the substrate.
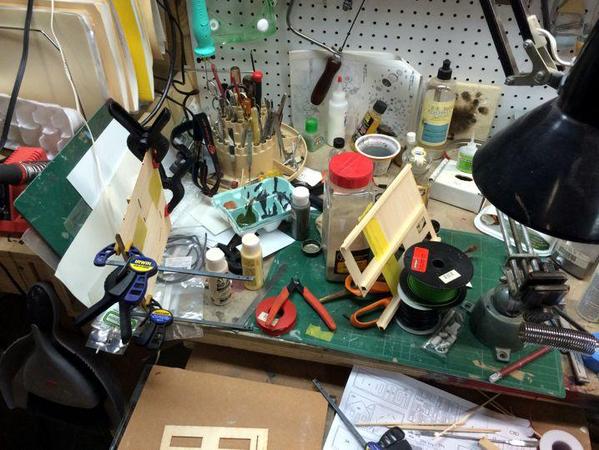
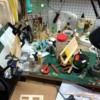
And would you believe it, this was the "clean" workbench just a few days ago. Most of the big walls are in two sections which I glued together using the technique I adopted when building the wings skins for the B-17. You press the edges together and tape the top side completely together. Turn it over, bend in half at the tape line and apply the glue into the gap. Fold flat again, wipe any excess glue and then tape that side shut. When it dries it's flat and strong. For balsa skins you use SuperPhatic aliphatic glue. It's very thin, leaves no excess, and sands beautifully. In this case, I used Aleen's Turbo Tacky Glue.
All of the wall pieces get generous amounts of stiffeners as also seen in the above (messy) shop.
Because this building is going to face in towards main street, it's going to be very hard to see inside. So... I'm not going to put an interior in it. It's not worth the effort. I will light it.


