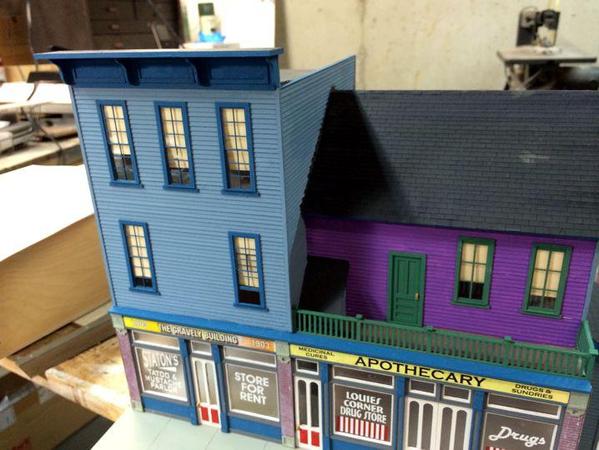
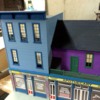
Gravely's is almost finished.
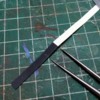
The E-8 J-B Weld cured rock solid and is probably stronger than the other intact truck.
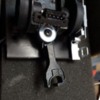
As planned the screw fit perfectly in the washer's hole and I was able to re-install the connector's circuit board without having to shave any material off of it. The wire harness was pressing pretty tightly against the washer, so just to be safe I cut a circle of electrical tape and placed it on top of the washer to isolate it from the wires before tightening down the connector.
I also added some weight to the unit. I added probably 3 to 4 ounces of lead weight to the speaker housing (it's a dummy B so it's just an empty detail) to keep the center of gravity nice and low. And the unit tracked perfectly. What ever I did seemed to solve the tracking problem. I took a quick little video showing the lash up crossing the out loop bridge.
https://www.youtube.com/watch?...eature=youtube_gdata
With that out of the way I got back to Gravley's. I was about 1/2 done the second pitched roof and realized that I was probably going to run out of shingle stock. Sure enough, I was 4 rows short. Why? Partly because I spaced my shingle rows a little tighter than I should have creating more rows, but also because I chose to shingle the add-on building's roof which used up shingle stock.
What I was left with were little bits of the ends that I pieced together to make two more rows. Bummer!
For the last two rows I used the cut off edges of the shingle stock and cut my own shingle slices. This completed the shingles.
For the peak cap I again used some of the "tar paper" stock and made cap shingles that were twice as wide as the body shingles. These were overlapped and bent over the peak on both sides.
I was also afraid that I'd run out of tar paper stock, but I had a stash of this from the Idaho Hotel. I used Evergreen Styrene standing seam roofing for that project and saved all the self-stick tar paper strips.
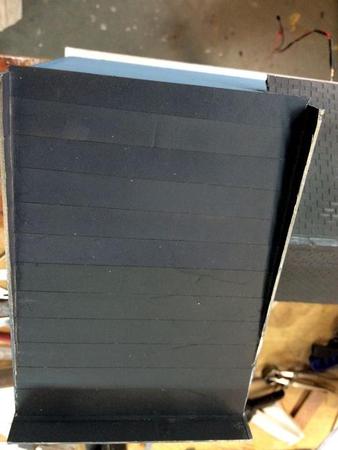
With the peaked roof complete, I went onto the flat roof. I had to air brush more tar paper stock with the weathered black so I also quickly shot the roof too and the back off the false facade on the building. This turned out to be pretty dumb. First of all there was the over spray which I was able to quickly re-paint, but then I used the hot air gun to force dry the roof and inadvertantly melted one of the side windows. It's in the window shade area and is what it is. I tried to remove the window, but I reinforced all the window's corners with CA and would have destroyed the window in trying to get it apart.
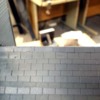
The tar papering went nicely. I ran it up each side wall of the parapet as would be done in practice. I also ran it up the end wall a bit.
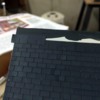
This picture is upside down!!!
After roofing I finished up the facade with the addition of the decorative panel, the corbels and the roof topping. I added the remaining trim pieces all over the model and did some more touch up painting.
So... other then some add on details (stacks, chimneys, vent pipes, etc.) and light weathering, Gravely's is almost done.
It is a nice building with lots of character.


