Back to work...
I finalized the detailing on the HV towers and added the last two insulators. I added some NBWs on the big timbers and then added the "guard wire" insulators to the very top. The guard wires are a ground that's designed to thwart lightening strikes and protect the HV lines. Again, I don't think I'm going to string lines, but if I do, the insulators are waiting.

I then started on the substation. While still not deciding to make a scratch-built Xformer or use the existing MTH Xformer.
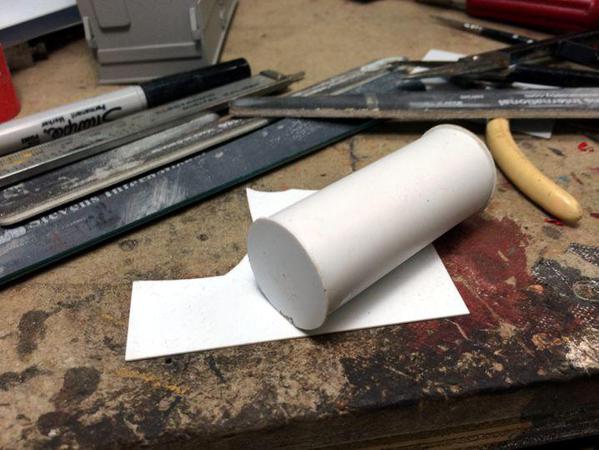
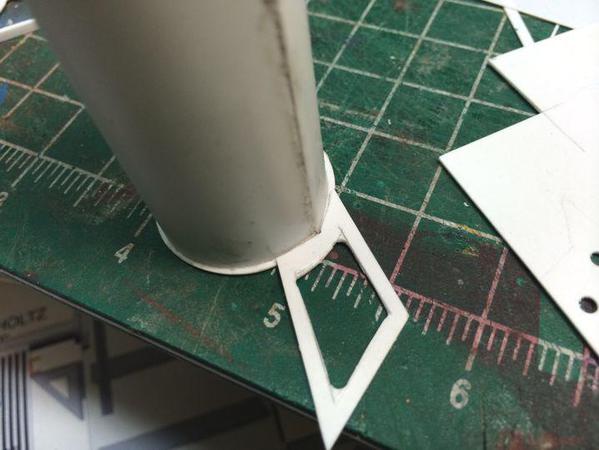
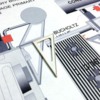
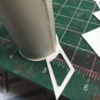
I began work with the coolant tank since this seemed like the most challenging piece on the Xformer and if comes out it bodes well for the rest. I drew a four-part bracket that's "welded" to the tank's bottom. To form the tank I found a mailing tube I had laying around that's the perfect diameter. Around this I formed a jacket with 0.010" styrene sheet and glued the edge with solvent cement. The seam's big and it meant adjusting the bracket that sits below it, which I describe in more detail further on.
For the ends I cut circles out of 0.020" styrene and solvent glued them to the wrapper. The mailing tube was inside.
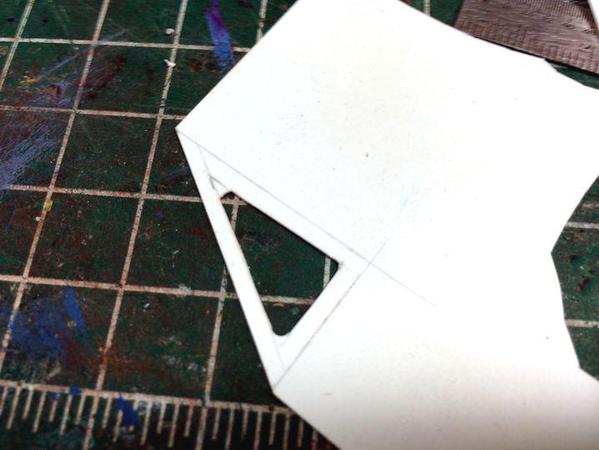
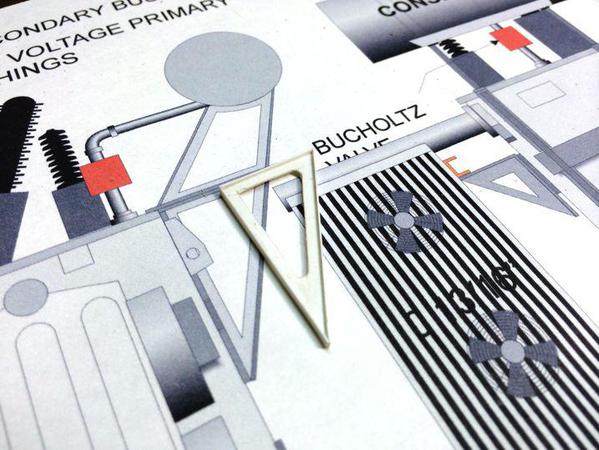
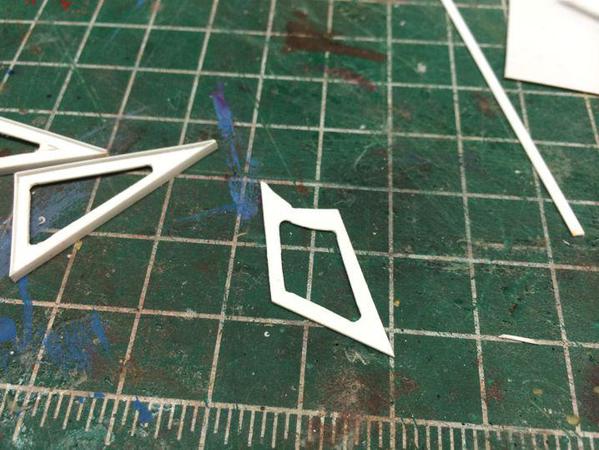
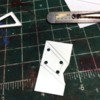
For the brackets I used 0.020" sheet styrene for the frames and 0.010" X 0.080" strip styrene for the webs. I laid the pieces out by hand (instead of my usual pasting the drawings directly on the plastic) since I didn't print out enough copies of the plans and was too lazy to go upstairs and print more copies.
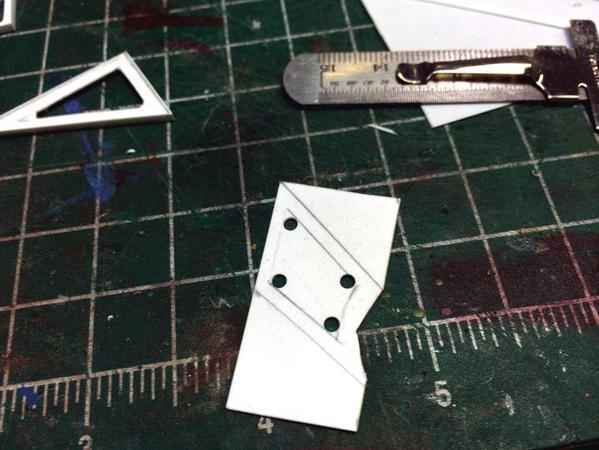
I drilled out the corners to make them rounded and then cut the material between the holes. I then cut the part out of the sheet. Doing it this way made it easier to hold onto the part while I was working on the inside profiles.
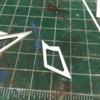
The webs were solvent glued to the center. This was easier to do than it looked.
For the upper bracket I did it the same way as the lower bracket.
The upper bracket has to seat tightly against the tank for a good glue joint. Since the seam is going on the bottom so it won't be seen, the bracket's contour had to be adjusted to fit it.
Tomorrow I'll put the webbing on the upper brackets and then decide on what XFormer body to use. I will also install some styrene angle cross bracing between the tank brackets to stiff it up. I'm also putting a horizontal piece under the tank where the brackets join to further strengthen the structure.


