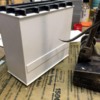
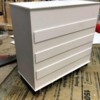
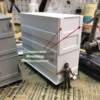
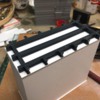
The transformer is coming together nicely. I made my decision... in order to ensure that the Conservator Tank is properly attached to the transformer's tank, I'm scratch-building the entire transformer using dimension from my plans and the MTH existing one.
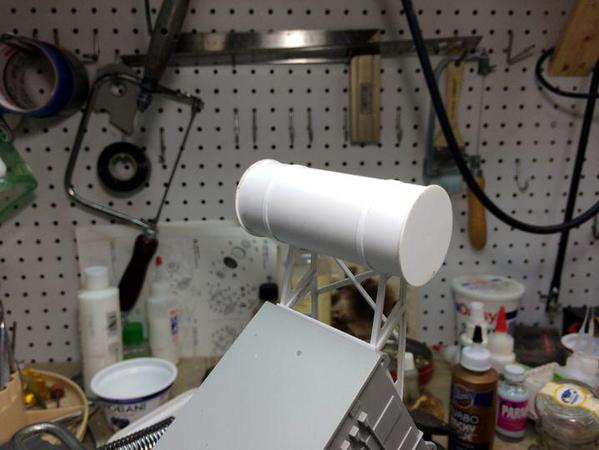
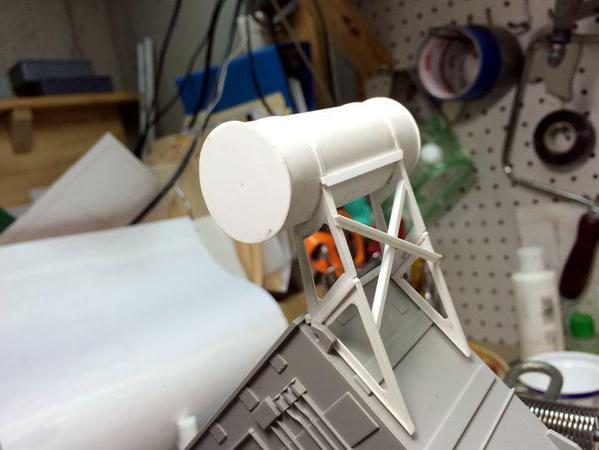
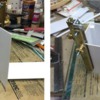
Before getting into that, I finished up the Conservator. After putting the webbing on the upper brackets, I added a piece of 0.040" X 0.080" of styrene between the upper and lower brackets to reinforce that joint, then glued the upper and lower together. I marked the location on the drum where the brackets would go and then carefully held each in place and tack glued to the jacket with solvent and the Touch-n-flow applicator. Once in place I sprayed the joint with accelerator and used medium CA to reinforce this delicate joint.
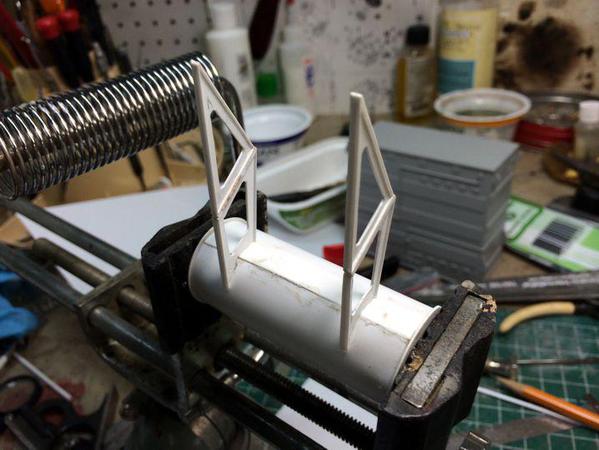
I added some additional cross-bracing with some small styrene angle and a couple more braces at the top for further reinforcement. I then added some of the same 0.010" X 0.080" thin stock used for the webs as the strapping that encircles the conservator tank. Again, I tacked one end, wrapped it around and tacked near the other end. Once it was stable I trimmed the banding to fit tightly against the brackets. Finally, I put a thin bead of liquid cement around the band's perimeter.
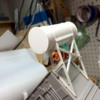
Just to see how it looked I laid it on the MTH transformer.
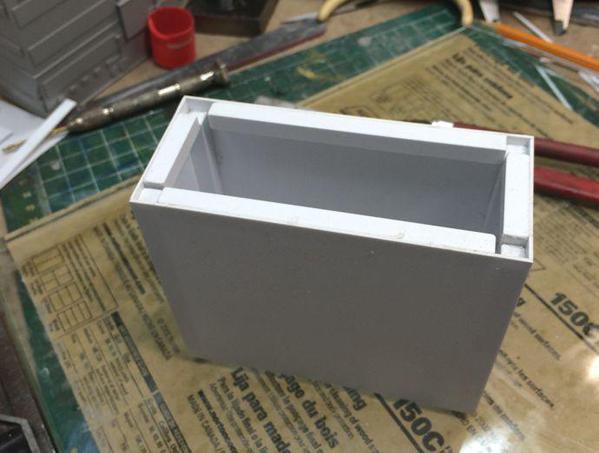
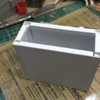
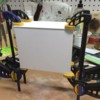
At this point I saw that the gluing area on the MTH unit was small and I would have to add material. With that, I decided to just go ahead and make another unit. I took the measurements directly off the MTH unit and will make it almost the same except for the surface details. Instead of molded on conduits and other items, they will be separately added. I'm going to add a substantial control box on the end under the conservator. I used my corner clamps to good use on this project since I'm basically making a box.
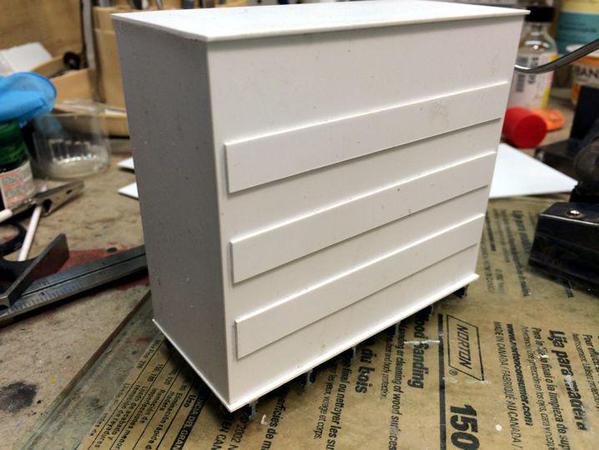
After edge gluing the 0.040" pieces of sheet stock, I added 1/4" sq. corner reinforcements. I then went back and added longitudinal reinforcements on the top and bottom flush with the edges to both make the sides straight (they were a bit bowed) and to increase the surface available for gluing on the top and bottom plates.
I measured and cut the top and bottom (they're the same size) and briefly clamped them to ensure the glue was setting properly.
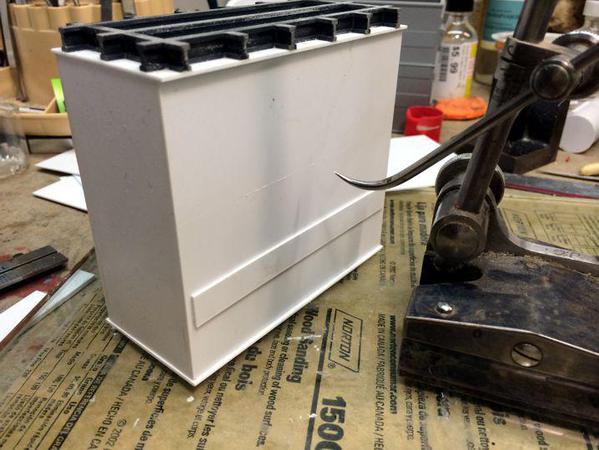
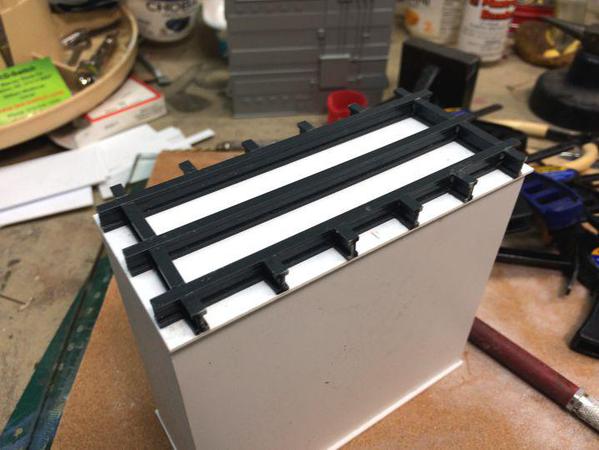
 I designed the XFormer to sit on I-beams so I cut up some Plastruct I-Beam stock. I used three longitudinal members and then cut a bunch of stub ends to simulator I-beam cross members. A transformer of this size with all the attachments would weigh over 300 tons and would need substantial footings to support it.
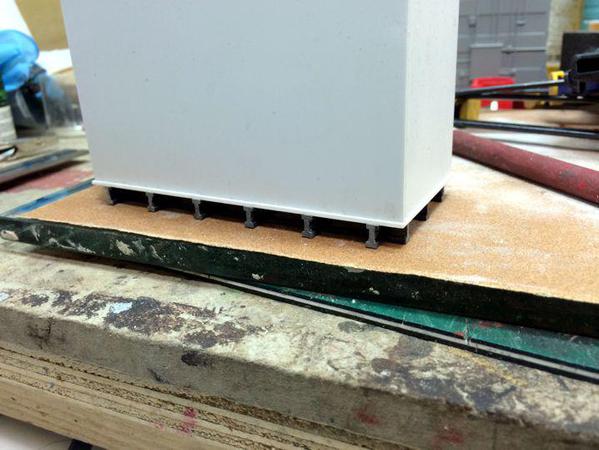
For the side reinforcement I used a Starrett Surface gauge on plate glass. I took the measurements with the MTH transformer sitting upside down since there are two lugs protruding from the bottom that keys it into the flat car body. I don't want to take them off. I then transferred the measurement to the new Xfmr sitting on its top. The groove made by the gauge's scribe made a convenient lip to align the piece of 0.040" stock that I cut for the reinforcements.
Here's the first three in place.
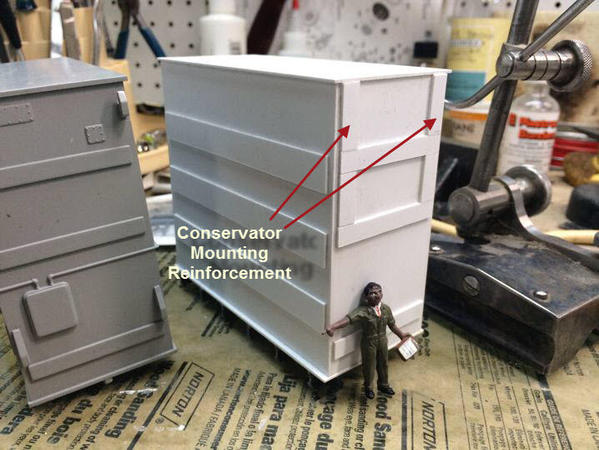
After putting the 3 bands on each side, I added more that will serve as the mounting for the conservator brackets. This will ensure that there's sufficient glue surface for a strong joint. Notice the size of a scale figure. It's a big transformer.
Tomorrow, I continue adding surface details and start working on another challenging component: the radiators and their fans. If you all remember, I bought HO gauge EMD radiator fans that will serve as the fans on this project. While they're a little different, they're highly detailed and will look very convincing.


