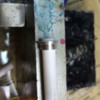
Let's keep it going... I got to work on it late today and then did some rare evening work.
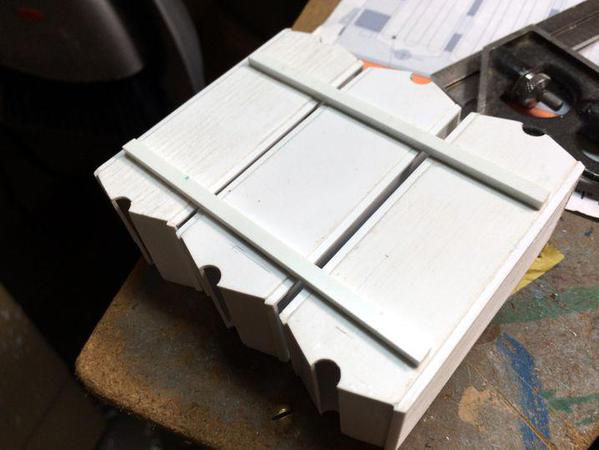
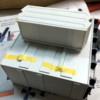
I finished the fins on the other end and the trim around the inner sides of the radiators. Then I decided to mount them together in preparation for building the mounting system that will hold them to the transformer tank.
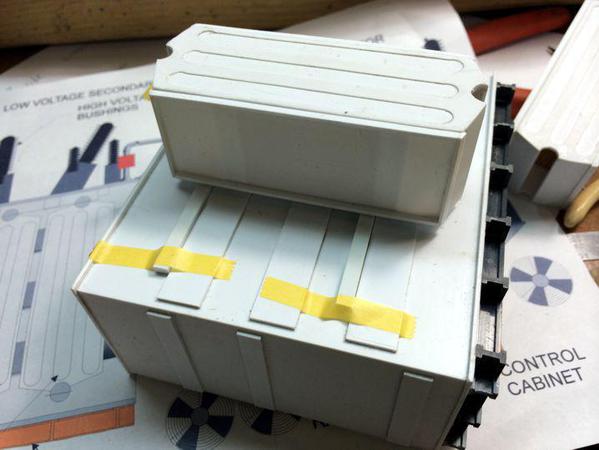
I didn't have channel of the right size. The Plastruct channel I did have was left over from the bridge project and was just too big, so I substituted some strip stock. I knew where these would have to align so the brackets could properly support the assembly, so I placed them onto the tank and used a couple of strips of Tamiya masking tape. I did some layout on the tank and then used a small dot of old fashioned Testor's Plastic tube cement to tack the middle radiator in place.
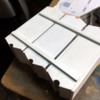
With this in place, I did the same thing with the two outer radiators. I carefully pulled the masking tape out from under the radiators and removed the array. I then went back and re-applied liquid cement to completely glue the radiators to the back support.
It's looks like they're not spaced evenly. They're actually better than it appears since the radiators (unfortunately) are not completely square. The front gaps are much more regular.
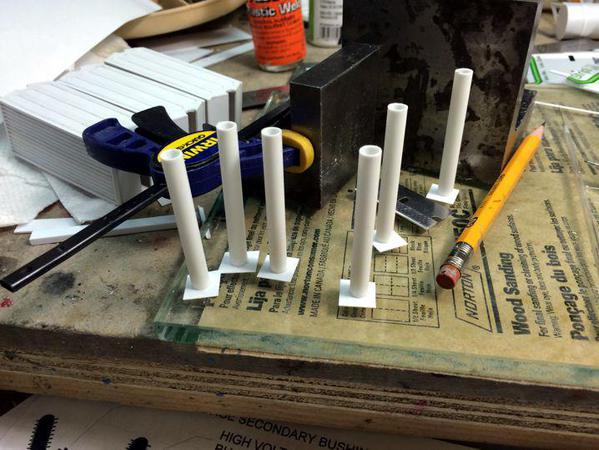
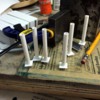
Now it was time to start building the oil manifolds. I cut the 1/4" styrene tubing and squared the ends. The front of the manifold needed to be closed so I cut some squares of 0.010" styrene sheet and cemented it to the tubes.
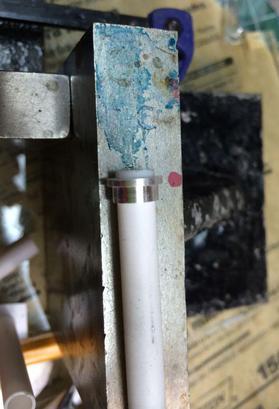
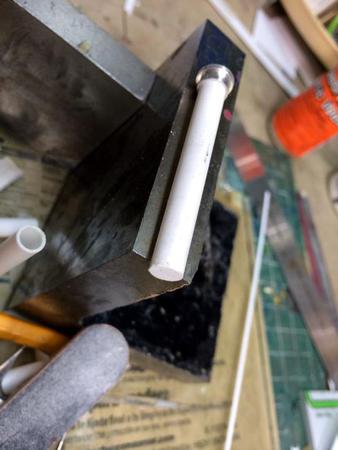
While this was drying I started turning the mounting flanges that will trim up the place where the manifolds enter the transformer tank. The tubes will enter the tank about 1/4". The flanges will increase the gluing surface and make a nice strong and square joint with the tank. I'll use CA to hold the styrene to the aluminum.
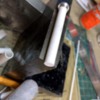
I was running out of time so I just trimmed up one tube end and spun it on the lathe to sand the styrene end flush with the tube. The idea worked well and when painted the ends will appear as part of the tube.
As an aside, it seems that anytime I crop a picture, this site turns it 90º. I don't no what the engine driving this site sees in the image that makes it do that. It's annoying.
Tomorrow I'll finish turning the flanges (one more to go), and then start laying out and drilling the holes in the tank to accept the manifolds. I'll then build and install the mounting brackets that will also support the radiators. When that's done I'll build and install the fans. The brackets will be difficult to align and if it proves too difficult I'll leave them out since the manifolds themselves will be sufficiently strong to support the array without the brackets. They'll be difficult to see anyway.


