Progress today!
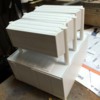
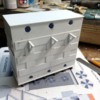
All of the oil manifolds are on the radiator assembly. I wish the radiators themselves were just a bit more square. I thought that using the wood blocks internally would square them up, but they're just off enough that the tubes don't align to my liking. I glued the tubes with liquid cement and then went back and filled all the seams with medium CA.
I used the machinist square to hold the outboard end proud of the radiator by about 0.040" Before painting I'll sand the CA a bit to blend it a little better.
I then held the assembly up to the tank and marked where the tubes would go.
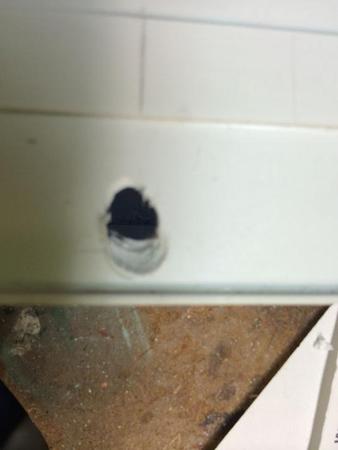
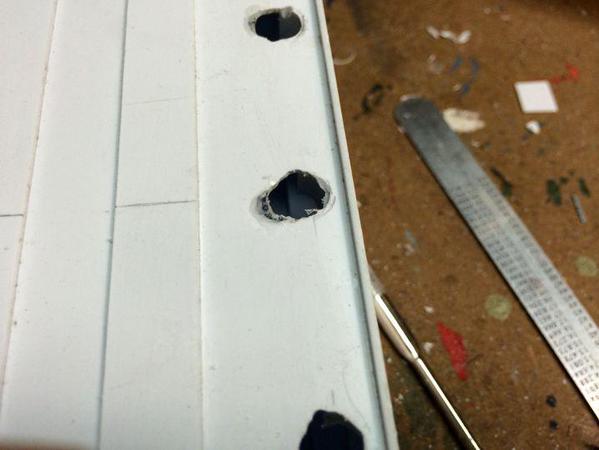
I drilled a pilot hole and then used the 1/4" drill in the DeWalt to slowly bore the holes. I knew there would be a problem when I was using the pilot drill. There's a 1/4" piece of reinforcement under the edge of the tank face. Drills hate to go through work pieces with various thicknesses and as soon as the drill hit the thick stuff that was about halfway across the future opening, it wandered South. The 1/4" drill followed the same course. I didn't have a choice so I finished all the drilling and would tackle the off-set and misshapen holes afterwards.
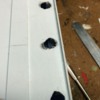
This out of focus picture shows the thick stuff and how the hole deviated from it.
I used the Dremel flexible shaft tool with a carbide mill and removed all the thick stuff blocking the hole. This created some awfully big holes. Most of them were successfully covered by the aluminum turned flanges, but two were ever bigger. I filled these gaps with a combination of medium CA and accelerator until they were sufficiently closed up so the flanges would hide them.
The excess CA was filed to level it with the surrounding plastic. You have to be careful sanding CA since it significantly harder that plain styrene.
I tried the radiator assembly on for size.
And then established the mounting locations for the brackets that I decided I would also build.
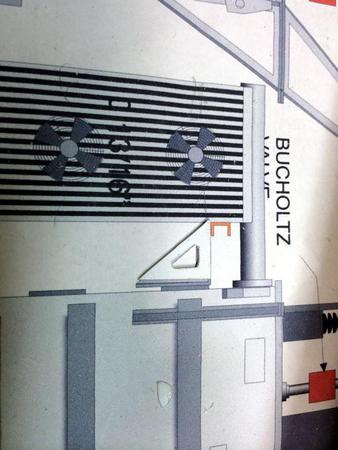
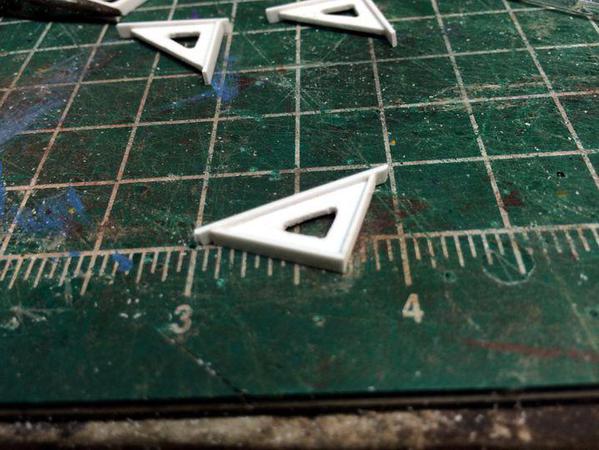
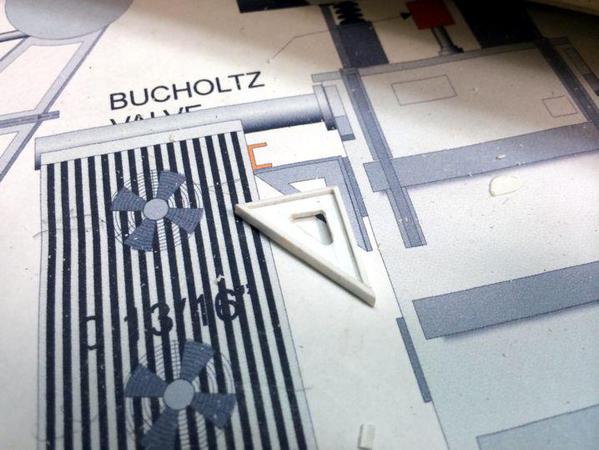
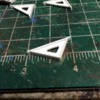
The brackets are 0.040" sheet cut as triangles and then hollowed out with 3 small holes and then removing the excess stock again with the Dremel and the carbide mill. A touch up with a half-round file cleaned up the bumps. Here's the bracket without the edging sitting over the plan.
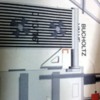
BTW: I figured out why this site turns the pictures. It's the way the picture was in my iPhone. Even though the picture editing software I use had it as landscape horizontally, the camera had it vertical and that's what this software is reading. Mystery solved.
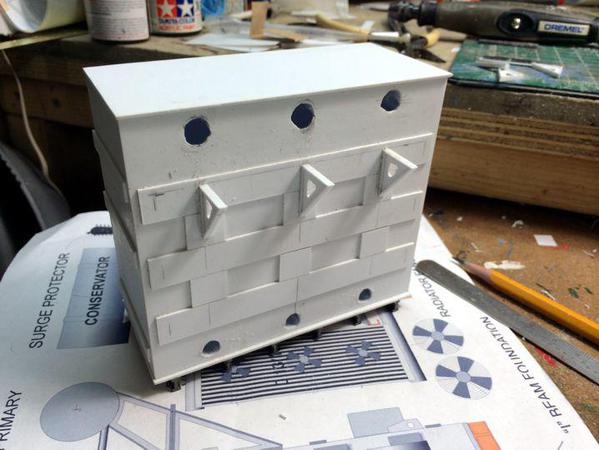
I edged the triangles with 0.030" X 0.100" stock. I do one leg on each and let it dry a bit, then the next leg on each, and let them dry again. I left the ends long as you can see in the upper brackets in this picture, then clip and finally finish sand the to diagonal ends and glue on the hypotenuse. As seen on the bottom bracket.
Again, I trim the excess with the flush cut cutters and finish sand it on the NWSL Precision sander.
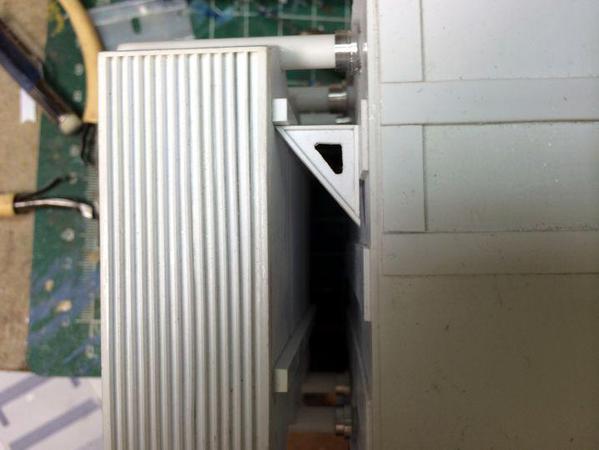
I then fit one in place to see if it looks right. Everything here is loose. I'm not putting the oil manifolds into place until the backs of the radiators, that side of the tank and the brackets are all painted.
To add additional gluing area, I filled the area between the reinforcement bulges with more 0.040" sheet stock.
The brackets are glued in place. Of course it was the end of the afternoon and I was rushing... I first glued them up too high flush with the top edge of the bolster, but when I trial fit the radiators, the attachment bar in back didn't align. I removed the bracket (just one) and this time actually measured where the contact point would be, marked a line and then glued them all on. Then I noticed that the one on the right was glued with the short leg against the tank. Whoops! I quickly removed it and re-glued it correctly.
Tomorrow, I'll locate the bottom brackets and glue them on. Before painting I need to lay out and add any conduits and piping that will go behind the radiators. Then it's onto the fans, control box, power bushing and build the lighting suppression system on the other side. Moving along though.


