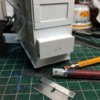
Finished preparing the radiator mounting and then built the fans and got them ready for mounting also. Lastly I built the control cabinet and mounted it to the Xfrmr tank.
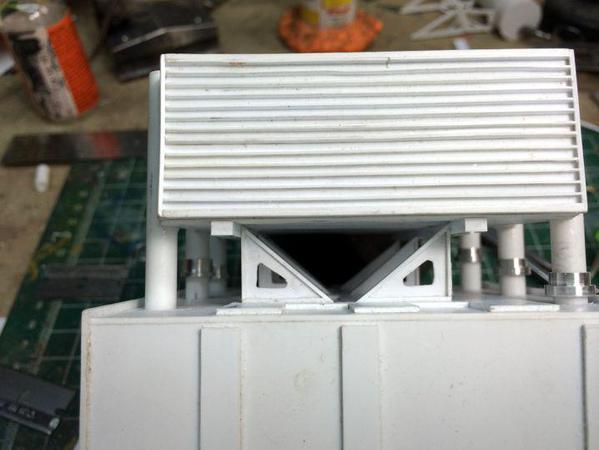
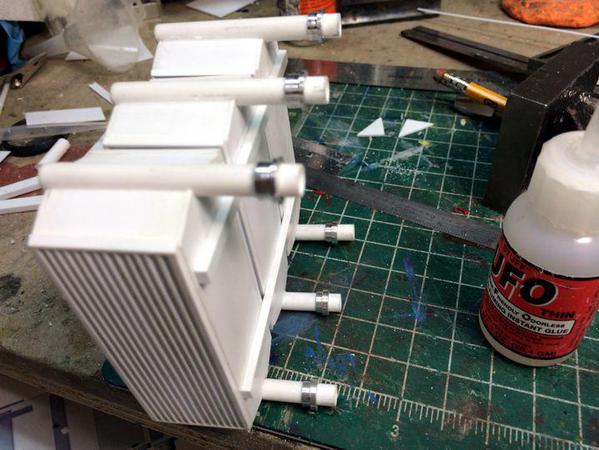
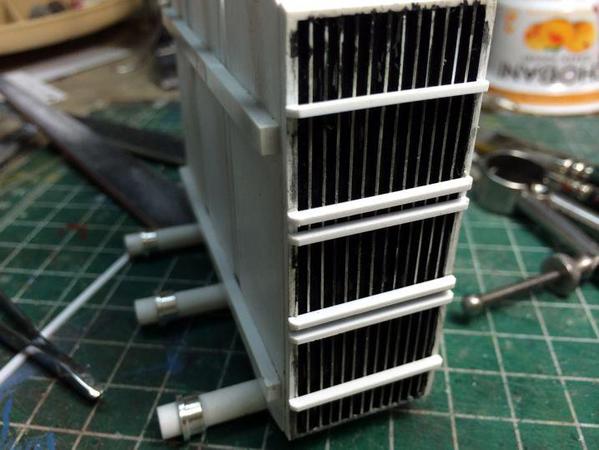
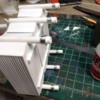
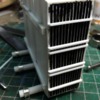
First the radiator fitting. I put the radiator assembly onto the tank and inserted the bottom brackets until they aligned with the radiator longitudinal support bar. I marked this position on each end. After removing the radiators I drew a line across the entire tank and clamped a straight edge on the line and glued the three bottom brackets. This is the radiators in final resting position.
With the radiators positioned as above, I slide the flanges down to contact the tank and locked them there with a drop of CA. This means that when the sub-assemblies are painted, I just have to slide the radiators back on until everything seats and hold it all together with either CA or plastic cement or both.
Here's the flanges in their final position.
With that done, it was time to start on the fans.
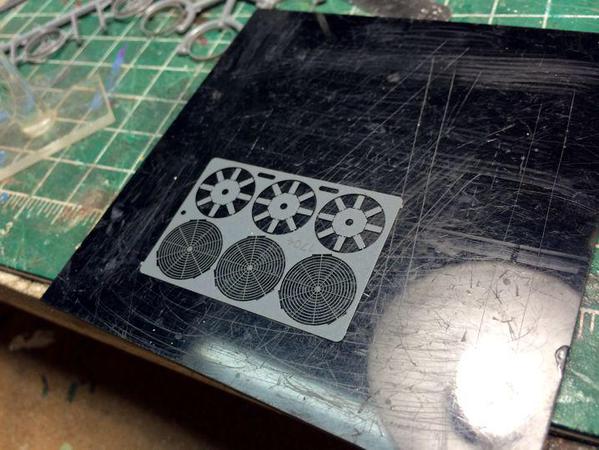
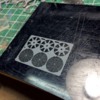
The fan kits are HO EMD diesel fans (late model) and consist of 6 pieces, two of which are photo-etched. I treated the PE with a dip in vinegar and then a water wash and dry. This micro-etches the surface and provides a little better "tooth" for the Krylon gray primer. After force drying it with the heat gun I got to work. The plastic parts had a lot of flash and they're delicate.
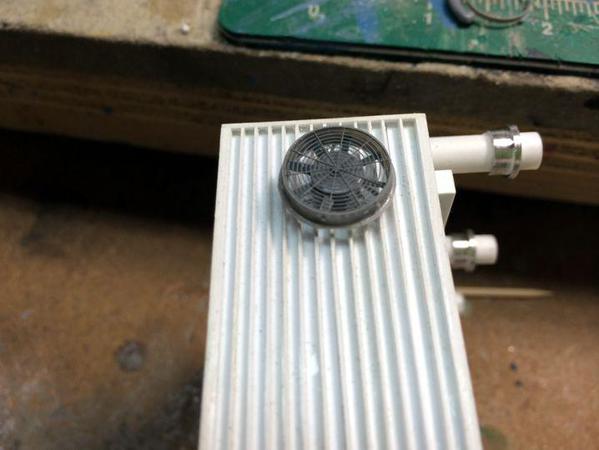
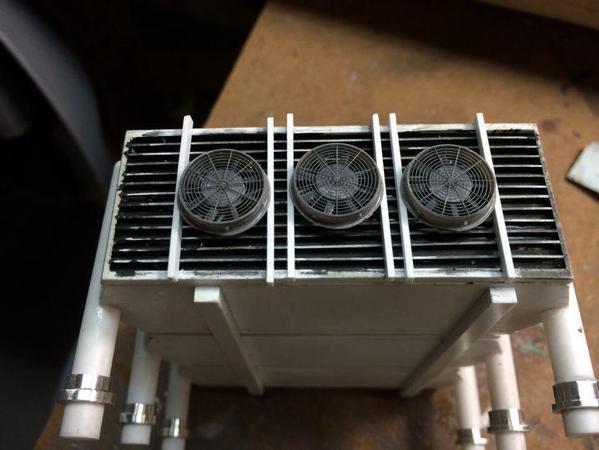
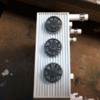
I assembled the first unit and set it on the radiator to see how it looked. It looked exactly as I wanted it to.
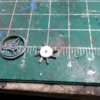
I constructed the other two, but noticed that one inner fan hub was missing. It apparently was missing in the package since I searched everywhere and couldn't find it, so I had to make one. I measured it to 7.0 mm and had a 7 mm drill already with the tail end ground to a "poor man's punch", so I drilled a steel plate and punched out a few. The center hole was a #52 drill. This piece faces downwards and will not be seen so the color didn't matter.
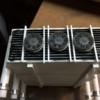
All three fans were now prepared and set on the radiator for another look.
I laid out the spacing for the cross-bars that would secure the fans and then painted the inner fin areas flat Tamiya Nato Black since this area was under the fans and had to be painted now.
The fan's mounting flange was very narrow, so I glued one bar in position, and with a machinist square pushed the other bar up under the fan's flange and while holding it all in place, added liquid cement to that bar. This ensured at the bars were correctly spaced to offer the most contact for the fans.
I cleaned of the paint from the gluing areas and mounted the three bars. Again the fans are just sitting there.
I trimmed and sanded the bar's ends and then sanded a bit of chamfer at the end just to dress it up a bit.
The fins and these bars will be hand-painted. I'll dry-brush aluminum on all the fins to highlight them. The fans will be air brushed Tamiya Sky Gray (along with the rest of all the electrical apparatus) and will be CA'd to the bars near the end of construction.
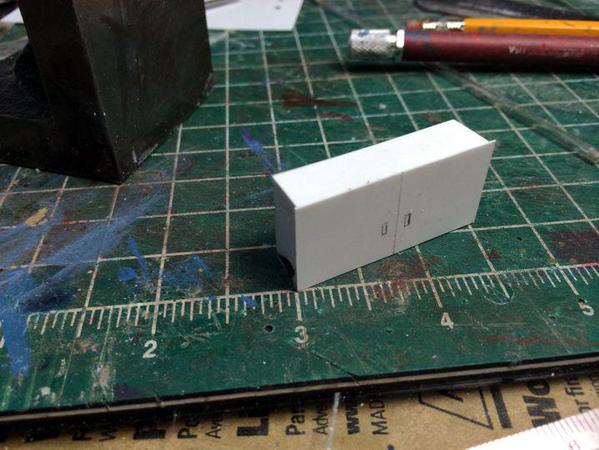
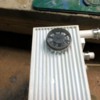
I set this aside since I can't do any more with it until the added details are put on the transformer tank especially any that goes behind the radiators. But, I was able to cobble together the control box. After cutting the pieces of 0,040" styrene on the duplicutor, I added a piece of 0.010" veneer on the top and front to both hide the seams and create simulated doors. I engraved the center line seam and then etched the push-in door latches.
From the plan I took off the location and glued the control cab to the tank.
 I think I'll add a couple of snips of brass wire to the outside edges to simulate hinges and that will be that. Up next will be several things: surface details and gizmos, power bushings up top, and the lightening suppressor array on the opposite side. That's a bit complex so I'll think I'll tackle that next.


