Thanks Lee!
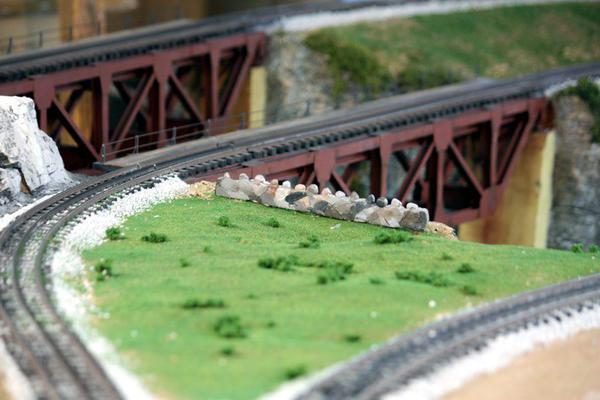
Because #2 grandson needed something to do in the shop, I had a chance for a rare Sunday work session, a stone wall over Serpent Gulch. He molded it and today he painted it. It's the wall in Clifty State Park (Madison, IN) over which my wife's cell phone flew. Now we have to find some folks which we can modify with the shock and disbelief my wife and I had when the phone was on its way to doom.
While he was painting I finished the last bushing cap for the transformer primaries and then started working on the lightning suppressors. They'll require three GM push fasteners each (I currently have 6) and I'll need another 6 for the hybrid breakers. I cleaned out two Lowes last week and tried to find them on line, but it's not as easy as it seems since the Hillman Part # doesn't even come up on the Hillman Fasteners site.
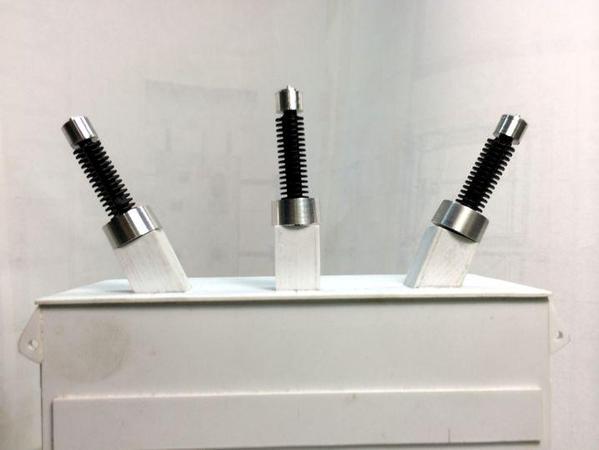
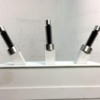
Here are the three bushings complete with their current transformers and caps.
In looking at lots and lots of pictures I'm finding that most bushing sheds are gray and the lightning suppressors are going to be red brown.
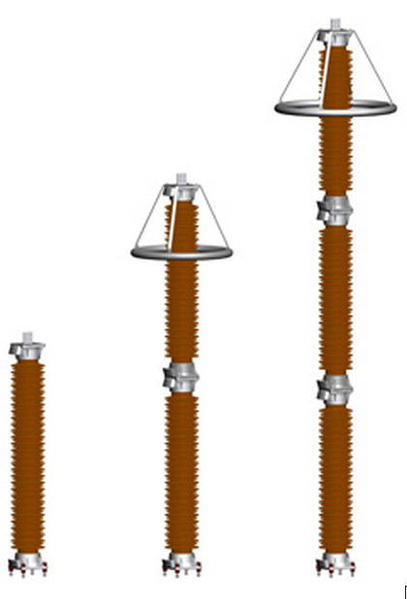
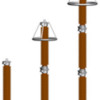
For the suppressors I'm making mine according to this illustration. I'm building the tallest one and will attempt to model the corona shields too.
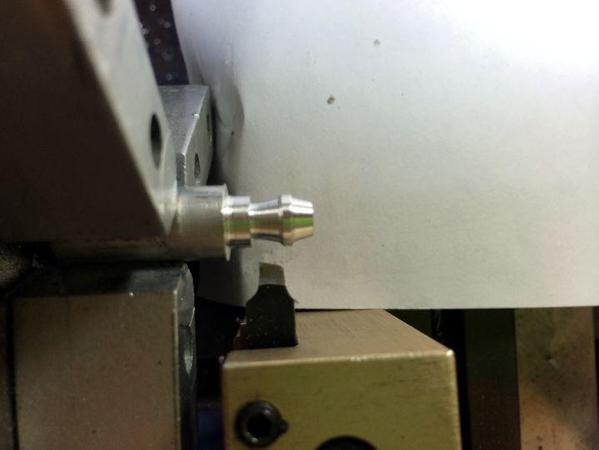
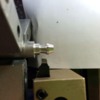
I wanted to make a facsimile of the intermediate separators so I was back on the lathe. Because this piece has two tapers coming from different directions, I was precluded from using the compound feed on the lathe, so I ground another form tool to make the tapers. One end of the tool has the right side taper and the other end the reverse. I'm keeping the maximum diameter the same as the insulators; 0.265". To make the tapers I carefully plunge cut using my slowest RPM. I also cut the gap a little wide on the inside taper and then feed the tool to the right a bit. The tool is ground with a radiused indentation on top (top rake) for cutting aluminum. If I was cutting brass, the top of the tool would be sloped towards the work piece (negative rake) since you don't slice into brass, you scrap it. If you slice, the tool digs in a makes a mess.
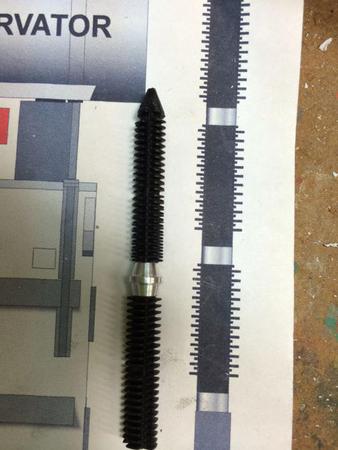
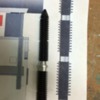
I'm using some heavyish brass rod to connect all the pieces so I through-drilled the aluminum and corresponding holes in each plastic "insulator". Here's two parts assembled. The pointy end will the corona mounting cap.
Each stack will be three-high with another aluminum flange at the bottom with a single taper. Tomorrow will be more of the same. The top cap on the suppressors is tapered also and has a mounting surface for the corona ring. I'll take suggestions on how to form and what material should be for the corona rings. Since it's going to have to drill with 0.020" holes for the support wires, it can't be too tough.


