Thanks!
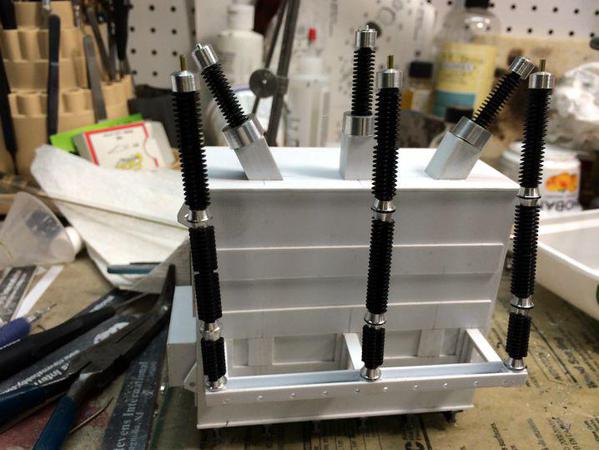
The lightning suppressor stacks are for all intents and purposes complete. I finished making all the aluminum doodads (that tech speak for insulator spacers), and fixed the height problem by shortening the bottom insulator. I primed it and while drying starting working on conduits and cable runs.
In this picture, nothing on the suppressors is glued so they're very floppy. After painting the finish gray coat on the insulators (I'm leaving the doodads bare aluminum) I'll assemble them in some V-blocks so they'll be aligned and nice and straight.
I left the brass rod that holds it all in place long at the top to serve as a place to attach the aluminum hi-voltage conductors from the field and terminating at the primary bushings.
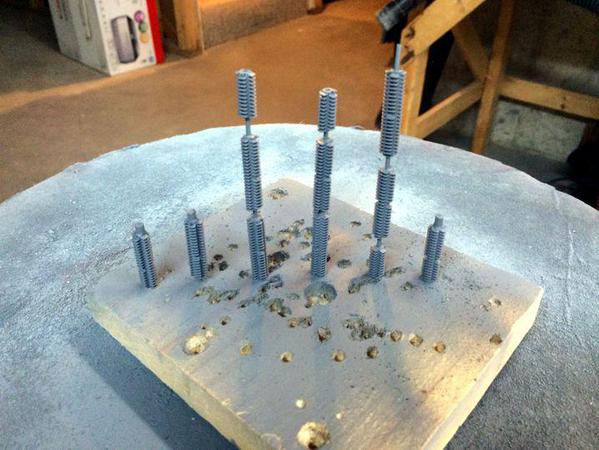
I thought it best to prime the insulators first since they are some kind of engineering plastic, and after removing the aluminum parts, held them together with the 1/16" brass pins. I drilled some more holes in a piece of scrap wood, put it on the lazy susan and shot it with Krylon gray primer direct from the can.
Next session I'll air brush them with Tamiya sky gray which is the color the transformer will be.
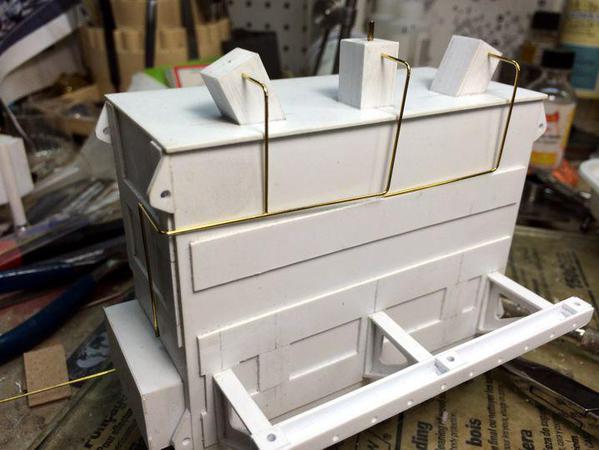
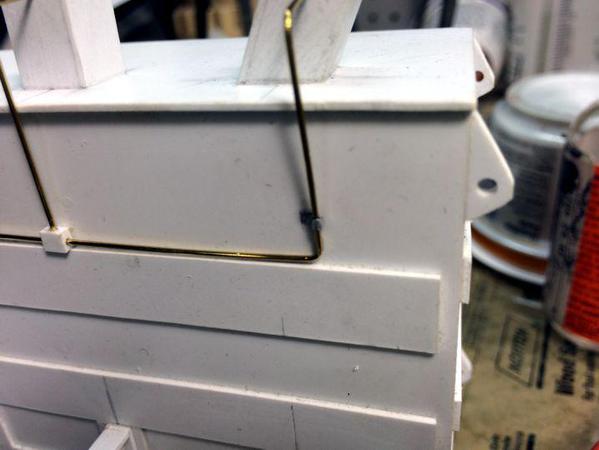
For conduits, I'm using 1/32" brass wire, bent to shape with a pair of surgical loop forming pliers. They make it very easy to get precise bends exactly where you need them. MicroMark sells these pliers and while not used a lot, when used are really helpful.
First I just got the pieces in place.
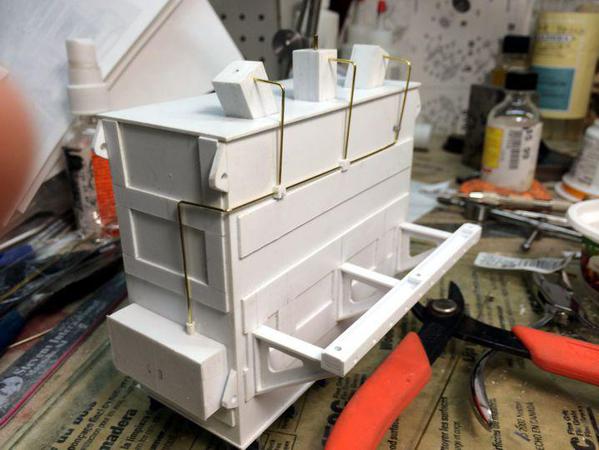
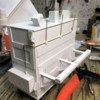
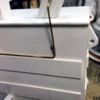
Then I went back and made some junction boxes with pieces cut off of .080 X .125 styrene stock to make little square boxes. Before cutting to length I drilled the holes to accept the brass. The horizontal holes go clean through, and the vertical meets them. The blocks are glued to the transformer tank and a piece of styrene tubing with a 1/32" hole already formed in it, served to terminate the conduit at the control box.
For clips to hold the conduit near the surface, I'm using wine bottle lead (or whatever) found around the corks of wine bottles. You can cut it with a scissors and it conforms to surfaces very well. It's held in place with CA.
Next time, I'll continue adding lines from important places (radiators, radiator fans, conservator, Bucholz valve, etc.) until the piece looks nice and intricate. I also have to make the secondary bushings and don't expect any difficulty with that. There are also access panels that can be added if I feel like it. Then it will be off to the paint shop and final assembly.


