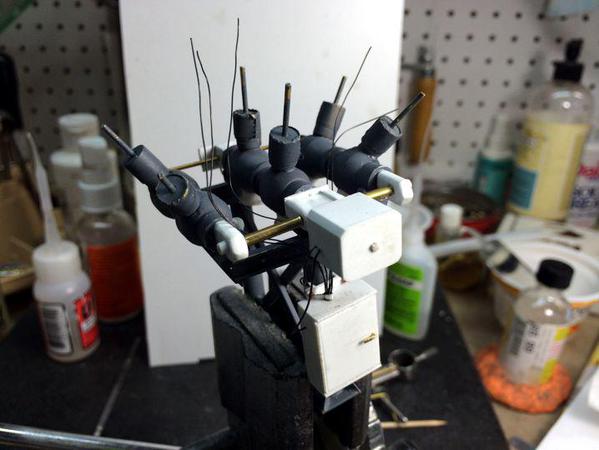
Today, did just a little bit. Made a few errands and didn't get down in the shop until 3:00. I added a couple more cables to and from the control cabinet and then added 6 more from the control cabinet up to where the current transformers are going to be installed (after painting). I also located and drilled holes in the current transformers' junction boxes to accept these leads. I then washed the whole deal with alcohol in preparation for paint. I wrapped a bit of foil around the bundle as it enters the control cabinet so it looks like a cable clamp.
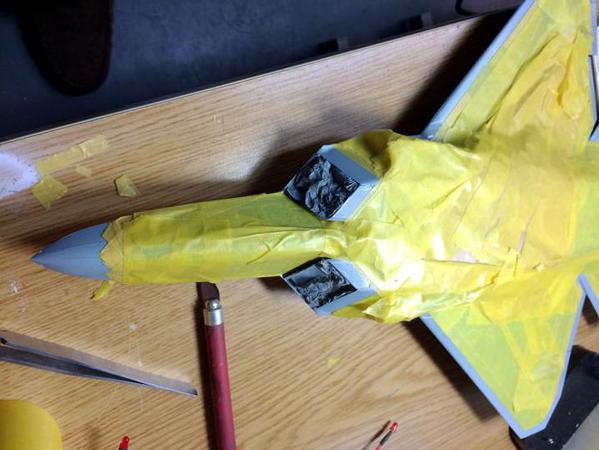
I didn't start painting yet because I was asked by #1 grandson to help him finish up the masking job on his 1:48 F-22 Raptor model that he's been building on and off for over 2 years. This plane has a complex, 3-color paint scheme which includes painting all the leading edges of wings, nose and engine intakes light gray, which is the same gray I'm using for the breaker. So it made sense to get his model ready for paint at the same time and not have to mix paint and clean the airbrush more than once.
You can get an idea of the complexity by looking at the irregular chevron pattern on the nose. You can see why maintaining the real Raptor with all of its stealth attributes is challenging, as it will be for the JSF F-35 Lightning II. It too has a very complex surface both in the prototype and any models available of it. There's a little more masking to do which will be done tomorrow, and then both it and the breaker get painted.


