Thanks Joe!
I decided to not do anything more with the gutters and installed them today. The brass pins really provide a good way to join them to the building. They're held on with medium CA. I sprayed them with Krylon Workable Fixative to keep the green powder from coming off.
I printed out the shed plans and I then—after cleaning off the main work bench a bit—taped the plans onto the Homasote and covered it with some clean Polyethylene film so the assembly doesn't stick to the plans like building a model airplane. I will pin the pieces directly to the plans. I'm also going to overlap the diagonals, rather than cut fancy miters to all the corners. My guess is the prototype wasn't that crafted and was just slapped together. It's hard to tell in the old 125 year-old photo.
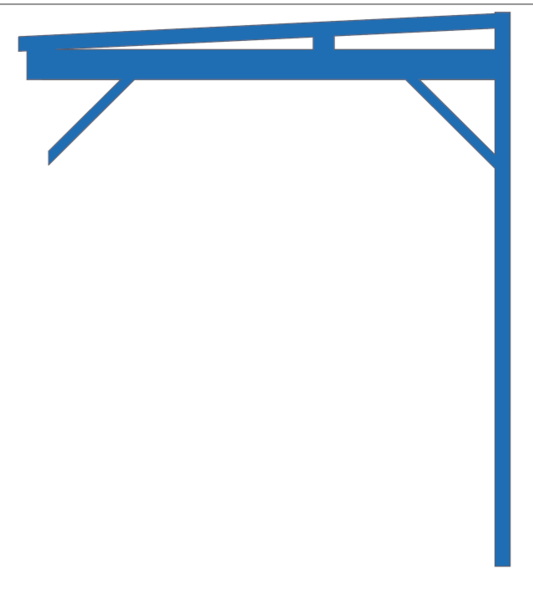
I realized after studying the prototype pic some more that I way over engineered the shed on the first Bernheim build. I had the main structure running horizontally towards the building and then made the roof rafters a 2-part affair with on piece going horizontal and a second member going up at the roof pitch.
Here was my original design. This part was being designed for laser cutting.
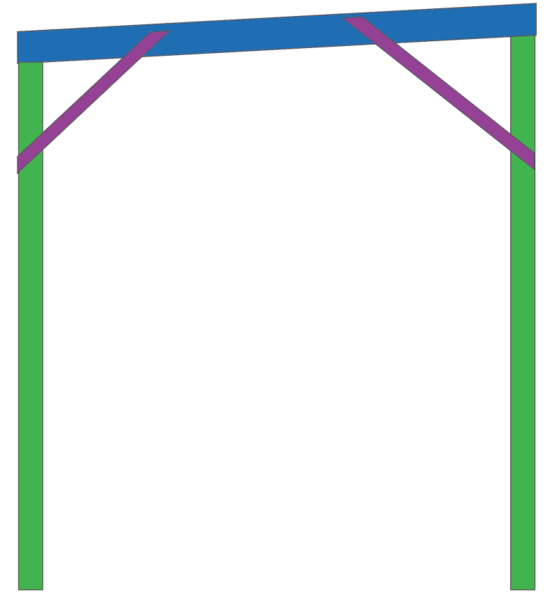
And here's how it actually was built which is how I'm going to change it.
Clearly it's an easier (and faster) build which is what I'm going to do. The roof rafters just sit on the front and back cross members without all this added pieces.


