New topic!
I started building the Plastruct petrochemical plant today. And I already started to upgrade it. This is basically an augmented scratch-build project. All the parts are simply cutoffs or standard Plastruct accessories. The plans are not to scale and are given in 1:1 dimensions which must be converted to 1:48 going forward. The assembly instructions are a joke since they give no details at all about how to mount valves and fittings, how to measure and lay pipe runs, etc. In addition to the 9 process units, I'm going to add a medium-sized industrial cooling tower and a building or two for a control room and maintenance center.
I built the big chunks today including the two HP storage spheres, a large storage tank, a horizontal reactor, and a 50 scale feet distillation tower. I made a flange at the tower's bottom and put on a ring of faux NBWs. You know me, I follow Raymond Lowey's mantra, "Never leave well enough alone."
All the mating surfaces were first sanded on a piece of medium sand paper adhered to a granite surface plate. I then filed the edges to kill SOME of the flash. The rest will be removed during the next work session after the Bondene cures completely, which it will since we're heading to York (Mecca) tomorrow and then on to a trip back East to visit family and friends.
For the distillation tower, the instructions call for a 1/4" (12") foundation, but no 1/4" material was included. I could have glued two piece of 1/8" sheet together, but chose to use a piece of leftover 1/4" MDF from the Distillery. I then thought that a tower isn't just plopped onto a foundation so I cut a piece of 0.040" styrene and added some True Details resin NBWs which are sized for 1:24 car models, but work as larger size bolts for our scale. The plastic part was glued to the tower with Bondene and then the whole deal was glued to the MDF with 30 minute epoxy.
Most chem plant unit ops are jacketed, and have textures and bands that would show this. I think I'm going to try and do that here to add interest. This facility will be on the rear half of the layout and will be 10 feet from the average viewer unless they go inside. So I have to be careful to not go too crazy. You can see the sand paper/surface plate thing in this picture.
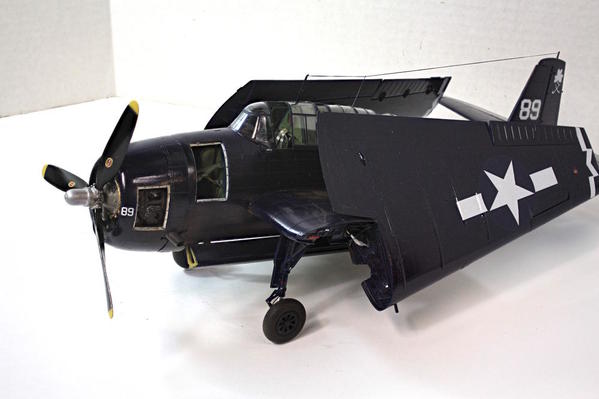
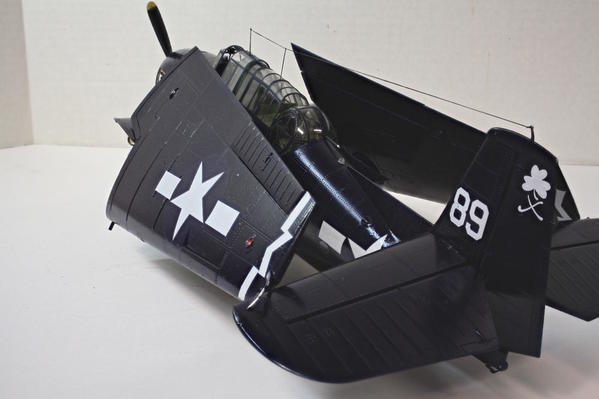
And for everyone's edification, at the same time I finished Bernheim 2 I also finished that very fine Trumpeter TBM-3 Avenger in 1:32. It had a bunch of add-ins and augmentations (as usual). It's going on a shelf next to the Missouri.
Those access hatches were not part of the kit. Lots of added details on the engine, firewall area, and wing fold.
It was a nice, but difficult model. It's an older Trumpeter model and they're not noted for their fits. They're not Tamiya or Hasegawa who have impeccable engineering. The Eduard painting masks really helped in painting all that cockpit glazing. The prototype was painted in all gloss dark sea blue. Gloss dark surfaces are difficult to weather and show every imperfection. But it was easier since there were two (or 3) paint demarcations that needed masking.


