Thanks all!
We have a Kenmore (Whirlpool) dishwasher where the wheels on the lower tray started falling off. They're held with a press-fit pin/axle and it just wore away and released a number of the wheels. One of them ended up falling on the drying coil and then melted and burned to it. At the same time the Whirlpool HE front-load washing machine starting giving an error code and shutting down. We got a twofer with one service call seeing both appliances. The dishwasher was an easy fix. The tech scraped the melted plastic off the coil and said run it a couple of times empty to remove any residual plastic and I ordered and installed a new set of wheel trollies. The washing machine needed a new water inlet valve and it was all installed today. Why am I telling you this... well... this plus getting my Acura serviced really cut into the shop time. But... I did get more done.
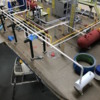
First I tied in the blue tank line that went to the demethanizer and ties into a line from the reflux drum. It's not a perfectly clean junction since the holes in the pipe T are not parallel. It's also a problem since I have a white line tying into a red one. And the white line comes from the blue tank. I'm not sure what I want to do about this.
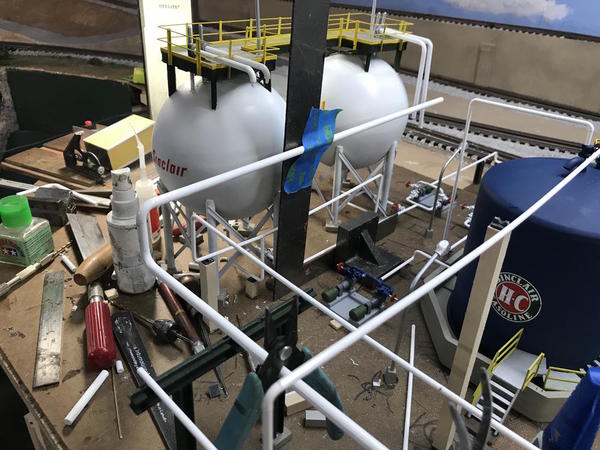
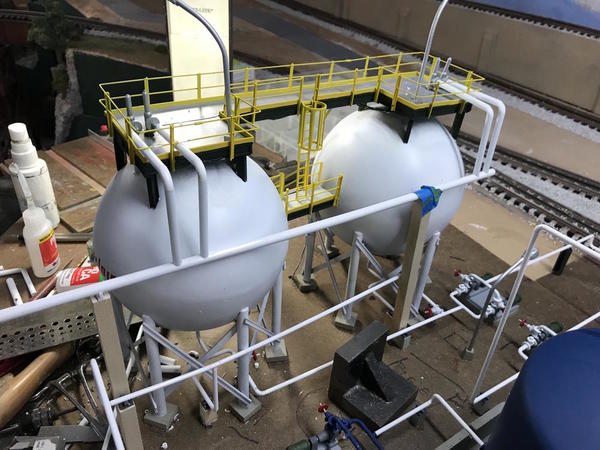
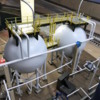
I got most of the flare line installed until I ran out of elbows. In fact, I heat bent two pipes (poorly) for the medium-sized tubing which I had only two elbows left. I put them in the foreground and the bent tubes in the background. These four pipes come from the HP spheres' relief valves and tie into a long header that runs downstream.
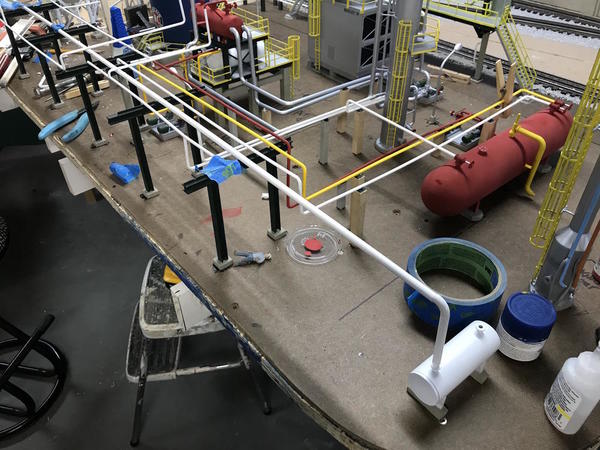
The problem with the heat bending was it still kinked. If it was brass I would have used my K-S spring tube benders. I didn't want to start bending and soldering brass for this application. Brass is difficult and expensive. The big line runs the length of the site, turns 90 up a bit and makes a right turn towards the back. I then held the pipe sort of horizontal by taping it to a square. I also made two more tall "concrete" pipe supports to hold it all up. I've made a lot of pipe supports. I don't know if this is prototypically correct, but the pipes would sag a lot without them. Butyrate pipes isn't as stiff as steel...
I then set the length of the individual downcomers, and then marked this location on the big pipe. I didn't have 90 degree T's in this size so I drilled the pipe so the medium pipe could be inserted and glued.
And then I tied in the relief line from the distilling tower into this line, and finally measured and cut the pipe to join into the flare's knock out drum. Still remaining to be attached is the yellow relief line from the demethanizer. For some reason, I could find no relief valves from the tanks on the platform, nor is there any space for any. Furthermore, I am completely out of relief valves. All these relief lines will be disassembled and painted yellow.
I ordered a ton of elbows from my LHS who is getting them from Walther's. It helps my hobby shop and I don't have to pay shipping. I don't need a ton to finish up. I'll have some left over pipe for other projects.
I also started running the last 1/8" line from the blue tank's pump to the heater. I installed a large diameter pipe into the heater's inlet so I'm going to make a tapered transition piece to put the 1/8" into the big line. There's another line from distillation that goes to the heater too... the bottoms. The last line to hook up will be the steam line from the heater to the flare. And that will end the piping exercise. The model's getting very busy looking which I like. I have two more light poles to install... one's going next to the un-built ops building. I have a lot of detail painting to do on all those un-painted pipe supports and some of the piping which I didn't airbrush. I could probably air brush some of it by selective masking of the surrounding stuff. Then there's ground cover which due to the complexity will not be as easy as it usually is, and then the fencing. Another month and it will be lit up. I also have to plug some holes that were made before the design changed.


