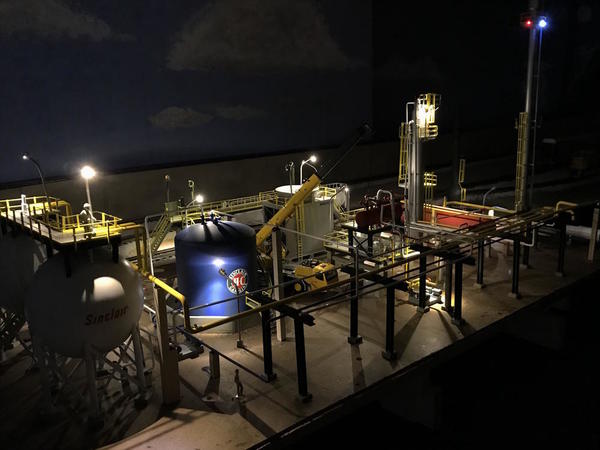
Trainman2001 posted:Thank you gentlemen! But work is not complete AND a milestone was reached today with the activation of the lighting and beginning installation of the fascia board.
Here's a taste and then I'll provide some more details.
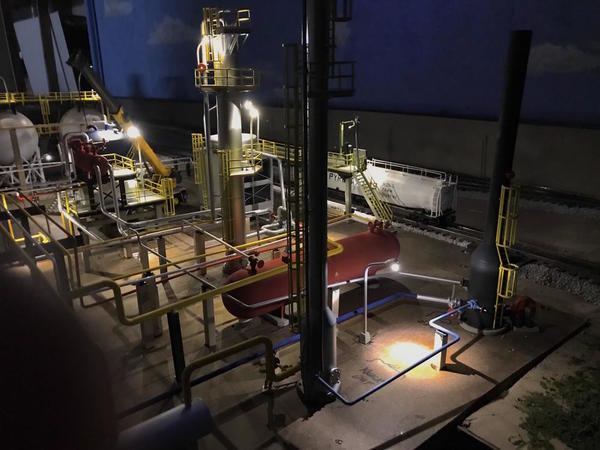
I used four ground bus bars to feed the 12vdc to the 16 LEDs. I had one more 12VDC converter in my electric junk box. I replaced its output cord with some red/white zip cord since I needed it longer to get from the power strip on the other side of the ravine over to the refinery. I brought the feeder leads to a pair of bus bars under the left side of the refinery base. I couldn't get the screws to work properly, but then realized that the terminal screws were square drive. With the correct bit in the power driver no problem. I hooked up all the lighting on the left side that could reach these two buses. I then added two more buses towards the right side, fed a feeder to the first two buses, and then hooked up all the right side lighting through that bus. All the lighting except two worked. The light post on the extreme right side next to the heater was not working. It needed an additional jumper to reach the second set of bus bars and I thought it may not be continuous. But I tried my one last unassigned light pole to it and it was hot, so something was wrong with the light pole itself. I pulled it out and installed the one that I had just tested.
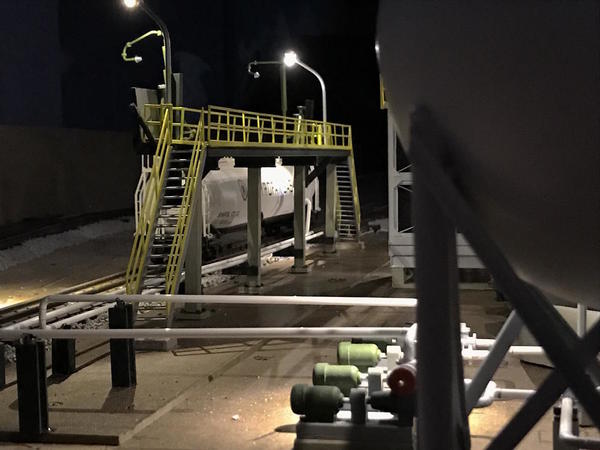
The second light was the left end of the loading platform. If this pole was not functioning that would have been a BIG problem. But I noticed underneath that I drove a wire-clamping staple right through both conductors so it was a direct short. I pulled the staple and the light went on. Whew! Dodged a bullet on that one.
Took lots of pictures from all over the room and attempted to make a movie of the flare tower's lights blinking. I have to edit it and then I'll post it on YouTube.
I had some time left so I thought I start putting on the fascia since all the wiring is done. Starting at the left end I fastened the Masonite as close to the left end final curve as possible. I'll use a small piece to close up that space.
For the right side, I butted the next piece to the first and clamped the two together with a quick clamp and then drove the first screw. Before screwing anything I scribed the center line of the OSB layout base onto the Fascia and pre-drilled the holes with a countersink pilot drill on the drill press.
At the far right end, there was no way to bend the Masonite around that radius. I tried and it fractured. So I brought the fascia to a smoother angle and drove some long screws through the fascia into the layout. For a lower screw, I pre-drilled a backup block and held it behind the existing fascia so the lower screw had more material to bite other than 1/8" Masonite.
I'm going to fill that wedge-shaped space with some more OSB and I traced the shape onto a piece of scrap. (That's 3rd Rail J1-a sitting there. It was my first steam engine).
I'll cut this piece out tomorrow. I also will remove part of the existing fascia that lies behind the curve so I can add some splice blocks underneath to hold this patch. There will be some minor filling needed on the left end. The fascia will be painted green when the ground cover is finished.
The last thing I did today was place the Ops building plans onto the layout to determine its position. The best approach is facing directly outward which gives some clearance on the left side and some parking area in front. I have some more space in back in front of the tracks and I'll add a sliver of Masonite to bring that space up to the refinery's level. You can see that area on the left that needs filling.
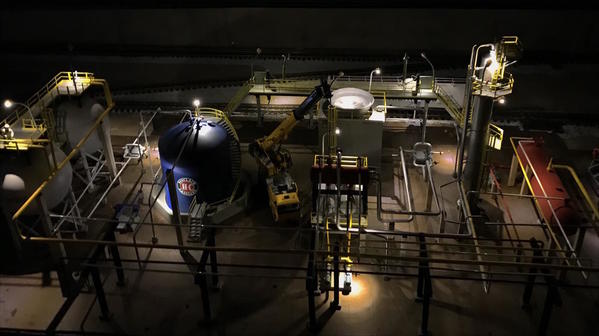
And here's one more dramatic picture.
WOW! Fantastic, Myles!


