Ops Building construction has begun.
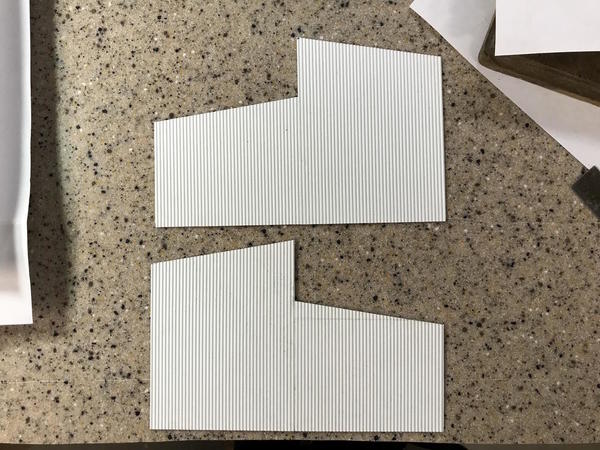
I'm using Evergreen styrene corrugated metal siding for this building. The patten runs horizontally on the sheet, but it needs to be vertical on the building. This meant cutting the sheet to the wall height and then splicing pieces together to generate the width I need.
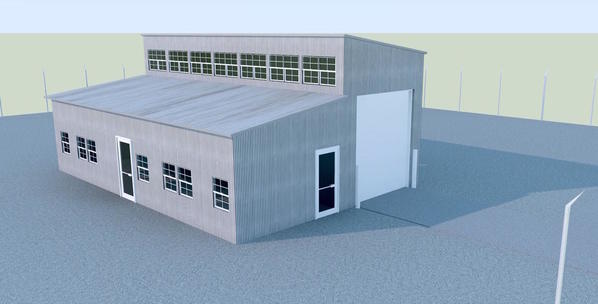
I started cutting and gluing on the ends. Of course I had to design a "simple" rectangular building that has two different roof heights AND both roofs are slanted. This complicates splicing and cutting since I'm no longer cutting square edges. Just as a reminder he's my design. I've changed the front windows due to availability of some Grandt Line products at Scale Reproductions, Inc. It's an "as built" versus "as designed" decision.
One side was made with two pieces, the other with three so I could use up some smaller pieces. I added a styrene strip on the seam to reinforce it. When painted the seams will be very hard to see.
The front and back are two different heights, so of course I made them the same side... at first. As you'll see in the next picture, my front is too tall. I had set the caliper to the rear height and cut the front pieces to that height. I didn't realize it was wrong until I was test fitting the front to one of the ends and the front was WAY TOO TALL. It was not too big a problem to cut it down to the correct size.
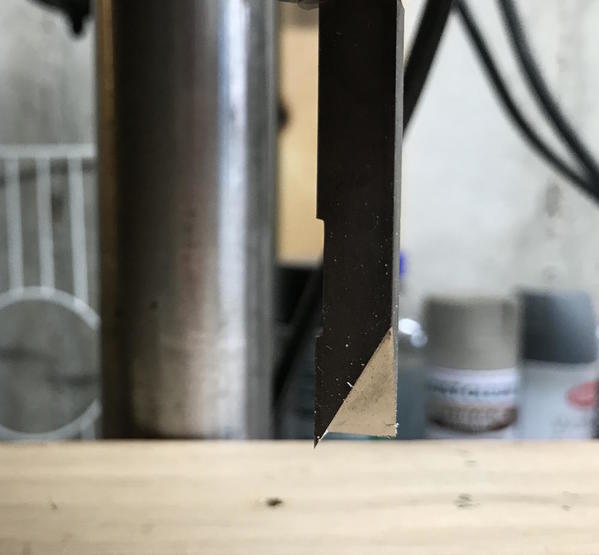
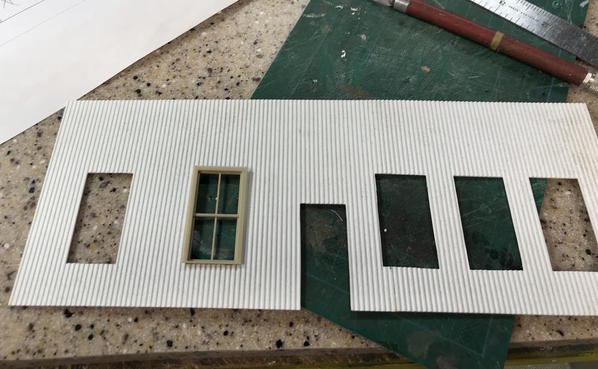
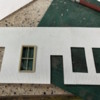
I laid out the window heights using a surface gauge on the granite surface plate, but laid out their widths using the digital calipers as a marking gauge. I transferred the window measurements from the windows using the same calipers. I went for a slip fit only to maintain a nice alignment. I cut the openings using a #11 bladed knife and then my MicroMark corner cutter. I don't use this tool much, but when needed it's very neat having razor sharp edges at a perfect 90°. I chuck in the drill press so I can provide controlled pressure and keep it well aligned.
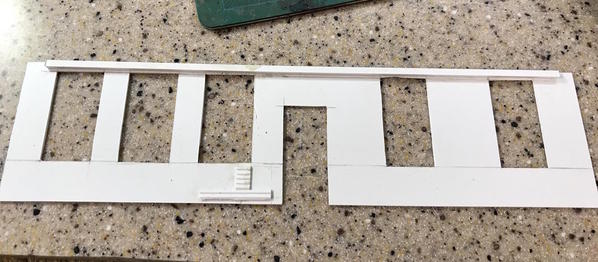
After notching the corners I would go back and scribe on side a bit deeper until it breaks free and then pop out the scrap piece. Some careful scraping and sanding opened any holes that were too tight. This is the too tall front.
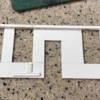
The back only gets a door which I'll cut tomorrow. After cutting the front to the proper height I needed to reinforce the width so I glued on a piece of 1/8" square stock. The bits of scrap in this image reinforce the splice.
The windows seem a little big now that I look at this, but I'm going to stay with it. If I want to put an interior inside you'll be able to see in better. I'm thinking of mocking up a control panel and instrument board. I'll see how I feel. For the upper level windows into the garage I have some windows left over from the distilleries that could serve nicely.
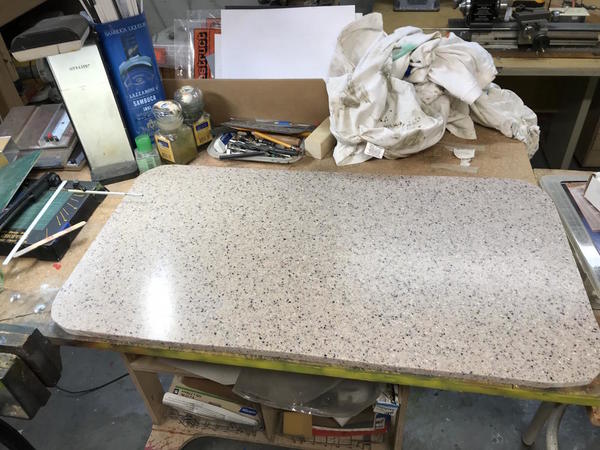
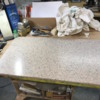
A while ago I broke my piece of plate glass that I used as an assembly surface. I hadn't replaced it and was working on the cork surface of my auxiliary work bench. A couple of weeks ago I found a piece of Corian that was stored under the cellar steps. It was the blank that remained when they cut out the sink opening out of counter top in the kitchen. This was done by the previous owner. Well... this stuff is terrific. It's dead flat and tough. I tested it with solvent cement and it had no reaction. I then put some CA on it and after curing popped right off, so CA doesn't affect it either. It's now my new work surface. And like our kitchen counters, it doesn't show dirt at all.


