Thank you All and Pat!
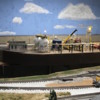
I had my annual medical checkup this morning, but worked on the building this afternoon and got it finished. I did some very mild weathering on the roof and garage doors and installed all the lighting.
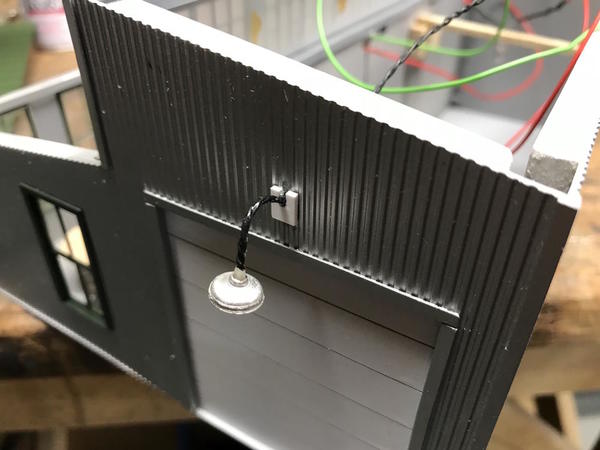
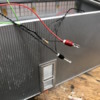
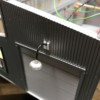
I fastened in the gooseneck lights with a small #55 drilled hole, and then added a shaped piece of styrene on the outside to give it more mass. Thin and medium CA held it all in place. After this pic, I painted the lighting Tamiya Medium Gray.
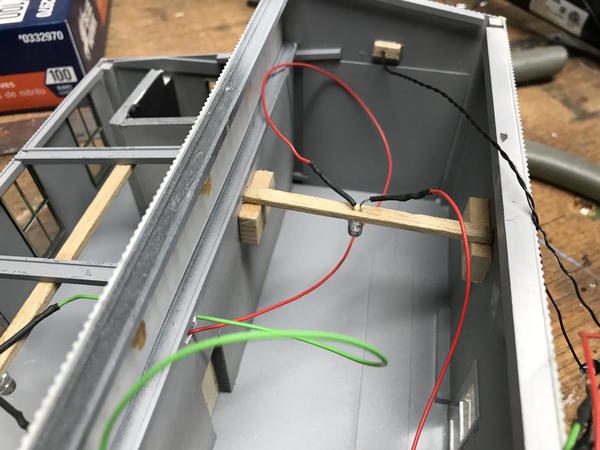
The control room lighting was built on a piece of strip wood CA'd to the roof supports. The garage light was also held with the same strip wood supported by a ledge made from some more substantial basswood stock. I CA'd one ledge to the foam board mid-wall and the other ledge to the plastic back wall with Walther's Goo. The cross piece was also held with CA. This picture also shows some reinforcing blocks that back up the goose neck lights on the outside.
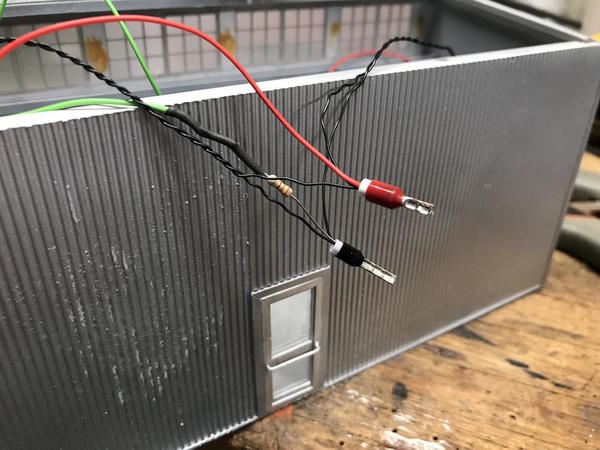
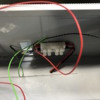
As you can see I add shrink tubing on my LEDs to ensure that they never short out. The LED's wiring is in series with a 330 ohm current limiter, and then the two grain of wheat bulbs are connected in parallel with the LEDs. The leads are tied together in two ferrules. Notice I'm using the white ferrule inside the larger ones to compensate for the small gauge wiring. This was a suggestion made by one of my readers and it's a good one. Notice too that the current limiter goes on the minus side of the LEDs. I don't why, but this is how it's shown on the schematics.
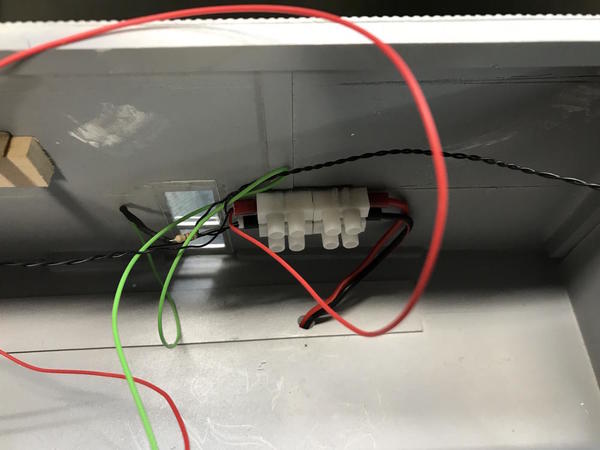
These two combined leads are brought into a Euro-style junction block and then led out of the building with a length of zip cord that ties into the bus bars under the refinery. This particular junction block is a plug-in type that I used when building the modular layout in Germany. It allowed me to separate all the subroadbed panels without lousing up the wiring. It's held to the wall with servo foam tape. I stuck it too close to the back door and you can see the wires, but it's facing a wall and no one actually will ever see it.
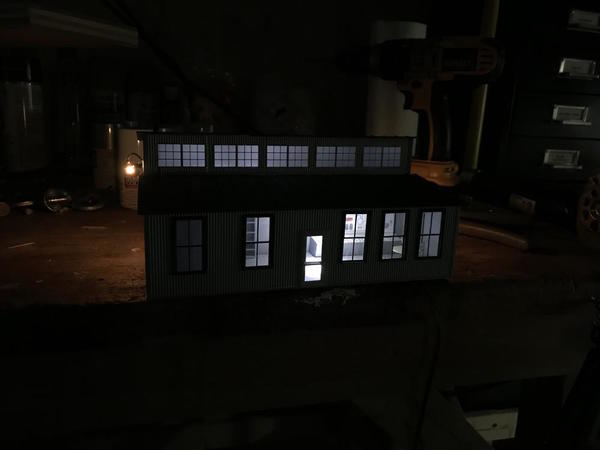
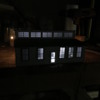
Here's the lighting being tested on the bench. I placed the shop light below the windows so it would just glow which is the look that I was seeking. The control room light is over towards the control panel so you can see it. The white/white LEDs do look light florescent lighting.
As I was setting this picture up, I knocked a small container of Dirty Black Dr. Brown's weathering powder, upside down on the floor. What a freaking mess!! It took 15 minutes to clear it all up. Ugh!
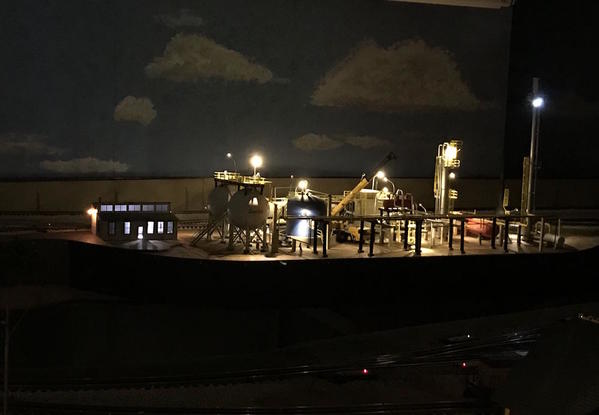
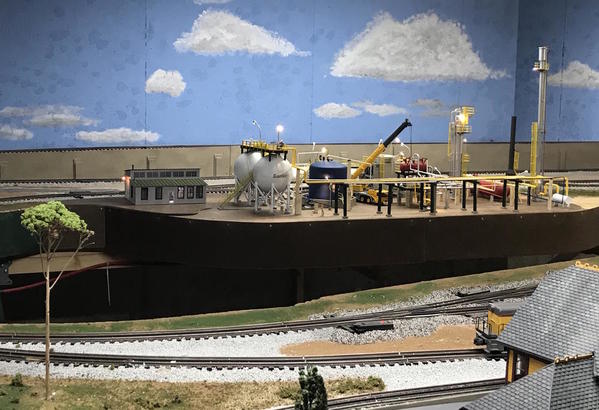
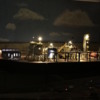
Here's the building on the layout. I drilled the two pieces of Masonite and wired it into the refinery system.
So... the ops building is complete. Tomorrow I'll do some terrain work. I'm going to use acrylic-based tile grout for the roadways to the two garage doors. I discovered this material in doing the distillery base. You can tint it with india ink or W-S tinting products and it dries looking very much like asphalt. It's not rigid and doesn't crack when dry. I may also use it to do the contour work from one piece of Masonite to another. I may also go with Sculptamold. I'll how I'll feel when doing it. And then comes the chain link fence. Notice how I keep saying that. I think I'm procrastinating...


