Thanks Fellas! Today was a day to get a bit sloppy.
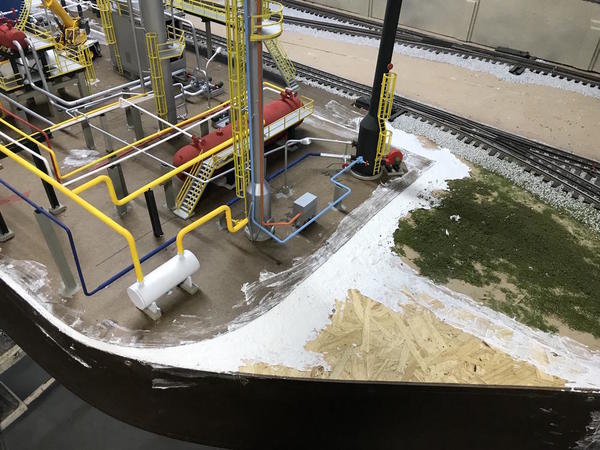
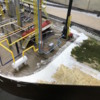
The base board under the building needed to be glued down. While the glue was drying I went about painting all the wooden pipe supports and doing touch up painting on the "metal" ones. It was tricky painting around all the piping and was a harbinger of what's to come when I go about adding ground cover under all that equipment. Won't be easy.
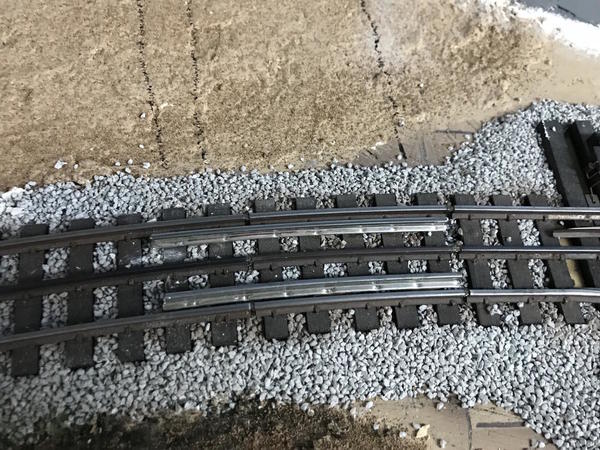
I started building the connecting road to the refinery property which involved a railroad crossing. I'm trying something new with this one using acrylic-based tile grout to build the roadway and crossing. I started by pulling the rails off a piece of surplus Ross curved track to use as flange ways. I temporarily held them to the ties using Walther's Goo.
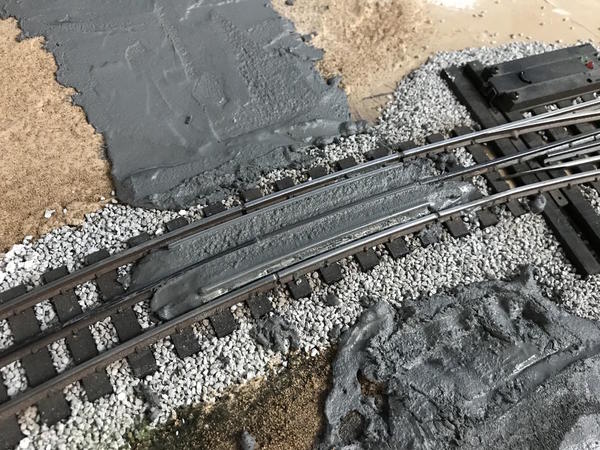
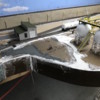
I mixed up a batch of the tinted grout adding all the India ink I had left and some Tamiya Nato Black. It makes a good asphalt road color, but quickly found out that I had too large a gradient to fill just using the grout. It wouldn't dry quickly enough and wasted expensive material. So I stopped using it in this application and got out the Sculptamold (STM). I couldn't put that over the wet grout so I started putting it elsewhere. After cleaning off the running rails and center rail it looked like this. It needs a skin coat to smooth it all out, but not too much since the center rail must be proud of the group or it will be a big dead spot. So the completely ugly grout in the foreground will be covered over with STM.
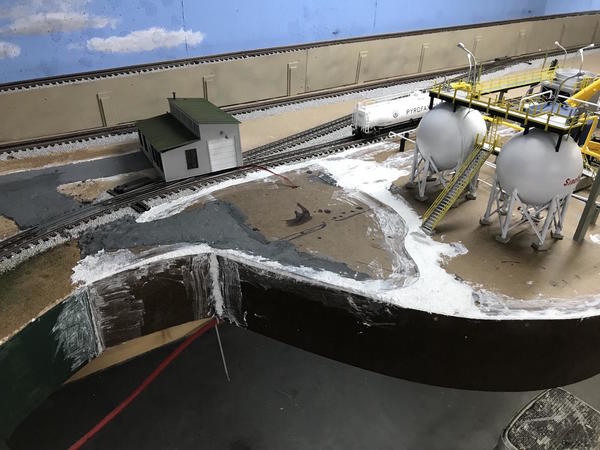
I added STM over all the changes in elevation, the open spaces at the fascia, the fascia edges and gaps and any open holes in the base board. I used some screen wire and/or crumpled newspaper to fill in the large gaps before using the STM. That new real estate in the triangle seems to be begging for another small substation to feed the refinery... Maybe I will and maybe I won't.
A 1:43 car is just going to be able to slip by the building on the left side into the parking area in front.
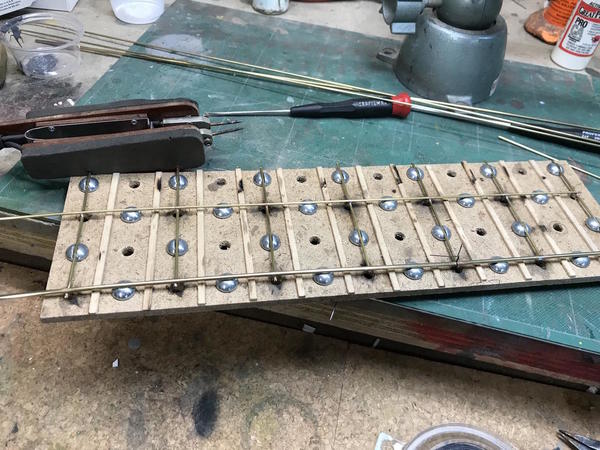
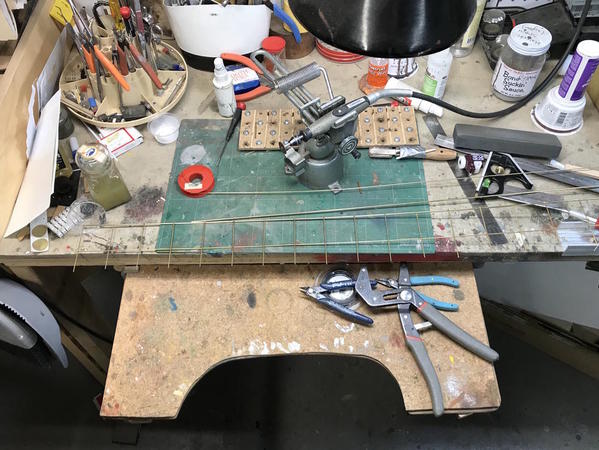
All this stuff has to completely dry before I do any more finish plastering and painting. So I started building the fencing. I quickly found that I am very short of the brass I bought for this purpose. I was able to build one 34" section and will not have enough to build any more. I've just ordered more material from Special Shapes that should finish the job.
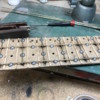
I'm using the jig that Brennan includes with his fence kit. He used steel wire which was very difficult to solder successfully. I'm substituting brass which solders like a dream using the RSU.
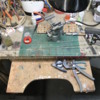
The joints heat almost instantaneously and as soon as the solder flows into the joint I take my foot off the switch but keep tension on the tweezers until the joint cools. I use an abrasive cutoff disc with the Dremel Flexishaft and also grind a flat at the top end so it nests better with the bigger top bar and provides more surface area. Notice how I clamp the Dremel into the Panavise so I can use two hands to control the brass cutting and shaping.
Depending when the grout and STM fully cures, I'll be able to finish up the terrain work. It will be some time before all the brass arrives that I need to finish the fencing. Meanwhile, maybe I'll start putting in some street signs and those telephone poles I built four years ago.


