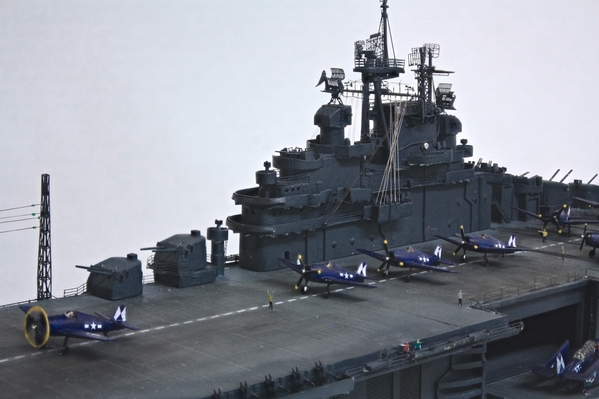
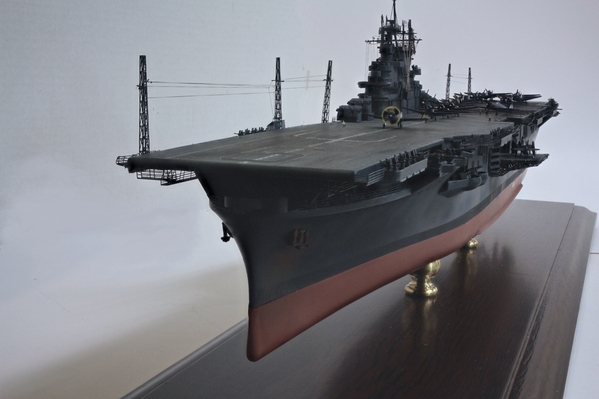
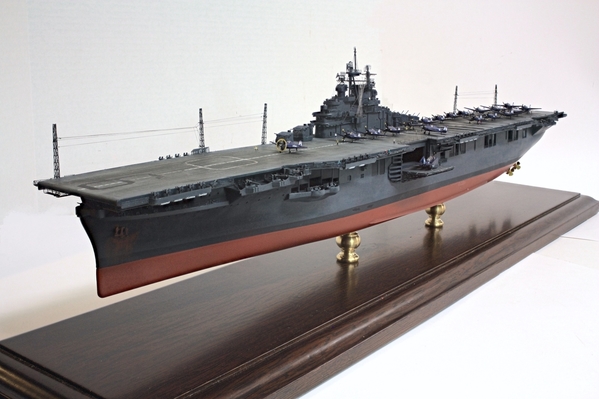
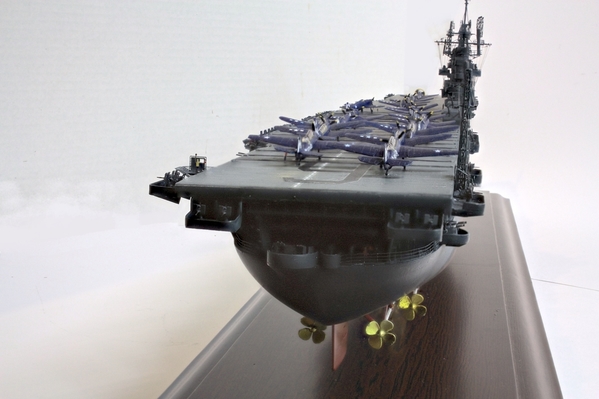
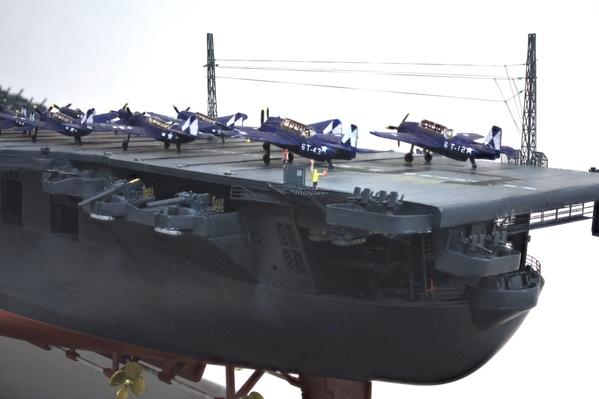
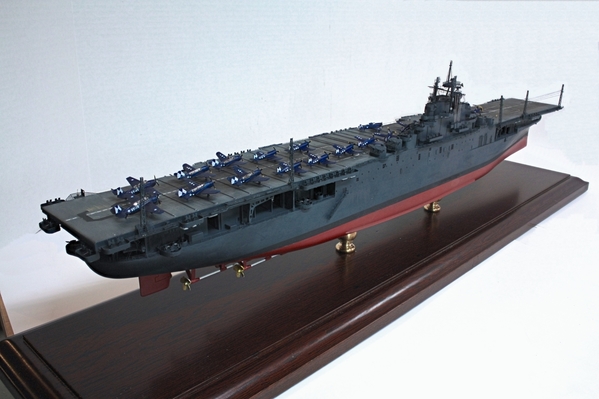
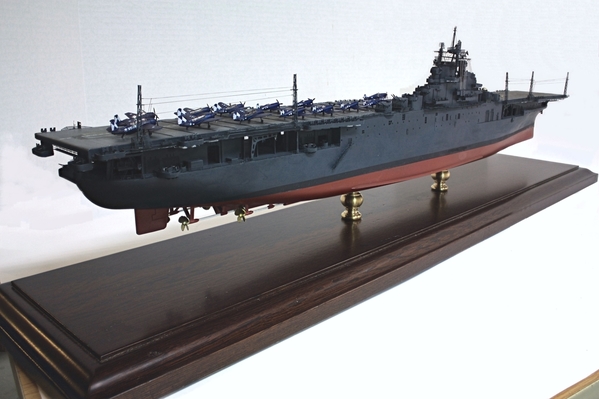
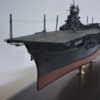
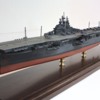
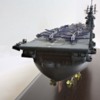
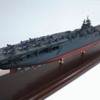
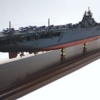
Hey there! Thought I'd check in an tell you what I've been up to. Nighthawks is patiently waiting for me to finish the model car. The Essex CV9 carrier was finished two days ago and I'm pleased with the results. It was a brutal build with lots and lots of custom work, tons of photo-etched parts to wrestle with, time spent getting additional parts to replace those that I screwed up, but it was very rewarding. I started using tiny surface mount LEDs on adhesive copper foil which I'm now going to use for building lighting. Takes some soldering skill due to their tiny size, but they're incredibly bright and take up zero room.
The ship sits on an oak plank made for me by my old friend in Albuquerque. I'm waiting for the plexiglass for the case to arrive. I found a Louisville plastics house that will cut the pieces on a router so the edges can be glued directly without further finishing. It's sitting with the Missouri which I built 6 years ago before starting the RR. The lights are on in the hangar.
All the masts and yards are soldered brass. In fact, whenever I could, I soldered all the photo-etched parts.
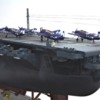
The ship is configured as it was late in the War where Corsairs and Helldivers were added to the air wing, planes were painted 100% dark sea blue, the ship was navy blue on all vertical surfaces, the flag bridge was moved forwards to coincide with the ends of the island and the 40mm gun mount that was in that location was removed. All the radar was repositioned or changed to meet it's late 1944 refit. Two additional 40mm mounts were installed in a port fore sponson that was supposed to be the location of a cross-hangar-deck catapult that was never installed in the Essex.
Again, I used E-Z Line to rig all the antennas. The tail designs are custom made decals which I drew on CorelDraw and matched the dark sea blue on the computer so the tail decals were bigger and easier to apply.
Regarding the Ford, finally got the paint rubbed out, but wore through some paint on the high spots. I'm now adding adhesive foil to the window trim.
So that dear readers this brings you all up to date. I expect the Ford to be finished in about a week and then it's back to building things for the railroad. Meanwhile, one of my florescent lights was acting up and I had to go up in back to the open space. While standing there I realized that I had a unique view of the refinery and took some pics. Here's the one I like the best. Speaking of lights, one by one I'm replacing all my dual 40w florescent fixtures with LED. They go on sale at Costco for $20. They're easily twice as bright as the florescent, have better color and use 1/4 the power. Win/Win. So far, I've refitted all of them in the workshop. The railroad room will be next.


