Part 2 will be at the newsstand at the end of October. I haven't seen Part 3 yet to proof. I expect it will be coming at the beginning of November.
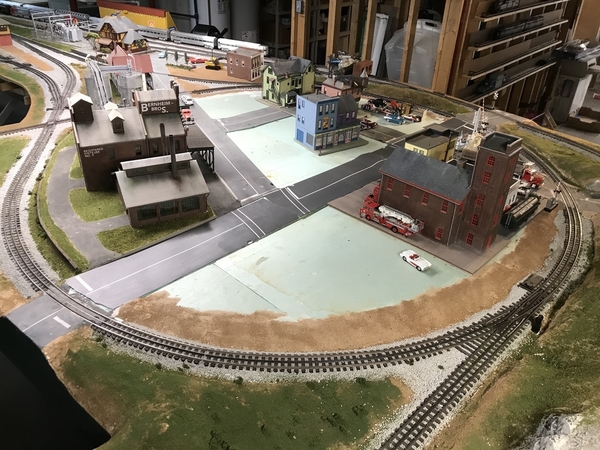
Put the 3rd coat of brush-painted artist acrylics on the road material. It turns out a tad darker than the connecting streets so it will look like a freshly paved street which is quite normal. I also started fixing some other delaminated areas that are not being replaced. I bought some Liquid Nails Project Adhesive to glue the Bristol to the foam substrate. I checked to make sure it didn't affect the foam. Some construction adhesives do. In the image, I just threw the streets down to see how they fit.
They a bit glossy and they needs some weathering which I'll do with the airbrush off the layout. The water-based acrylic caused the Bristol Board to curl a bit, but I'm sure that the adhesive will hold it down. I think I'm going to tape the four road pieces together so they'll be aligned before gluing to the layout.
There was a spot in front of the Idaho hotel that was delaminated about a scale foot. I first tried Aleen's but it didn't really hold to the foam and after I took the weight off of it, it popped up again. I then used the Liquid Nails and it held nicely. The street is no longer at the height of the porch steps.
I finished repairing the Gravely Building by putting in a rectangular piece that filled in a notch in the base plate and then repainted the total paving to sort of match the Nighthawks paving color. I then added one more telephone pole and replaced the fire hydrant that had broken loose. The arrow shows the new base piece.
I wanted to move the passenger train out of the way to give more access to the town area. When I powered it up, there was a short. After investigating, I noted that the tender coupler's uncoupling thumbtack on the Big Engine was dragging on the center rail. What was going on? When I lifted the tender I found that the coupler mounting bracket had broken loose…AGAIN. I had epoxied this years ago when the solder joint failed. This time I'm using J-B Weld. It's curing now and we'll be all fixed tomorrow. I also replaced the temporary masking tape coupler fix with a more permanent small cable tie to keep the couple from opening…ever. It's a good joint since it has tabs the extend into the tender's frame.
Tomorrow I'll finish up the street job and put the S-1 back in service.
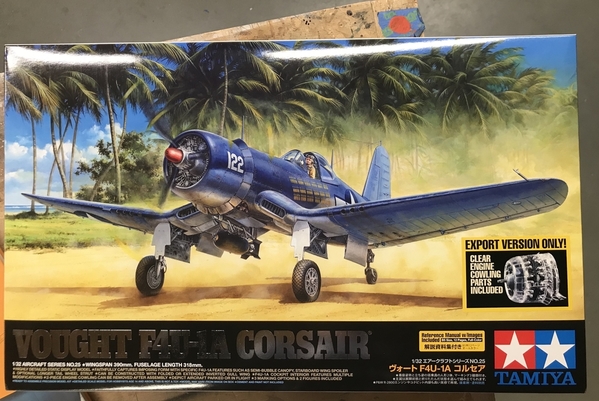
Then, I'm taking another break from railroading and building another big model. This one is the Tamiya 1:32 F4U-A1 Corsair Bubble Top in 1943 US Marines color. Like I did with the Avenger, this one's going to have a bit of extra work especially in dressing up that beautiful R-2800 radial engine which Tamiya has done a nice job replicating the prototype.


