Thank you guys! Each day the project is getting more exciting.
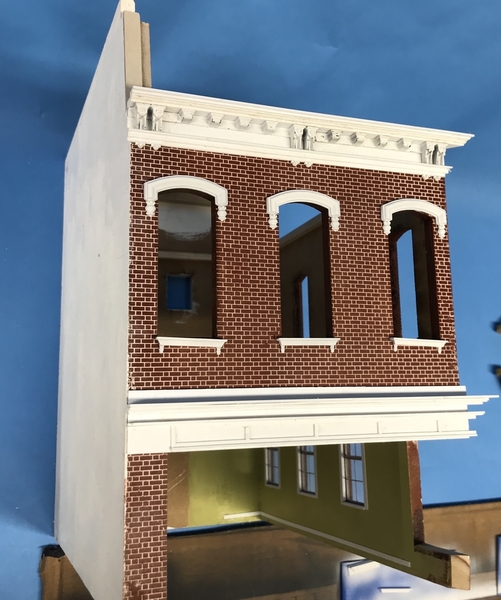
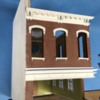
Today I finished all the upper cornice work and started on the detail that lies above the store windows.
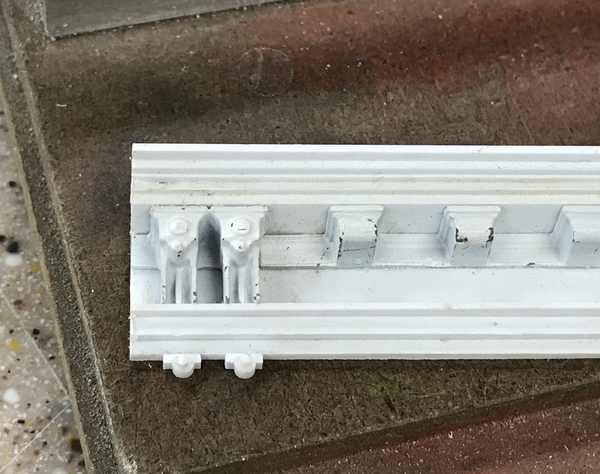
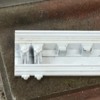
After building the short wall, doing the long wall went much faster (as usual). When I reduced the length of the building I screwed up the nice fitting of the dentil molding. The last bay is now significantly shorter than the rest, but there wasn't much I could do about it at this time. I though about reducing each bay by one dentil, but it didn't come out evenly either. The length did provide a challenge so I used a longer straight edge and three angle blocks as a back stop. This picture also shows the little doodads that I describe making further on.
After cutting the long wall miter and cleaning up the short wall, I tried them on to see how they mated up. Notice too, there is now a rain gutter. When assembling multi-layer constructions like this you really need to understand how the miter extends out past the wall edge when you're cutting and gluing up the material. Gluing these in place is a little later...
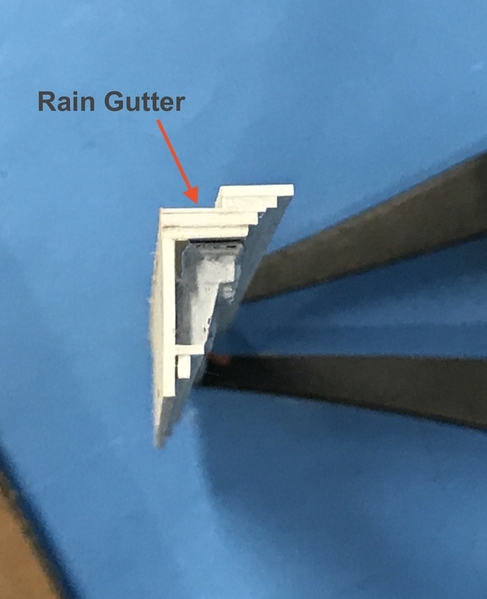
Here's a profile shot showing how all the strips stack together to make the cornice.
The little drop "doodads" were created by a sandwich of some half-round Evergreen styrene glued to a piece of custom-cut strip that had to match the width of the corbel's width. I couldn't use existing stock since Evergreen didn't make a piece that was 0.140" wide. I cut the piece from some 0.040" sheet stock. Several of the widths were cut this way. After making the sandwich I sliced off individual profiles with the Chopper like salami.
I then had to cut the little circular details from another piece of round styrene. When I first started cutting them with a single-edged razor, they were flying off in all directions. I solved that problem by cutting then on a piece of double-sided Scotch Tape. I cut them by rolling the razor over the cutting spot enough times until the piece came off. These are too small to cut on the Chopper.
With my finest tweezers I touched the circle to the solvent cement applicator and then placed it on the other assembly. The trickiest part was keeping the little tiny circle from preferentially gluing itself to the tweezers. The Doodads were solvent glued to the cornice to lie underneath each corbel.
Next up was the lower trim band. First I had to figure out exactly how big this was since the picture I had printed out was not to scale. So I went back upstairs to the laptop, pulled up the detail on SketchUp which is in 1:1 scale and strunk it by 0.021% to make it O'Scale and drew measurements on the screen with the Tape Measure tool. I really only needed the overall height of the backing piece since this was another custom cut piece.
My printed out pic was slightly over size (about 10%) so I could take measurements directly from it and then take them down 90%. With these calculations, I was able to build the profile. Went together pretty quickly and I'm done the front portion. There's still a side component that miters to the front (like the upper trim) and I have to check to see how the other end is finished (square cut or stepped).
I definitely would want to do any this in either HO or N gauge, but I know there are folks who do it. I'm now a FaceBook friend with a wonderful Japanese craftsman, who is making scale tin buckets in HO that are simply hard to believe. Whenever I think I'm good, I find people in this world who are so, so much better. It's keeps me grounded.


