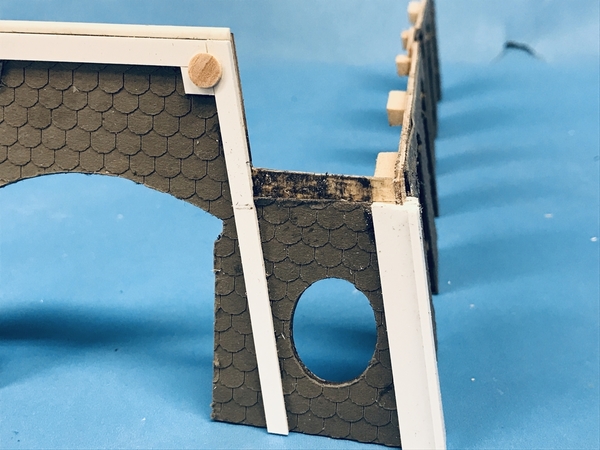
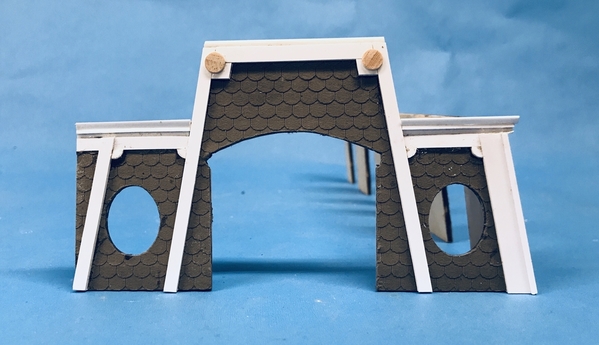
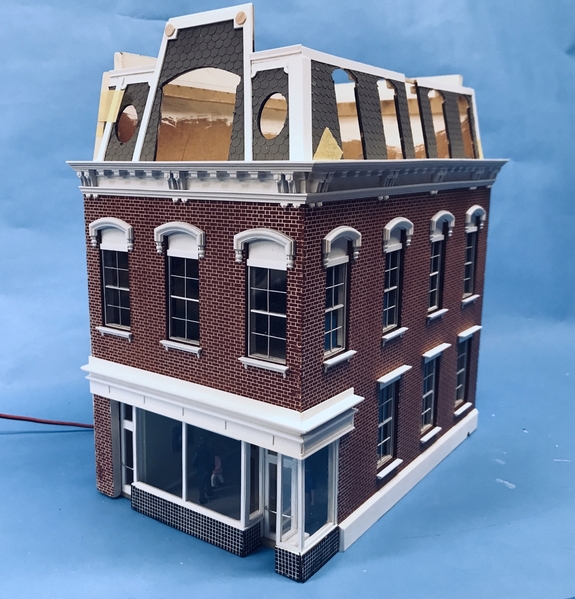
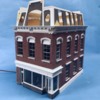
Spent a couple of hours building the decorative framing on the Mansard roof. The relief of Tuesday's work wasn't sufficient so I added another layer of 0.156" X 0.030" styrene. There are also some circular accents. I also started building the top cornice detail.
The circles are slices of 1/4" dowel. I tried some other diameters including cutting my own pieces from styrene sheet, but the dowels offered the most practical way to produce the ornaments. I had to cut away the roofing every place I was running the trim. It was time consuming and stressful, but I did okay. Couldn't rush it. To keep all these angles consistent and not make too big a deal out of it, I just marked some lines with a Sharpie on the Chopper so I could line up the strips and duplicate the angle.
The top cornice has a concave curved inner surface which I tried (operative word… "tried") to replicate. I thought I could use some thin styrene stressed to form a curve between the trim. It didn't work. The solvent cement combined with the stress caused the thin material to collapse, and it pushed the elements out of square.
Plan B: Instead of trying to make the curve, I would just produce an angled piece to represent the curve. It's viewed from 4 feet away. I also didn't add the wide, top piece since this is going to overlap the upper roof and will provide the mounting surface for the widow's walk. I shaped one edge of the angular piece so it settled in at the correct angle. It wasn't elegant, but it did work. In the below pic you can see the doubled-up trim pieces.
The inner corners of the front trim also have some little filler pieces that nest into the corner angles. They are parts of a circle. I scribed the circles with my machinist dividers with the one leg sharpened to a chisel point. After setting up the angles across the diameter, I cut the little pie slices and then had to clean up the edges. These guys were little! I held them lightly in my parallel jaw, non-serrated pliers and sanded the edges to match the scribed circle line.
In this case, I didn't remove the roofing. I just CA'd the parts to the shingles which put them at the same level as the other trim. I actually tried to cut the roofing, but it wasn't going to be a good thing.
I was hoping to be able to NOT have to paint any of this, but there's enough variation in the surfaces to warrant painting. I also have glue on the roofing. So… I'm going to paint the roofing a gray…probably a bit lighter than the paper, and then mask and paint all the trim. I need to add flashing over the big window too. Would have liked to have avoided this additional work, but this roof is one of the building's focal points and it needs to be right.
I started working the cornice trim on the long roof also. This roof doesn't get any of the other vertical details except that wide piece at the rear.
This is definitely not a project for the faint-hearted. I really couldn't have attempted this one if I hadn't built the five other major scratch-builds that preceded it. A couple more weeks of effort and the building should be finished.


