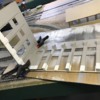
Back from Philly on Thursday, finally got a bit of work in the shop on Sunday, but was also working with the 3D machine. I'm about halfway up the learning curve. The biggest challenge is learning how to create the best support system. The software will do it for you, but there's a ton of variables that you can adjust. Any failures I had so far are due to the supports letting go. When the supports let go, the suction force of the previous cured layer on the Teflon surface exceeds the strength of the support and the cured piece falls off or bends and deforms. When that happens any subsequent layers in that part of the job are ruined.
But I did get some interesting things done, the best of which is the first iteration of the 567's cylinder block.
This end view shows the hollow construction. I used the "Hollow" feature of the slicing software. To help drain the entrapped un-cured resin, I used the "Dig Holes" feature to open up strategically placed drain holes. I want to draw you attention to how perfectly formed the bottom T-shaped members are formed. The ability of the machine to recreate tiny details is amazing.
Due to the translucency, you can really see the details of the access hatches, but they're there. I have some cleanup to do since the slicing software added supports leading under the overhangs of the access hatches. The resin is hard and I'll use diamond burrs to carefully remove any nubs.
This picture shows a problem I'm having. One of the things I learned about the resin is that it shrinks upon curing. It's very similar to casting metal. The shrinkage puts stresses on the support system and caused the extremis of the top surfaces (which were on the bottom) to not fully form. I had the same problem on the lathe. Bondic will successfully resurface it, but not without more work. I'll experimenting with different approaches to solve this including using the "Heavy" setting on the support system. The block is bare on the ends since these are going the extra pieces which I'll be adding. I'm drawing them now.
This view shows the access ports better including the details on the hand clamps in their centers. You can also make out the remnants of the supports at the bottom of the ports.
I also printer the two heads with their valve covers. They too had the same support problem at their ends. I even printed a very thing open lid that I'll CA to the head after assembly.
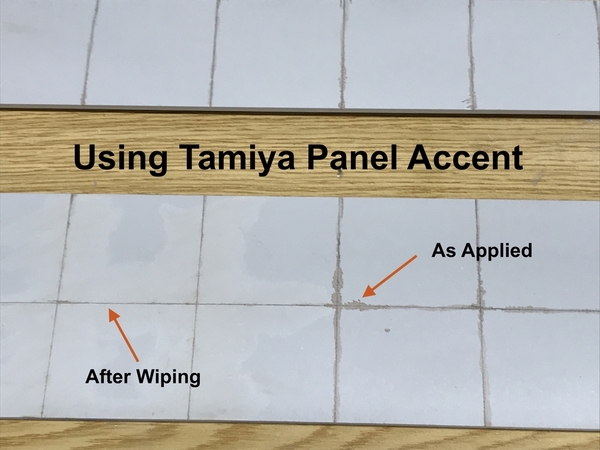
While all this was being done, I did some weathering and accenting on the engine house floor and started putting it together. After applying the low-viscosity, mineral spirit based stain, you let it dry a bit and go back with a Q-tip lightly dampened with low-odor mineral spirits and remove the excess leaving the engraved expansion joints filled.
I then went back with some grimy gray pastel weathering powder and finally added oil spills with some Tamiya Clear Smoke. It dries glossy and looks very oily.
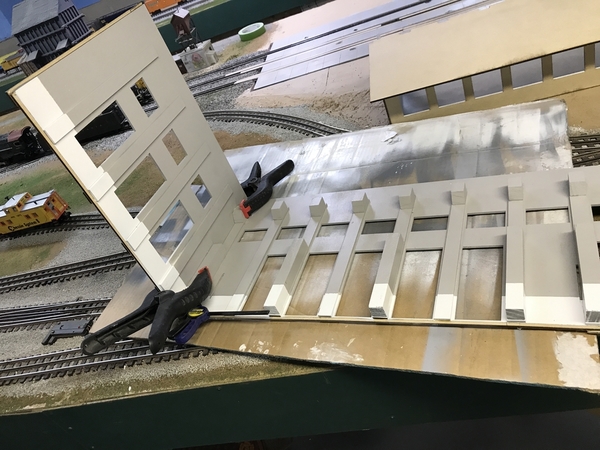
I glued up alternate corners first and let them dry overnight. Today, I glued the full building together.
Without a roof of floor to keep the sides straight, I made a couple of temporary spreaders to keep the long (and very flexible) sides parallel while gluing it all together.
Being impatient, I let the monster dry for about a half hour I de-clamped, took it to the railroad and placed it on the floor, and then tried to fit the roof. It's about 1/16" to long, put too much stress on the corners and one popped open. When I examined it, I saw that the Titebond was not dry in the joint. I re-clamps and added some CA. I think I may add some small screws into the corner blocks to give it more security. It's a big, unwieldy structure.
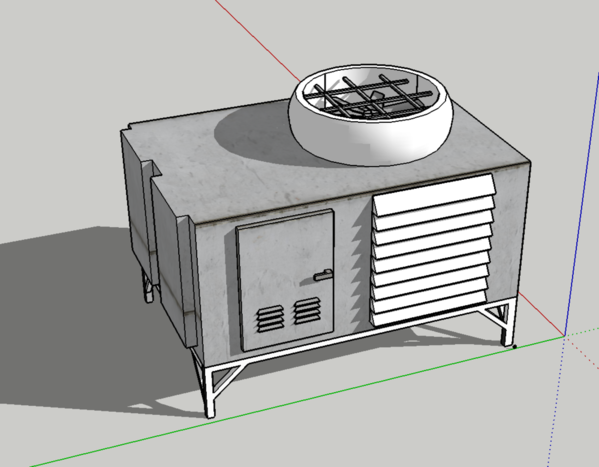
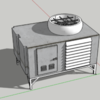
I designed and started printing the AC systems for the engine house roof. The first print was failing early, so I aborted it and redesigned how the object was oriented. It's now downstairs working away and I'll get it tomorrow morning. Unlike the string printers, these resin units can run unattended without fear of filament clogs.


