It's Sunday, but the machine is still working, so I have something to write about.
First of all, here's the exact machine… Here's a direct link: https://www.amazon.com/gp/prod...01?ie=UTF8&psc=1
The resin has an odor. I don't find it objectionable. I wear a lab coat, nitirle gloves and avoid splashing as much as I can. With the plexiglass cover on the machine, it really produces no odor at all. All the smells come from the alcohol baths needed to clean off the uncured resin. I started using 190 proof grain (ethanol) alcohol, but at $30 a pop, decided to go to 99% isopropyl alcohol. It requires 95% or better. I chose to buy two pints of 99 and mix with 91% available for cheap at CVS giving me the correct concentration. The smell is not coming through the HVAC like it does when I'm spraying rattle can enamels and have had no complaints from the boss.
BTW: I buy nitrile gloves at Costco for half the price of the building supply stores. You get two packs of 200 gloves for less than $20. You go through a lot of gloves with this process.
Re: door knobs. Good suggestions! For a number of my buildings, I've actually turned brass doorknobs on the lathe. What I'm really asking is what kind of knob is used on an industrial door? I may see if I can print them.
Speaking of printing… I found a design for a Pennsy style concrete end-of-track bumper and drew one up in about 1/2 hour. One printed yesterday afternoon, and the second overnight. The third is now on the machine, so by day's end I'll have the three parts.
I first measured the space on the engine house floor and the proper coupler height for the bumper. This set my overall parameter.
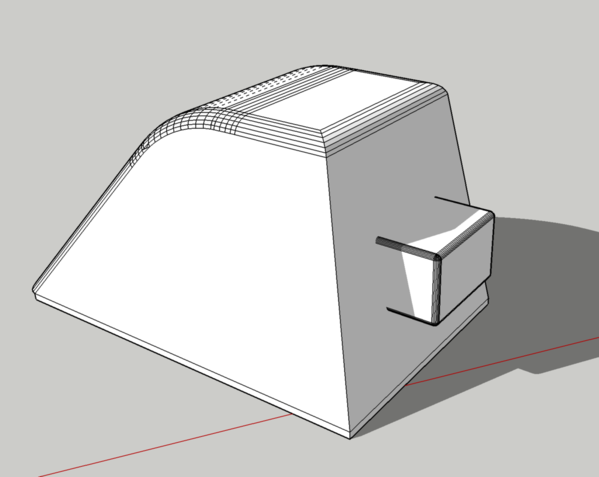
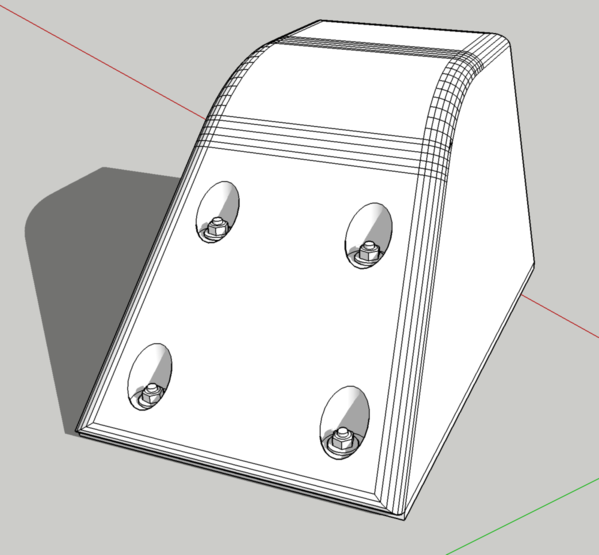
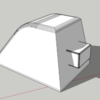
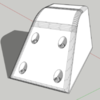
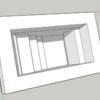
Here are views of the drawing. Notice that I drew the nut, bolt and washer right in the drawing and they reproduced perfectly. I first did it as a full solid and experimented to let the Slicer hollow out the insides. It hollowed okay, but I was having trouble putting in the drain holes to let the uncured resin out. Didn't nee a bumper with a liquid filled center.
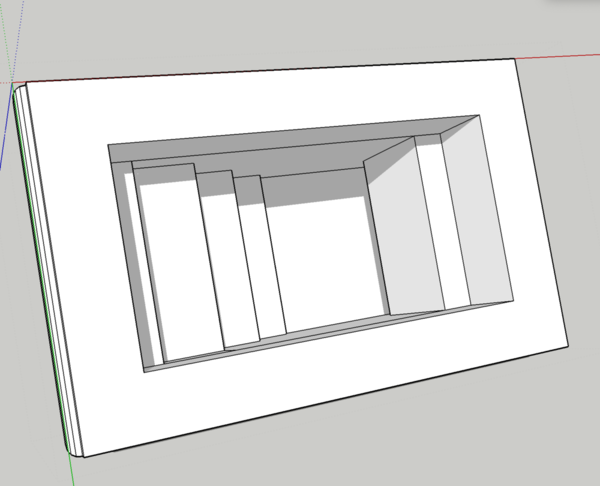
I made a series of progressively smaller rectangles which I pushed up inside. What took the longest was insuring that the rectangles didn't pierce the outside envelop. For the bolts, I first counterbored the surface by drawing a simple cylinder positioning it through the sloped surface and then "Intersect Faces" with the model. After removing the unwanted parts of the cylinder, you're left with the properly shaped hole. All that's left to do it reverse the faces of the bore's sidewalls, since they are the remnants of the inside of the cylinder. The software needs only outside facing surfaces thus the reversing procedure. I then made the NBW set outside of the model, made them into a component and copy, paste and positioned them where I wanted. The curved edges are created with an extension called Fredo6 Round Corners. It created some extra faces that needed to be removed and some surface corrections to create a singular solid. That took some time too.
When I first loaded the drawing in the slicer and watched the animation of how it would layer, I noticed that the very back edge was forming before any support was there. That edge would disappear and cease to exist. I tried adding additional supports which may have work, but instead, I repositioned the angle it was sitting at so that edge would form after the surface below was forming. I also checked the NBWs for the same problem and they were okay. This was the biggest learning in doing this process: pay strict attention to the animation, especially from the bottom up view which is how it grows during production. The software's animation starts top-down, which is harder to follow.
The translucent plastic makes it very hard to visualize what's on the surface vs. what's below the surface. In the above you can see through and see the hollowing of the model.
In the below, you can see the NBWs, but you really can't see how clean they modeled. When painted it will stand out nicely.
Now there are two and in 4 hours, three. I won't do any cleanup and painting until my official basement work day on Monday. I gave these parts a 15 minute hardening time in the UV chamber. The longer you harden, the darker the resin becomes.
I may use contact cement dots or hot glue to fasten these bumpers down to the engine house floor. I don't want a brittle connection. I'm also thinking of putting either a rubber face or a silicone drawer bumper on the bumping face to reduce shocks to the equipment.
Not a bad deal… 1/2 hour of drawing and finished parts.


