Happy Monday!
Friday, I had the pleasure of entertaining Larry Levin, Charlie, John and Richard from Western Tenn to see the layout and all the projects. We didn't have much time, but we made it matter. Of course, the one train that I wanted to run derailed going into the tunnel. The hinge wasn't properly aligned and the slight rail misalignment derailed the trailing A unit.
I also have my friend's son here for a camouflage painting clinic on Sunday. He's 9 and has been visiting my workshop since he was five. He built a nice little 1/72 Spitfire and wanted to know how to paint it. I showed him how to mask, when to mask and how he could use brush paints to do a nice job.
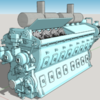
Meanwhile, I spent the weekend designing and re-designing the 567, printing out the first major test run of the entire project and then this morning, making the corrections to solve the few problems that cropped up. The nice thing about resin printing is you just make the changes and do it again. By the next day you'll have the new part. It's called "rapid prototyping" and it works.
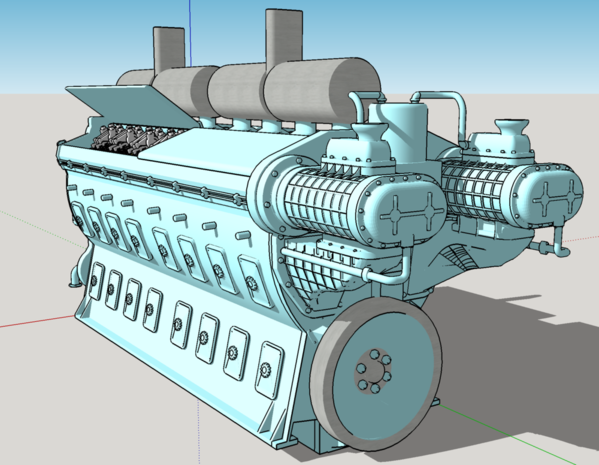
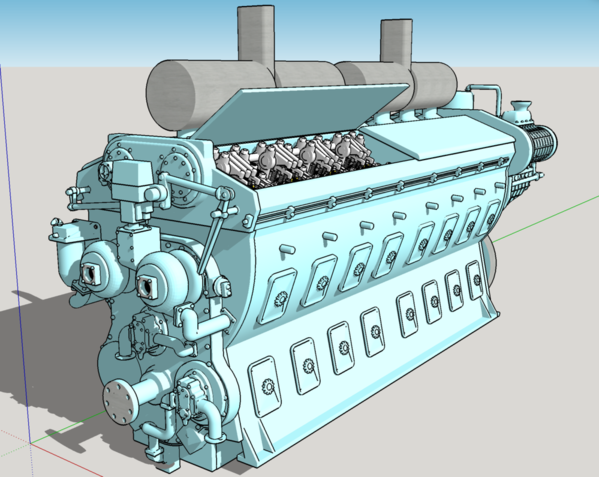
Here are the final images of the completed engine with the full front and rear end details. I'm not attempting to have the printer do the fuel lines. They're only a 1/4" in 1:1 which is 0.005" in scale. I know the printer would attempt it, but it would disappear in you hands. For that size you need photo etched brass or magnet wire. And you'd have to drill a .005" hole. Nope! Ain't gonna happen.
Here were some of the pieces as grown. I chose to grow the entire front and rears as since pieces. It worked quite well. There were several problems. The fuel filter was actually in contact with the front plate on the drawing and after growing was just floating there hanging on a support.
I chose to print the open head with the valve cover attached. It worked!. Also, all of the missing pieces are now there including the injector rack attached to the throttle shaft. All the cylinder hold-downs are there too. The blower end worked great including all of the oil lines. The flywheel is also contiguous with the rest.
The throttle shaft sticking out of cylinder head should be sticking out of the front plate. As such, the hand throttle lever wasn't connected to anything. Because its lower end fused to the water pump, it's holding its geometry, but it's wrong.
I assembled all the parts with CA. Because of the ledge that's holding the open valve cover sticks into the exhaust manifold space, the forward manifold didn't sit down far enough. I modified the valve cover hinge to give enough relief that the manifold will seat properly. I only slapped some Tamiya primer to show the detail. Painting inside the valve area will take a steady hand. The color is basically "oily". Even with the errors, it's one helluva model.
The rear is impressive too. On the front I had made an extended back that would nestle into the block's cavity. It was way too tight of a fit and overkill. I had to do a lot of grinding and filing to get it together and it was still not right. I redesigned this boss out. It will now be a flat plate like the rear.
Here are some close ups of the errors. You can see the rack connections to the injectors in this pic.
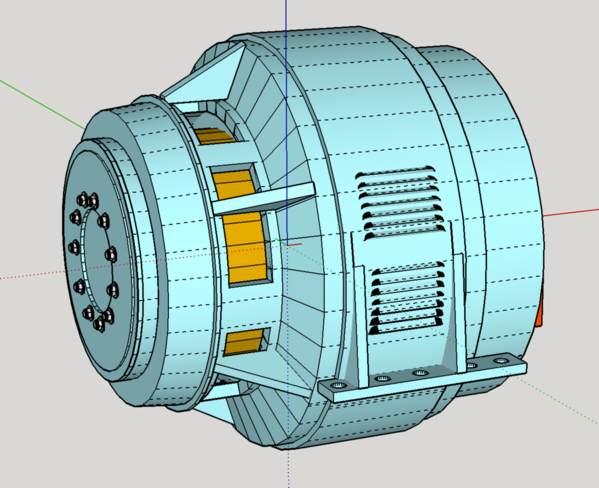
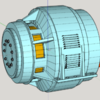
I spent today finalizing the design for the generator. The model can be posed with or without the generator attached.
I didn't just work on the 567. I glued the trucks and end stops onto the main gantry bridge. I had to cut some relief for the axle boxes. When I went with the larger hoist mechanism, it pushed the girders apart a bit and put them in contact with the inner axle boxes. I suppose I could have lengthened the trucks, but I was lazy. As it is, for the time I spent fussing I probably could have.
To put the trucks in place while the epoxy was curing I put the trucks on the rails, applied the 6-minute epoxy to the girders, put them in contact with the trucks and then weighed it down until it cured.
There was considerable epoxy overage surrounding the secondary rails. I wanted to remove it before painting. I scribed the rail edges with a single-edged razor and then scraped all the excess off. I then started the process to glue the railings on. I going to epoxy them, and start with holding in place with tape, then tack with CA and finally I'll add the epoxy. Once the railings are on, I can paint the bridge and start preparing the hoist and hook. Railings will go in tomorrow.
If there is any interest in having your own 567, please let me know by private eMail.


