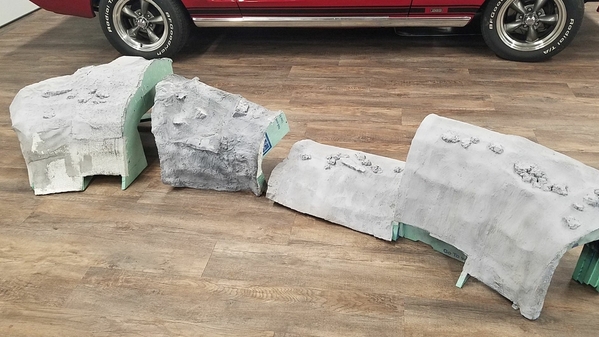
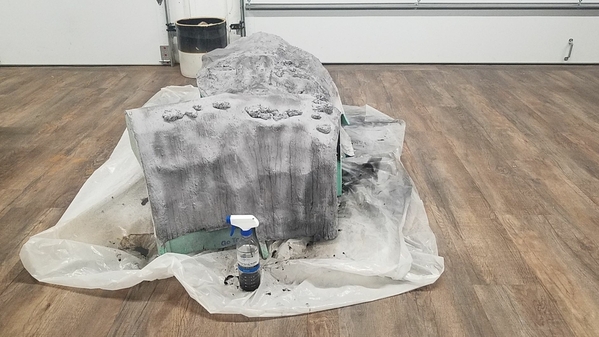
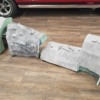
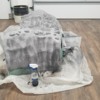
I have enjoyed working on the modular mountain over the past couple of weeks. I'm especially impressed with Shaper Sheet (Woodland Scenics) and it's strong, lightweight performance, not to mention it's ease of use. Here are some sequential photos of the mountain modules (the middle two will lift out of the finished mountain) with final hard-shell coating. Shaper Sheet was applied in some places over the plaster cloth layer, while plain Hydrostone covered other sections. I made lumpy "rocks" with Sculptamold, which is really fibrous. The two end modules are bulky, and every ounce of paint and scenery adds to their awkwardness in lifting. I'm still able to pick them up one-handed, but I'm glad I didn't make them any larger. It's easiest for me to place them on a table or my garage floor while working on them. My plan is to finish nearly all of the ground cover (except for trees) on the tops and back areas of each module, then fix the two end pieces in place before finishing the lower frontal areas. At that point I'll have to get help for "planting" scale trees, as the mountain tops will be out of my reach.
The photos show various shades of gray depending on how much pigment I added to the Hydrostone (artists acrylics work fine). I experimented on each of the modules, adding just a few blobs of black right out of the tube. I then sprayed all of the modules liberally with a thinned "wash" of black, using a household spray bottle. After the wash dried, I went back over the "rocky" areas with some dry-brushed gray. At this point the "rocks" look unnatural, but just wait!
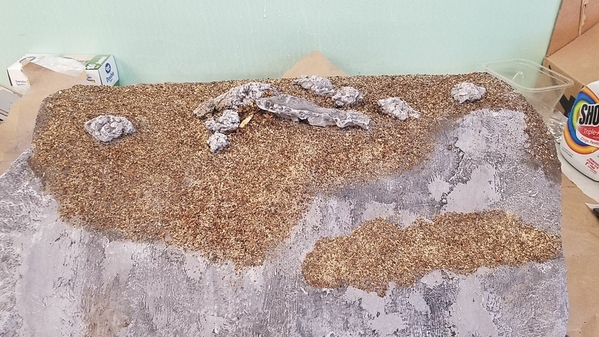
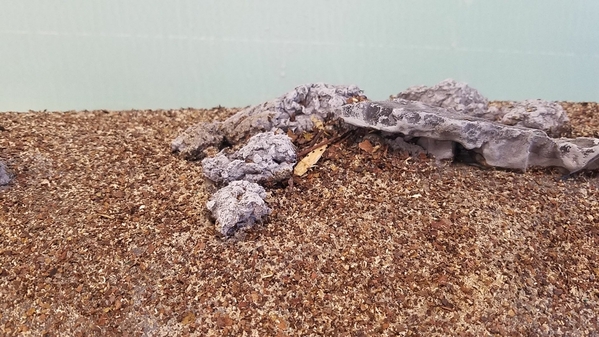
For ground cover, I chopped up real leaves (dried in the garage for a week) in a cheap blender. The chopped leaves were combined with plain sawdust to make a nice looking mixture resembling dead leaves, which I poured into a shaker canister. I made a thick "paint" using water-soluble tile glue tinted with raw umber. This was painted directly onto the shell and the "dead leaves" were sprinkled on while it was still wet. For extra adhesion, I wetted the ground cover lightly with a spray bottle of plain water, then applied thinned white glue with a large eyedropper. This actually goes much faster than it sounds.
Once all the modules have their basic ground cover, I'll apply low-level foliage, downed branches, and other forest details. My techniques are partly based on various articles and tutorials, blended with a lot of experimentation. There's no need to be painstaking, because much of the final effect is an illusion anyway. My foremost goal is to keep the two middle modules light enough and strong enough to be moved in the event of a derailment inside the tunnel.
I'll send the next update when I get these modules back on the layout.


