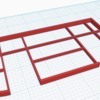
So, the Downtown Deco Bus Station is apparently my nemesis. I've built a dozen or so of Randy's kits, but never had one annoy me quite as much as this one. I didnt even have it together when it all started...
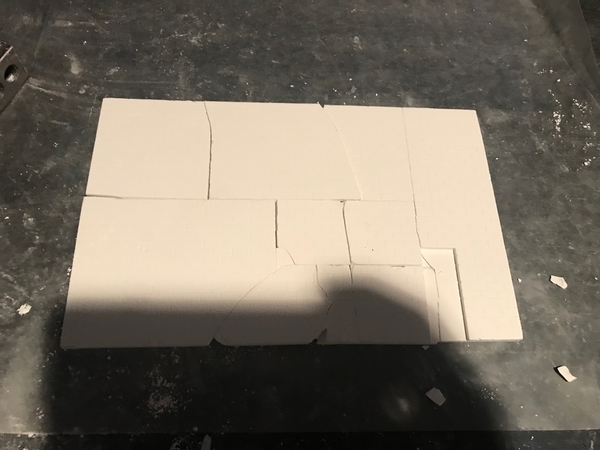
Sanding the back wall to fit, it snapped in my hand. Couldnt just land on the table, nope, off the table, off the top of the shopvac, and to the floor.
I'm sure I had a few choice words as I glued the puzzle back together as best as I could. A little spackle here and there with a paint job and I figured I could make it happen. 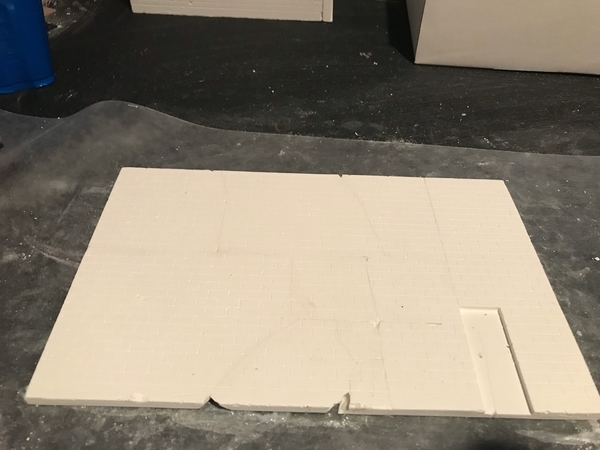
So I put the building together and just for good measure, packed it with foam to brace the wall from the back side. 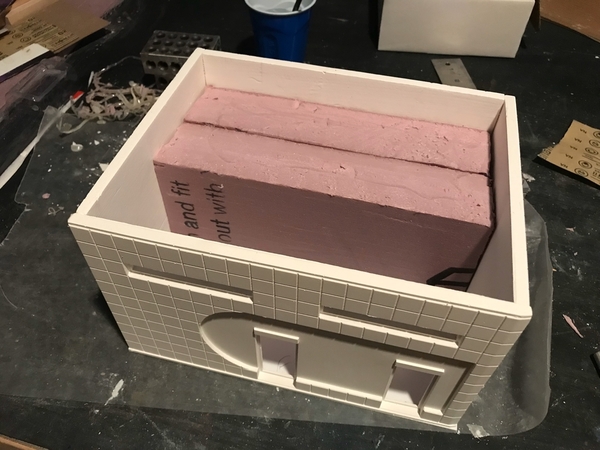
I thought this would have been the end of it and the build would have gone business as usual from here.
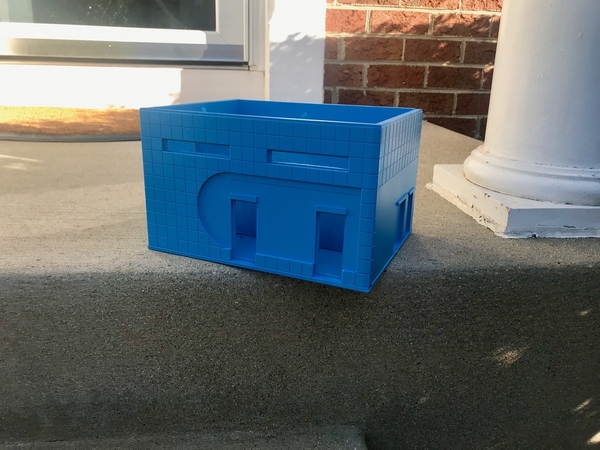
Gave the back and side walls a shot of grey then coated the whole thing in a shade of blue that looked about right for a Greyhound station.
Oh... if only that were true.
I followed the premise of the instructions and after a couple days masked off the rounded insert and the smooth sidewall to give it a shot of white.
Disaster struck again. The paint crackled. 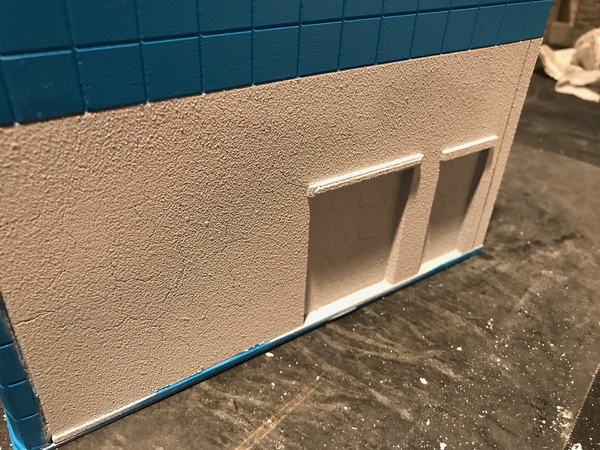
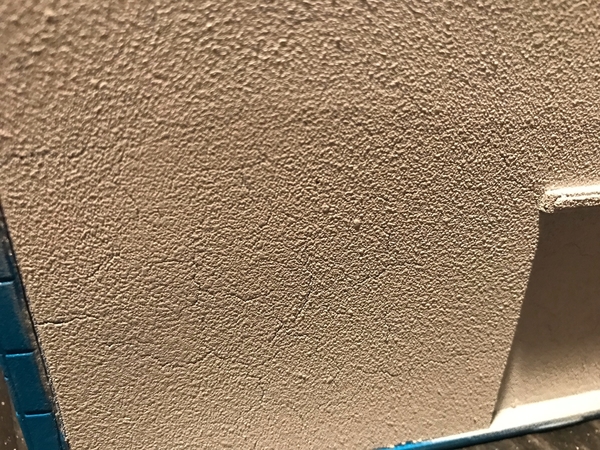
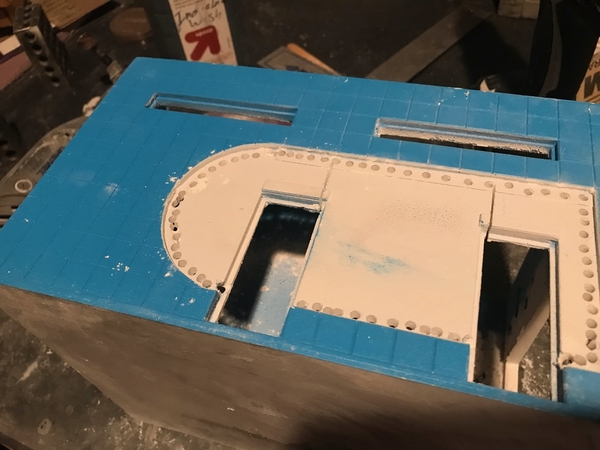
So now I'm sitting here like, what the heck can I do. I was ready to throw it out, but knowing that they're kinda rare, I decided to try and salvage it. Sanding it off was too slow going and I was a bit worried I was going to break it again with all the pressure, not to mention I'd never keep it flat and smooth. I tried to rub the paint off with Acetone, but all I did was make a mess. So I did what any frustrated modeler would do, I broke out the power tools...
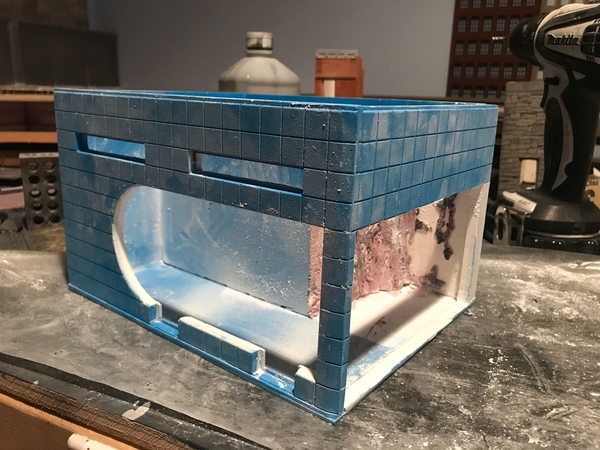
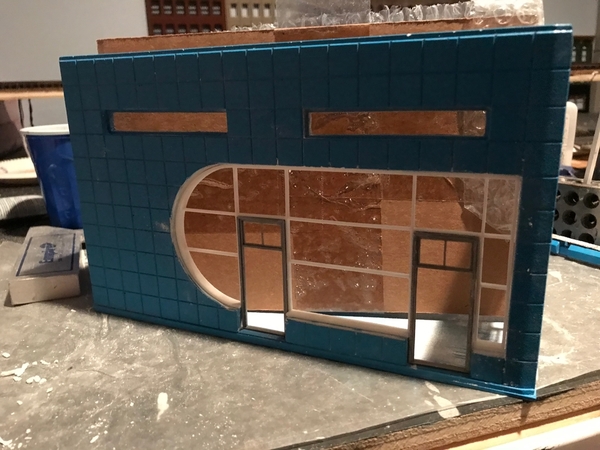
I figured I had nothing to lose (I couldnt possibly make it any worse), so I cut the inserts, and my paint problem, out of the building. A million holes and some careful strokes of the zona saw, I had cleared out what I no longer needed en masse. A dremel sanding drum and some sanding sticks made it something I could work with. I also had to fight out a bunch of that foam block that I so painstakingly fit in there in the first place, so I could get the side wall out.
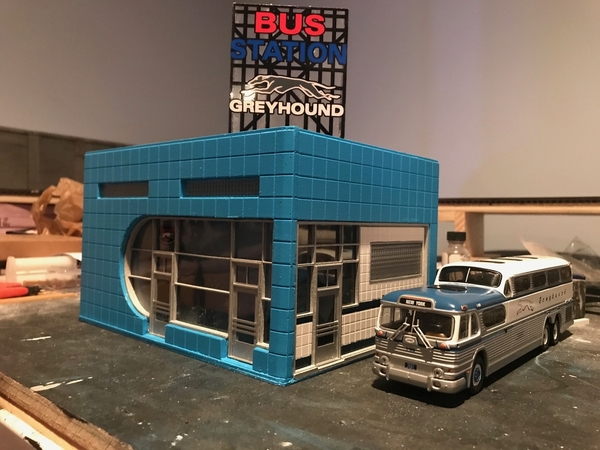
Ok, empty shell, what to do? I needed to keep the Art Deco look, but now I had some big holes to fill in. I took the 21st Century approach... google Greyhound Stations. After looking at way too many, theres a lot of similarities but they're all in some way unique. So could virtually do no wrong. I started drawing walls in tinkercad until I was satisfied with the look and got all the doorways in the right spots.
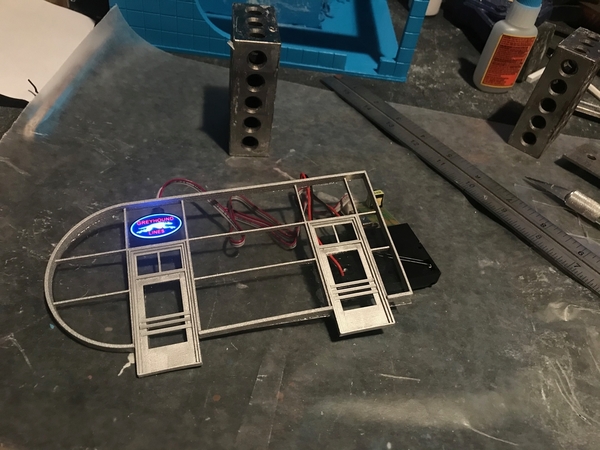
These are about the 8th iteration of the walls... Then I sent them off to be 3D printed. 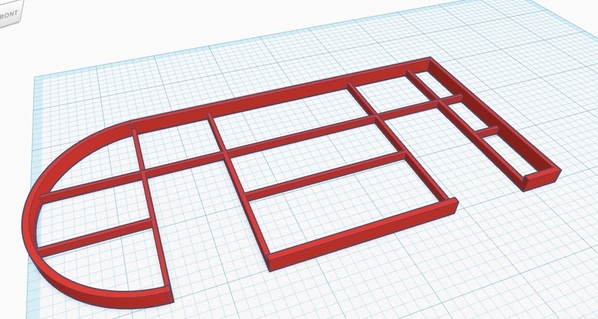
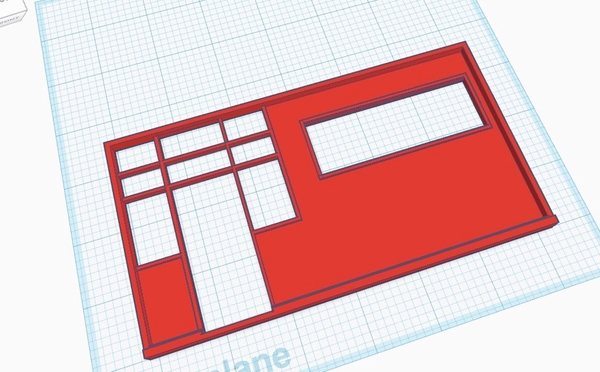
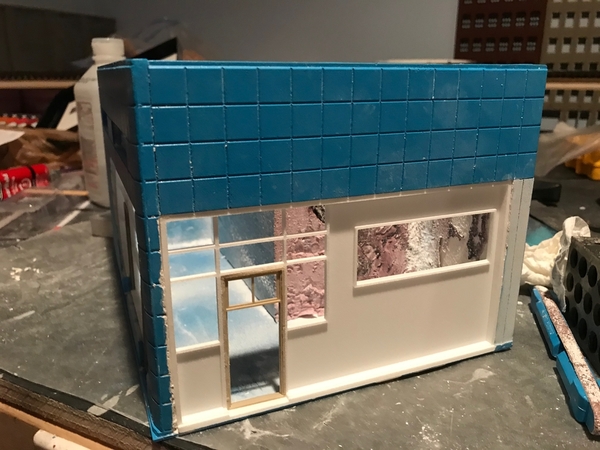
These are actually the 2nd round of prints, the first ones were a bit too thin and flimsy. So by this point I was more into sintered plastic pellets than plaster building kit. No turning back now, It had to work. I mocked it up a few times, filling the opening with a bit of spackle to get the shape right. Now that it was going to have walls of windows I need an interior, so there cant be any light leaks.
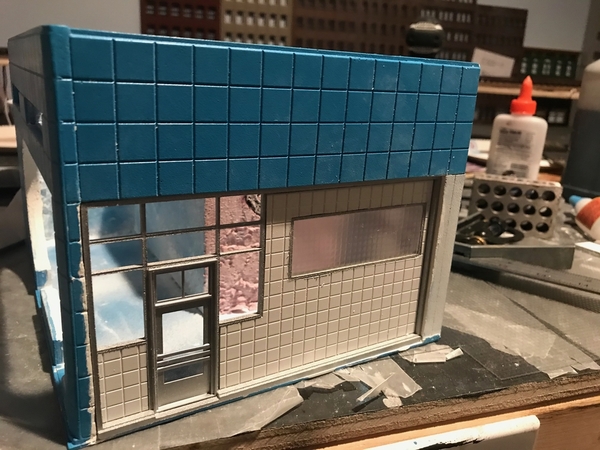
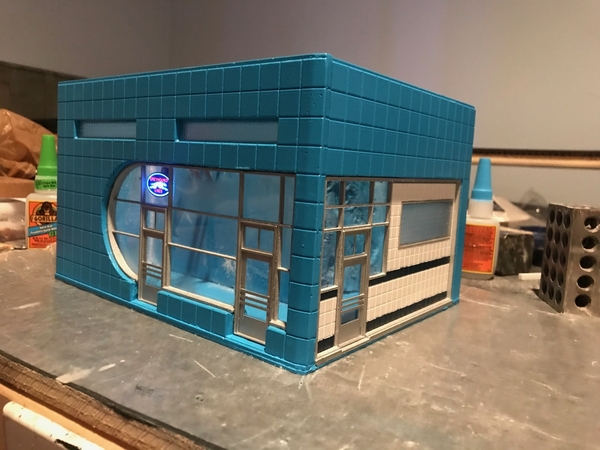
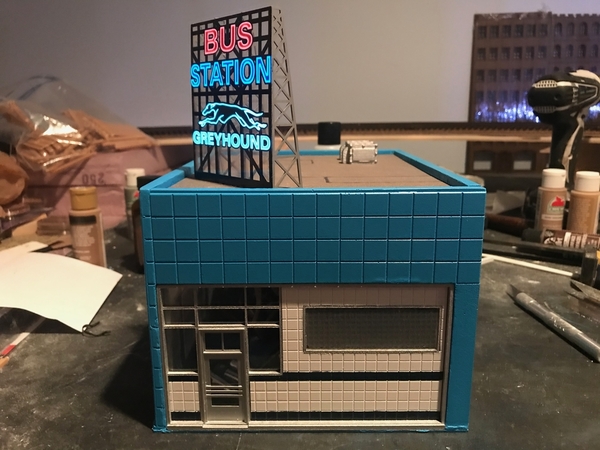
A few shots of aluminum paint and the doors installed later, I started doing the tile work on the side wall. Now, I'm not Alan Graziano or Joe Fauty, so my styrene work is not perfection. No matter how new the exacto or how steel the ruler, I just couldnt get 100% straight edges. This will do though. The glass block is Plastruct sprayed with dullcote.
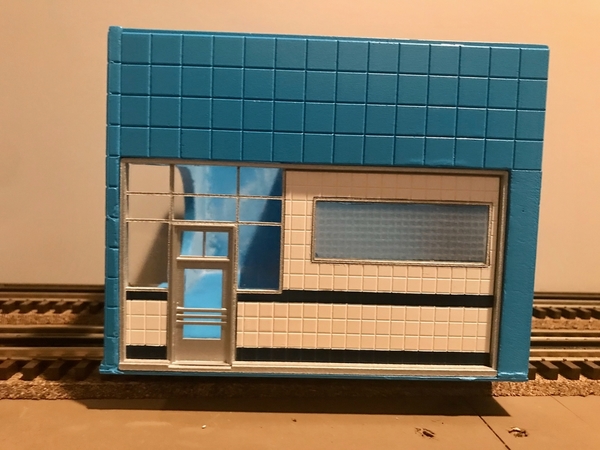
The front wall was much of the same, fit it, add windows and then I also fitted a Miller window sign over the door.
Full mockup
Next I took the leap and glued it together. Naturally, the superglue ate the clear windows. I'll have to do some polishing, but for the first time in a while, the building now seemed structurally sound.
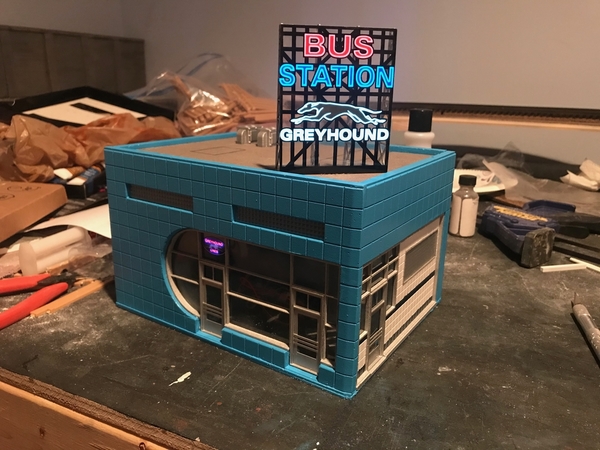
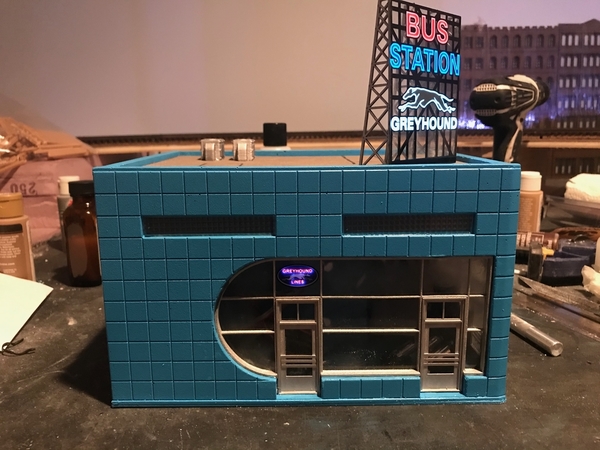
I finished up the roof with another Miller sign, and a couple of AC units (to use as handles to lift the roof off).
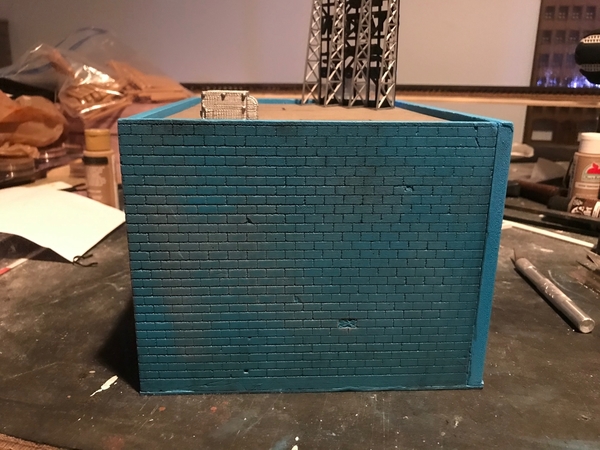
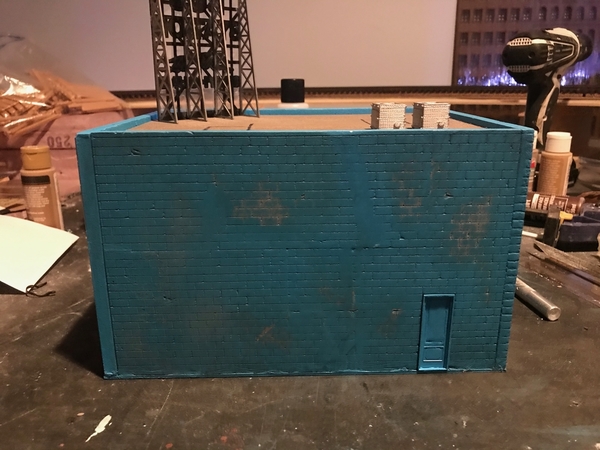
The sidewall and the back wall got the steel wool treatment to get some of the grey cinderblock to show through. I left the front wall and the bus stop wall intact.
I modified a Grant Line door to fit in the back doorway, so I could hide a bunch of cracks.
This is no where near done. I'm planning to build a curved edge cover for the bus stop, and I need to fashion up some kind of interior that hides the foam block and all the wiring for the Miller signs. I held off posting for a while because I wanted to make sure that I made something out of it first. That wasnt always a guarantee ( I actually went through the trouble of buying a 2nd kit off ebay).
I'll update as I go, but for now... Merry Christmas.


