I’m a relative new O-Scaler - an HO scale modeler since I was 9, but joined the Cherry Valley O Scale club in Merchantville, NJ about a year and a half ago. I’ve been acquiring a fleet of cars and locos, sticking to modeling the Penn Central/Penn Central era (1968-1976) and also the Erie-Lackawanna to some extent. Besides some painting, decaling, and weathering of Atlas and Weaver plastic, I’ve been building a number of Ambroid/Gloor Craft/ Quality Craft kits, well more semi-scratchbuilding. Three of them are wood sided cabooses - an Erie, Nickel Plate, and PRR ND. Building these kits, and seeing the work, on here, by Brother Love, I’m making an attempt at scratchbuilding a few cabeese. I’ve worked with styrene for many years in HO, primarily building industrial structures, but also, the occasional freight car, and one caboose. This will be sort of an experiment for me, in that I will use a mix of styrene and acrylic plastic. Acrylic is harder and more rigid than styrene (ie less bracing needed), but cutting it is difficult, unless you have a laser. I’ll post when and as I go along working on this.
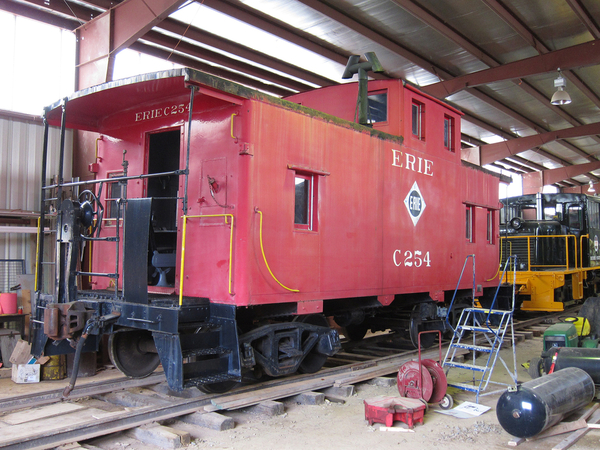
Tonight the prototype - The Erie started building this design using riveted steel to replace their aging wood cars in 1941, with an initial run of 75. After the war, they switched to welded construction, purchasing a “kit” from an outside supplier, which they assembled at their Dunmore Shops. Eventually I think around another 200 of these were made. Besides the rivets vs. weldlines, the only difference between the earlier and later versions appear to be the end windows being higher. 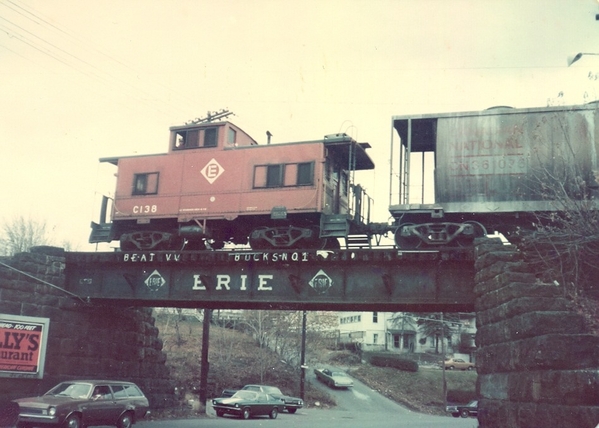
The riveted version - I might build one of this type down the road.
The welded version. (Stack is not correct for Erie/EL)
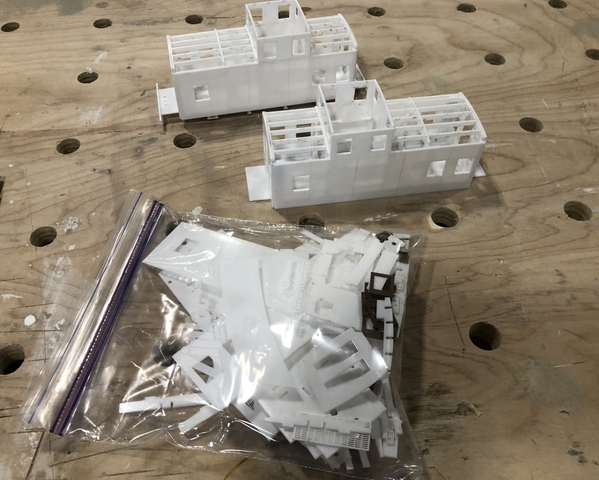
My “kit” in the bag - a few parts haven’t been designed yet, like roof walks and some jigs, but mostly complete. Behind the bag are two prototypes that I’ve been working out the bugs with. The closest was designed to be built around the bottom, like the Ambroid kits, but realizing a remove-able bottom would be nice for setting the glazing after painting, and future servicing. Rear prototype has a remove-able bottom, but still not perfect, as including the end platforms, I didn’t think about the ladders - duh. I probably won’t change.
Why the laser? Besides cutting the parts, you have exact repeatability, and the laser engraves the weld-lines (could just as easily scribe for a wood sided car), marks part locations (without me getting out a pencil or ruler), and drills the holes for all the handrails and grabs. Again, this is an experiment of sorts, to see if it’s feasible and develop a system for future cabooses and freight cars. (Next laser project will be a G-39a PRR ore jennie)
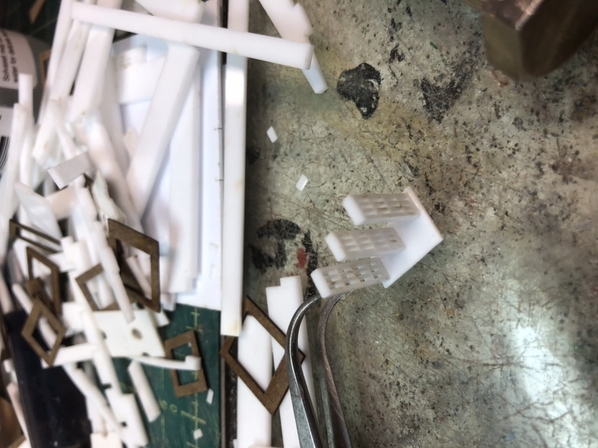
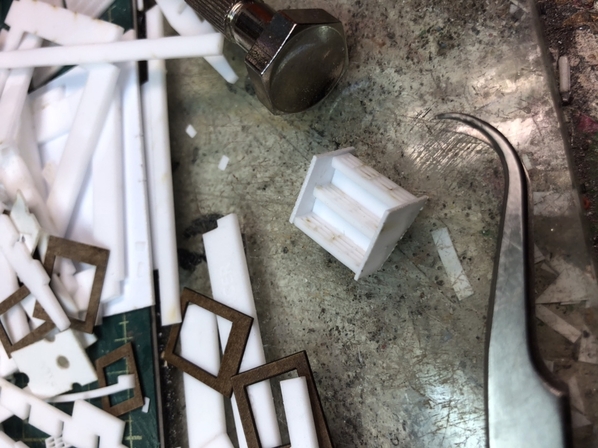
Next edition will be the basic body and under frame assembly. I’ll leave you with the step prototype I was working on tonight. It’s hard to see, but the laser added locating marks for the stringers and risers on the side plates.


