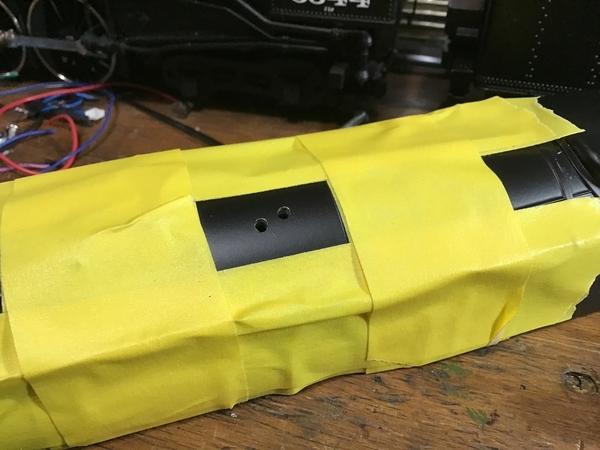
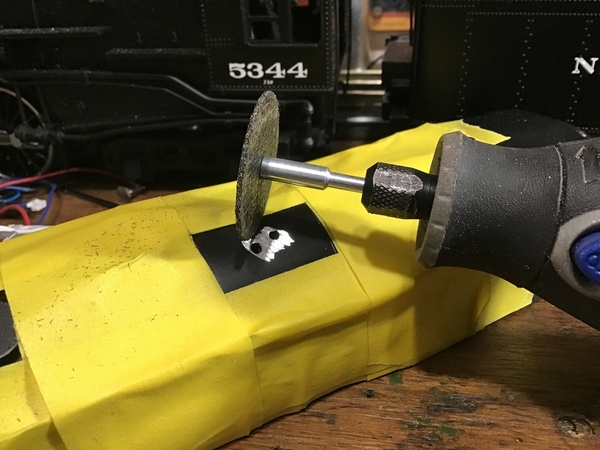
Ok gentlemen & ladies if present, ….let’s get started!…I have this dead Niagara shell we’ll use as our demonstrator ……We’ll mimic the kind of job like Gray is doing where he’s removed a device for relocation, or omitting all together….leaving holes that need to be filled in,….so I’ve drilled a couple holes in the shell, and we’ll fill them in, smooth it all out, and blend the area in with color for a seamless job,…..first thing I do is to clean the entire shell, being sure it’s free of oils, grease, and dust …next thing to do is protect all the surrounding areas with masking tape in layers,…another trick for close quarters combat is foil tape over precious details …again in layers if need be…..we start by examining the area…obviously my drilled holes have raised material as well as blown a hole, so we need to take that into consideration,….also, when filling in perfect holes, we want to have a divot to fill in rather than a perfect hole,….so with a dremel tool and a cut off wheel, you can see where I’ve dug down on top of the holes….this divot will do two things. The filler will form more of a rivet type patch, as opposed to a perfect plug. So the repaired area will be stronger……also, it’s much easier to level a divot than a perfect hole ….next, I lightly scuff the repair area with either fine paper or scotchbrite, then wipe the area clean with alcohol….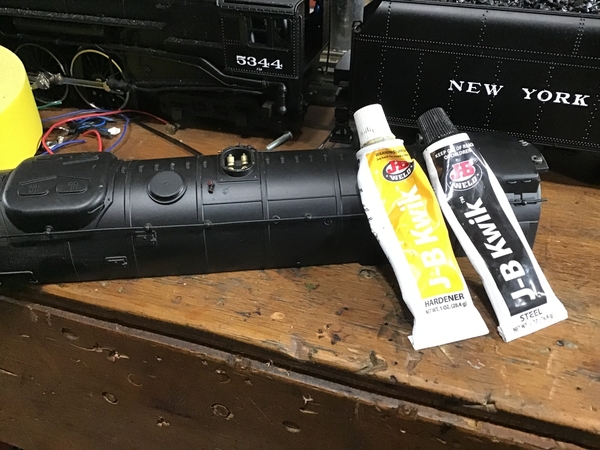

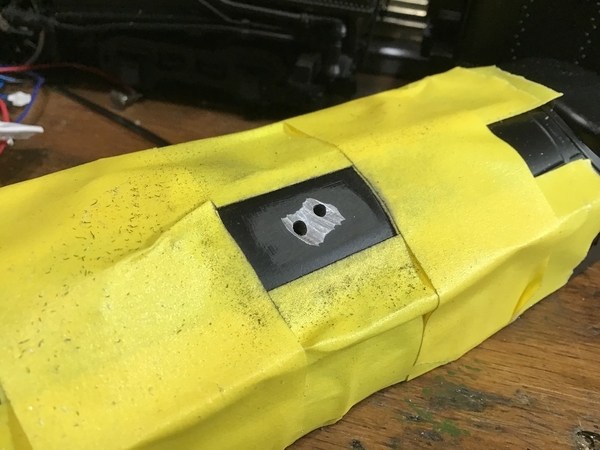
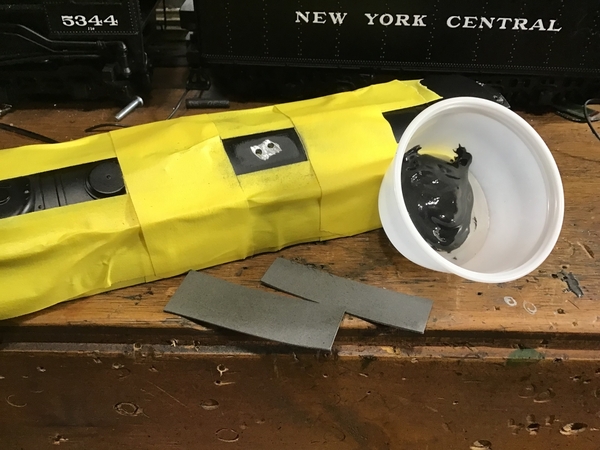
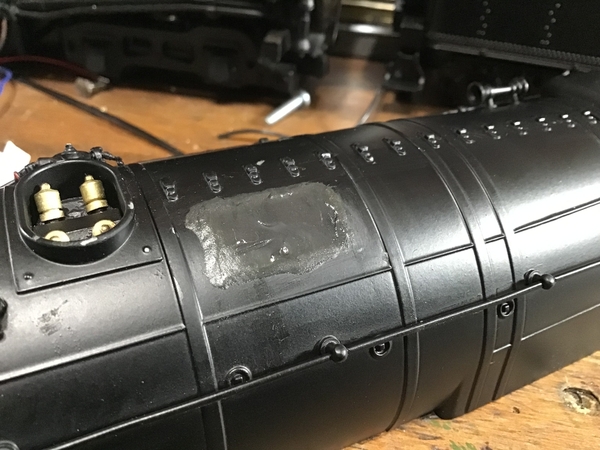 I fashion spreaders out of whatever firm sheet styrene or card stock, or whatever is stiff and thin….tonight’s spreaders are made from scrap firm gasket material….waste not, want not …..most of y’all get this part, and I’m sure y’all are more interested in the blocking and smoothing process. So I’ve purposely kinda did a lumpy wipe so I can better picture the blocking process,…tip # 1: when you’re ready to spread the JB Kwik, you have 5 minutes work time before it locks up, BUT, don’t be so eager to spread directly after mixing!..wait about 45 seconds to a minute!…the filler will firm to a more paste texture than a flowing liquid state ….so we’ll let this cure overnight, I’ll remask the entire area and begin blocking this down,….it may require a second wipe, but we’ll see,…also, for you DIY guys, I’ll be using the common rattle can products as opposed to the automotive refinishing products I normally use so you can duplicate this process at home in your shops….
Pat


