Update: October 9th
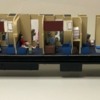
Here’s the How-To guide on making an interior for a Pacific series sleeping car
It has taking a long time to get to this point and I'm relieved to be posting the finished results of this project. For this build I recommend getting a frame with trucks already mounted from a used 18” aluminum K-Line streamline passenger car. A used semi-scale K-Line car like this can be found at train swap meets or eBay for about $40 bucks. On your 18" K-Line donor car start by removing the 2 black screws on each end that hold on the end caps. Pull each end cap away from the shell and unplug the wires going to the overhead lights. Slide the black metal frame with stock K-Line interior out of the K-Line shell. Next, remove the small screws that hold the old plastic floor onto black metal frame.
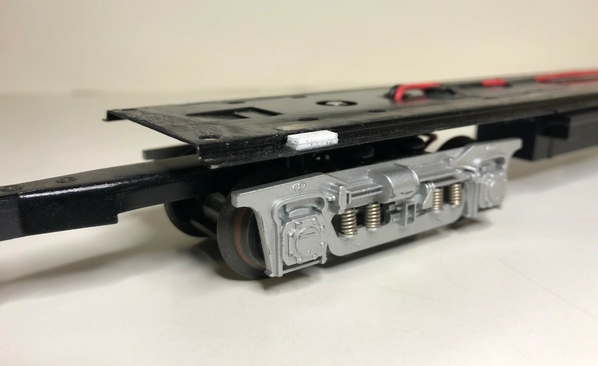
Once the old plastic interior is gone the Phoenix Railways shell will need to be elevated 2mm using styrene spacers. Glue this spacer on each corner of the black metal frame as shown below. These spacers makes your Phoenix shell match the same roof height as other K-Line passenger cars, allows clearance for the incoming power wires and allows clearance for the trucks to turn freely under the Phoenix shell.
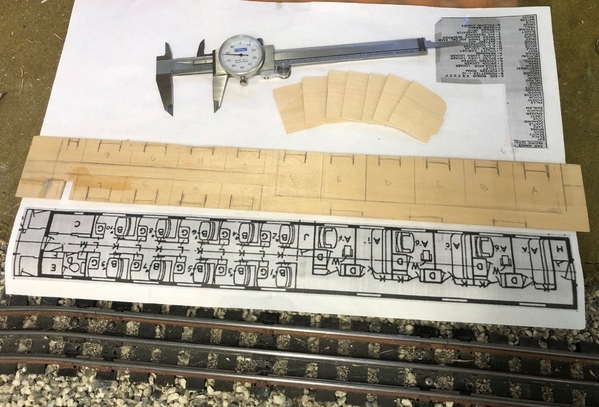
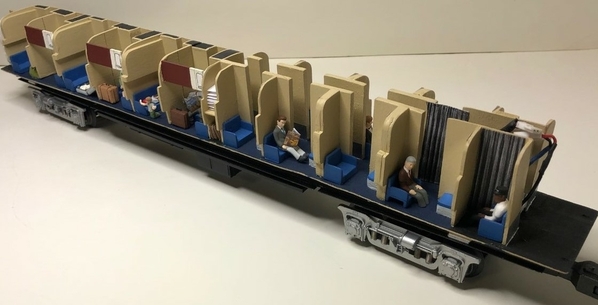
Your new basswood floor measurements will be 17 ½ x 2 ¼” x 1/32". A 1/32" thick floor allows it to slide perfectly into the side slots of the Phoenix shell. The new floor should have two 1/16” wooden strips mounted to its bottom with CA glue to add rigidity. Always keep the plans close by on a sheet of 11" x 17" paper for this next part. The bedrooms are marked A ~ F and some rooms can be made into an en suite by opening the partition door between rooms. On the Budd plans the roomettes were marked 1 ~ 10 (I could only fit 1 ~ 8 inside this semi-scale shell). I originally planned for a small opening in the bathroom floor for the LED’s power wires but needed to move this opening to the center of the hallway later in the build.
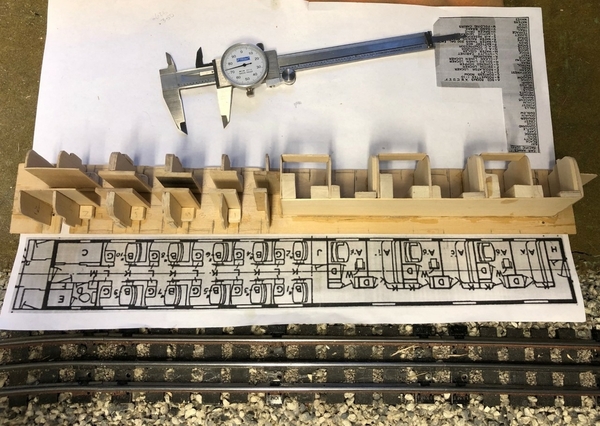
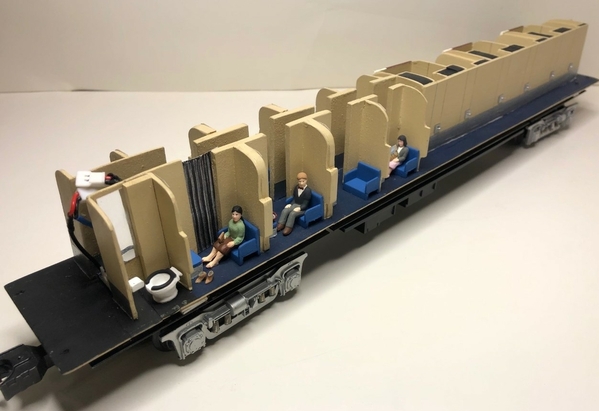
Glue the walls in place and leave some room up front for a Hennings 21000 Passenger Car LED lighting kit. The circuit board will mount in the main hallway next to the bathroom. I'll attach my patterns for both the full and half size walls that fit inside this shell at the end of the post they are ready to print on an 8 1/2" x 11" sheet of paper.
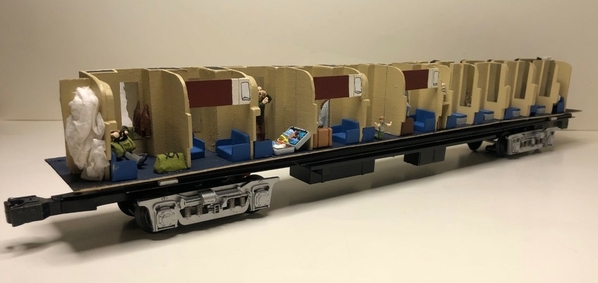
Paint the floor, paint the walls and add mirrors in the rooms. After the walls were dry I added chairs a toilet and sink from ScaleCityDesign. 18x K-Line bench seats part# K4400-009-02 were ordered from Brasseur Electric Trains at .50 cents each. These bench seats are very nice but not long enough to be used as full convertible sofas in bedrooms A, C and E. Not a problem, because with a little bit of modification you can extend these to the length of the room. To make a sofa, use 1-1/2 bench seats per room. This can be done by cutting one bench seat in half and attaching it to another full size seat. Bedrooms B, D and F had lower berth/sofas that were cut down to 1/3 original size.
The figures used in this build were from Arttista, The Aspen Modeling Company and K-Line. The upper berths in bedrooms “B”, “D” and “F” are currently folded up and stored until evening. On this end of the car you will find the soiled linen locker. In the middle of the car you will find the clean linen locker and storage for folding tables.
To get the correct colors for the carpet, walls and furniture I researched the Pacific Sands which is currently owned by http://www.larail.com/our-rail...cific-sands-sleeper/ . On “B” end of the car on the left side is a separate room for the sleeping car attendant. The normal direction of travel for the Union Pacific's City of Los Angeles sleeping cars was vestibule forward. That meant the sleeping car attendant’s seat was backwards while traveling down the rails.
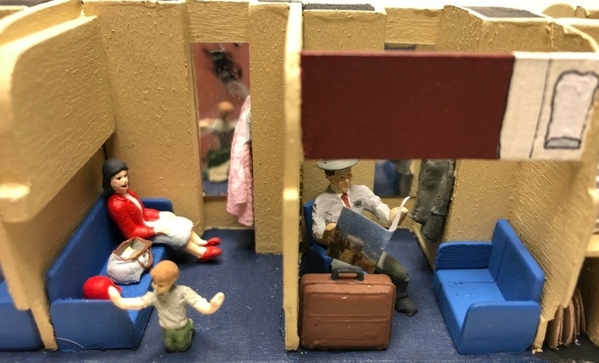
On the right side on the vestibule end of the car is the common toilet-washroom. Putting door outlines and door handles in the main corridor gives my guests something to look at on this side of the sleeping car. The Pacific series cars have stainless steel wall/kick plate down the main corridor to prevent luggage from scuffing the interior walls. I’m starting to have fun displaying these passengers doing different things. That way my visitors can look into the windows and see the unique personalities of each passenger. Next to the bathroom in roomette #7 this passenger just painted her toenails and letting them dry.
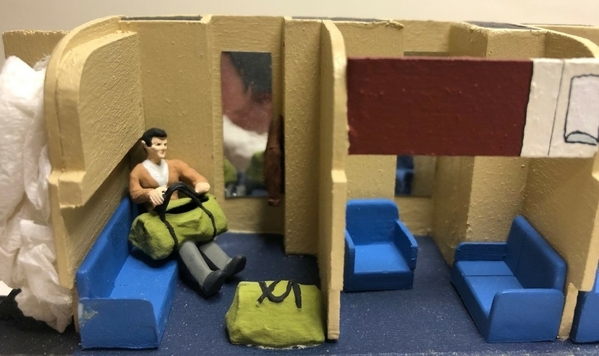
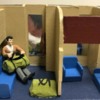
In the “A” bedroom this brawny male passenger with the 1950’s pompadour hairstyle has his duffel bags ready for arrival at Los Angeles Union Station. He’s going to Hollywood to be a stunt double for Tony Curtis. Bedroom “B” is empty.
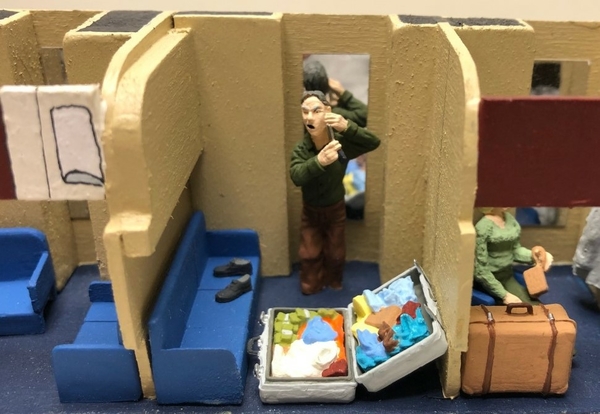
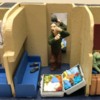
I’m not sure what the story is in bedroom “C” but this passenger is quickly shaving off his beard and changing clothes. Messy stacks of unmarked $100 bills can seen piled up inside his open suitcase. Hats, coats, shoes, luggage, bags and suitcases full of money are from Preiser kit number 65811. Next door, the grandmother in bedroom “D” has matching luggage and is ready to visit her family.
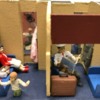
A mother glances over at her little boy in bedroom “E”. His face is pressed up against the glass in amazement at the western scenery passing by outside the window. Hanging on the wall is her fur coat and on the sofa is a purse and red hat. A business man sits in bedroom “F” in a gray suit and reading the travel magazine about a newly opened theme park in Anaheim called Disneyland.
Next, I needed to install the new interior into the freshly painted shell. To my surprise the K-Line frame with trucks did not fit into the aluminum shell while still attached to the interior like my other builds. The reason was the lower skirts of this Phoenix Railway’s shell is .625” long and curves deep under the sides of the aluminum shell. To get around this problem I had to separated the interior from the black metal frame. Then, slid the interior into the shell. Then, attach the metal frame to the bottom of the basswood interior using four screws.
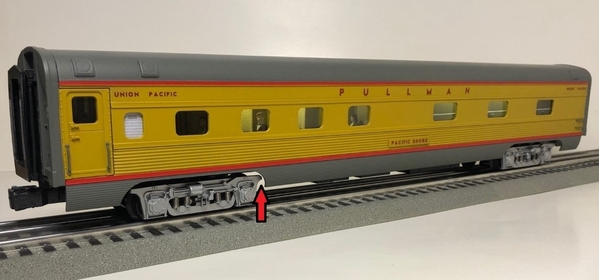
Once all together the frame and trucks centered nicely under the 18" Phoenix shell. As seen in this next photo only one set of K-Line trucks needed 1/16” of rounding off on its upper inside corner to make it around my layouts tight 042 curves.
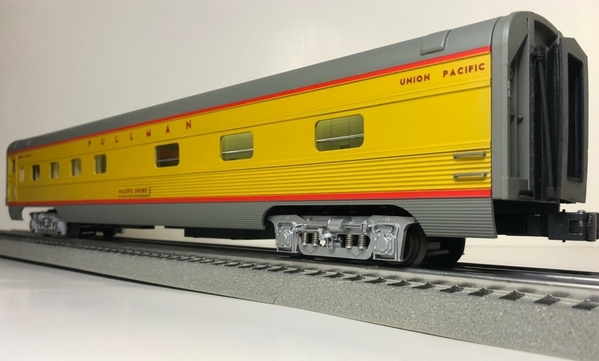
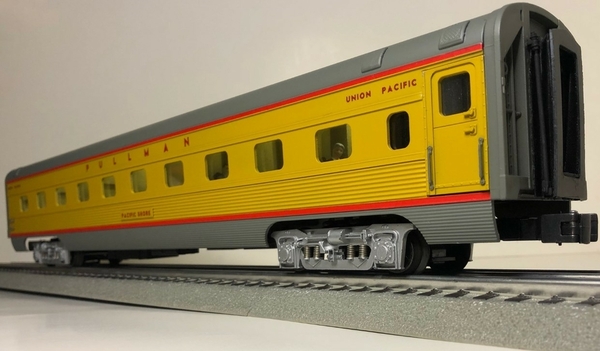
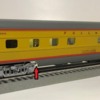
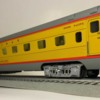
I liked the quality of this 18" Phoenix Railways aluminum shell and would recommend them to anyone who wants to build a Budd style sleeping cars with fluted sides. This Pullman sleeping car is now a pretty close match to the real Pacific series cars Budd delivered to the Union Pacific in 1950.
Thank you to all the OGR Forum members for the positive feedback and support during this challenging build. With your encouragement I was able to finish the Pacific Shore sleeping car and it has turned out to be one of my favorite passenger cars in the fleet. To look at the other builds in this series click on the links below. They are listed in the order I run them on my layout:
https://ogrforum.ogaugerr.com/...-an-e-8-cab-interior
https://ogrforum.ogaugerr.com/...interior-upgrade-rpo
https://ogrforum.ogaugerr.com/...6327-k4690#lastReply
https://ogrforum.ogaugerr.com/...car-interior-upgrade
https://ogrforum.ogaugerr.com/...enger-car-8003-k4690
https://ogrforum.ogaugerr.com/...lounge-car#lastReply
https://ogrforum.ogaugerr.com/...enger-car-1305-k4690
https://ogrforum.ogaugerr.com/...upgrade-k-line-k4690
https://ogrforum.ogaugerr.com/...upgrade-k-line-k4690
https://ogrforum.ogaugerr.com/...senger-car#lastReply
https://ogrforum.ogaugerr.com/...upgrade-placid-haven
https://ogrforum.ogaugerr.com/...oenix-aluminum-shell
https://ogrforum.ogaugerr.com/...pullman-sleeping-car


