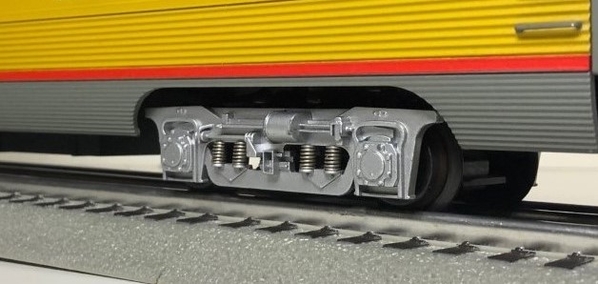
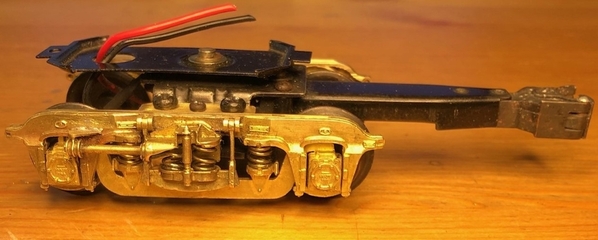
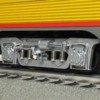
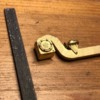
If I had to guess my O-scale version of the Pacific Shore has either 41-C or 41-N type postwar streamline passenger truck underneath it. Either way, they don’t look like the real trucks that came underneath a Pacific series passenger car in 1949.
After searching the internet I found Kemtron made a brass 41-CUDO truck kit that would be a good match for my Pacific Shore passenger car. This popular style truck with outside swing hangers was first used by Union Pacific underneath the Pacific series passenger cars. The post-war Pullman Company truck code for 41-CUDO breaks down as 4 four wheels, 1 single booster, C 9-0” wheel base, U 14 1/16” (Union Pacific specified pedestal openings), D Disc brakes and O Outside swing hanger. One of the reasons the 41-CUDO trucks were liked by Union Pacific’s mechanical department was its simplicity of design and ease of maintenance.
In my October 2019 photo below you can see 41-CUDO trucks with outside swing hangers still running on the #103 business car Cheyenne.
41-CUDO trucks still run underneath the dining car City of Los Angeles #4808. The General Steel Industries emblem can be seen on the side frame.
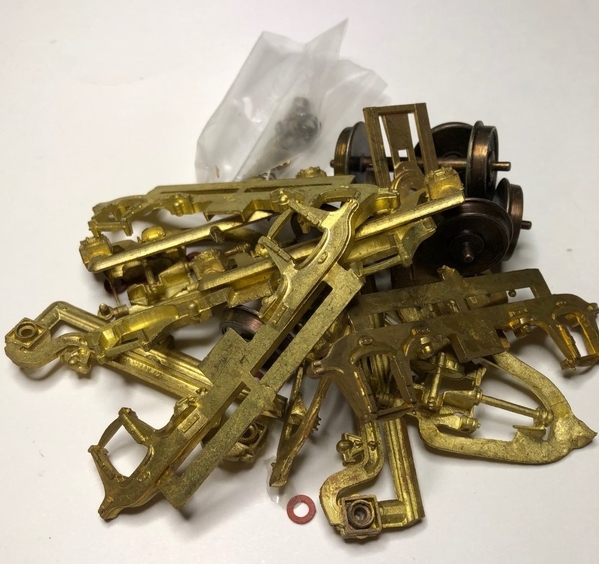
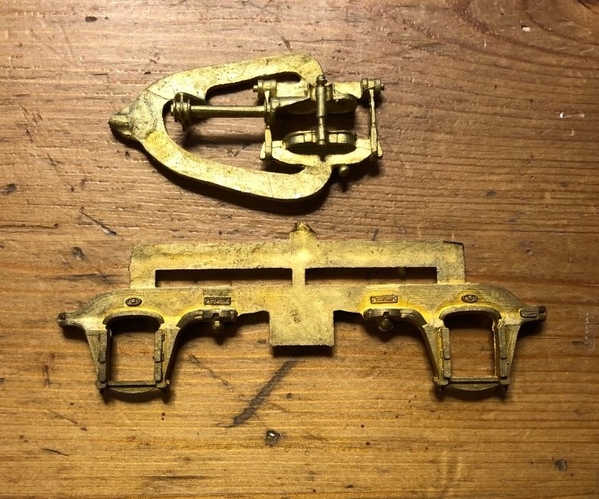
I found a Kemtron kit online an bought it. The benefits of using a brass kit is it can be soldered together and it comes with assembly instructions. Here’s what the pile of parts looked like when I got it.
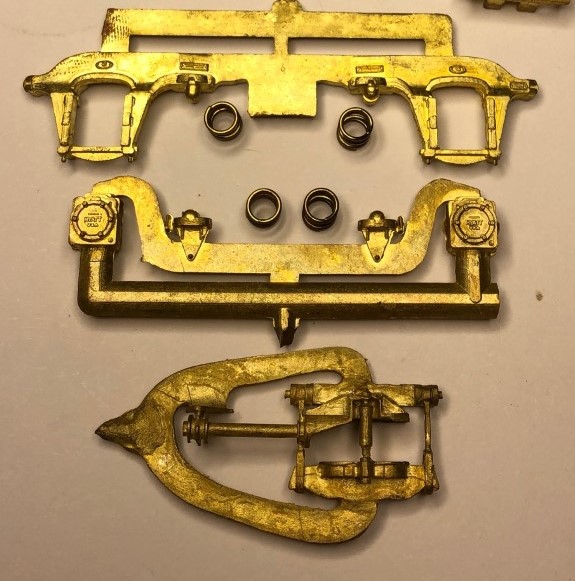
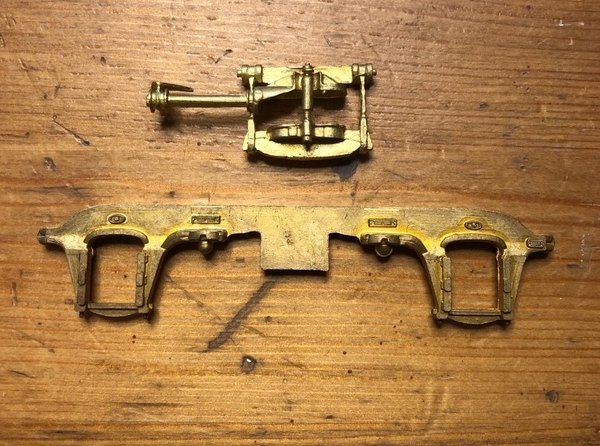
To make this kit to fit on my 3-rail, O-Scale Pacific Shore passenger car I won’t be using the 2-rail wheels or center bolsters. After separating out the unneeded brass pieces the brass truck kit didn’t look so intimidating.
The first step in the instructions was to remove the extra spruce material and file away the flash from the journals and bearing surfaces.
Done
The next part was to remove the extra spruce material and file the side frames and equalizer units.
Done
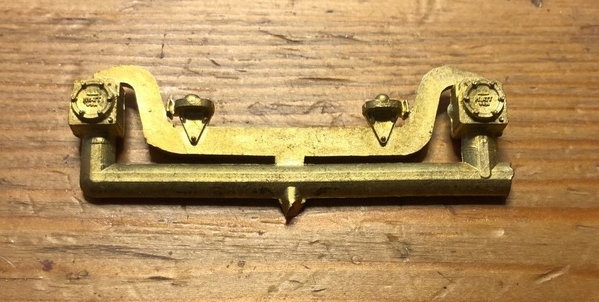
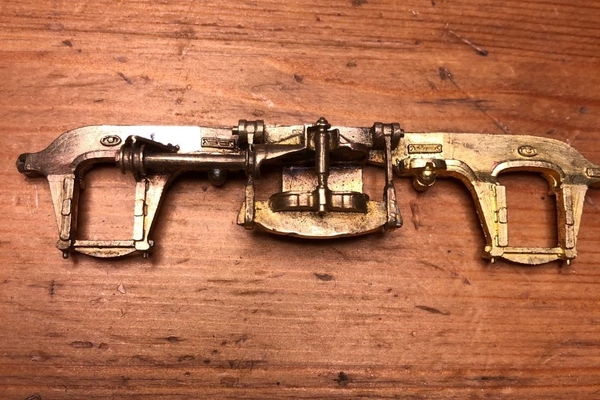
Then, the instructions said to solder the equalizer onto the center-top of the side frame. Sand down your connections points and apply flux. I found soldering brass is much easier now that I’m using a micro torch and small chips of solder.
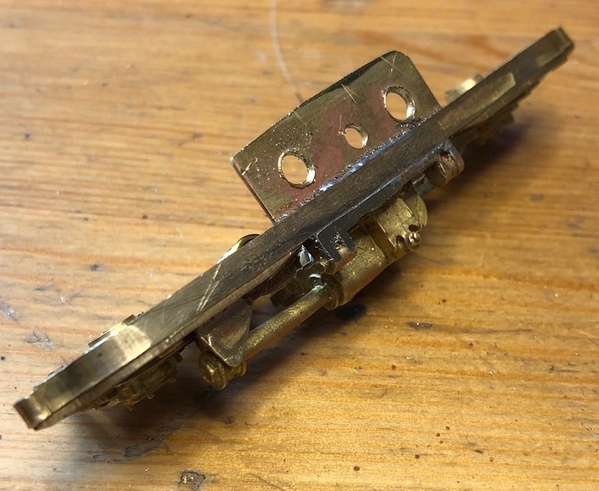
Next, I needed to solder a mounting bracket onto the brass side frame and drill three holes in this new mount to match my existing K-Line center bolster assembly.
At this point, I could install the coil springs and journal equalizer bar for a test fit. Here’s a quick look of what these very detailed brass Kemtron 41-CUDO trucks look like fully assembled.
Stay tuned for the next part. I still have to paint the new truck assemblies and get them installed under my O-scale version of the Pacific Shore.
Thanks,


