In addition to 3D printing customs and building command control locomotives, I also dabble in restoring classic tinplate. I've had a strong craving for tinplate this year and have been buying quite a bit of prewar Lionel, Marx and Hafner. This weekend's project was a prewar Lionel 257 locomotive that I picked up at the Allentown First Frost show last weekend.
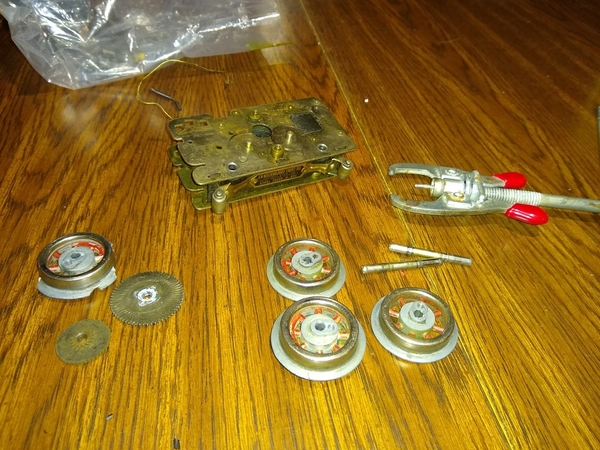
I dismantled the locomotive last weekend and examined the situation. I determined that I needed a new geared wheel, a new set of idler gears and a couple of trim parts for the boiler. The wiring had disintegrated, the armature was questionably but the rest of the running gear looked alright. I ordered the parts I knew I needed and committed to making the motor work again.
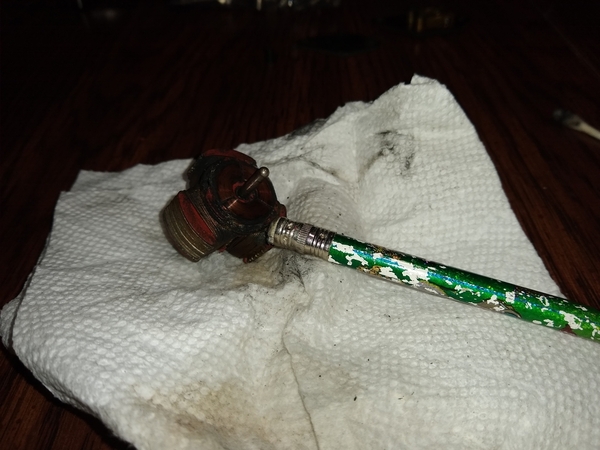
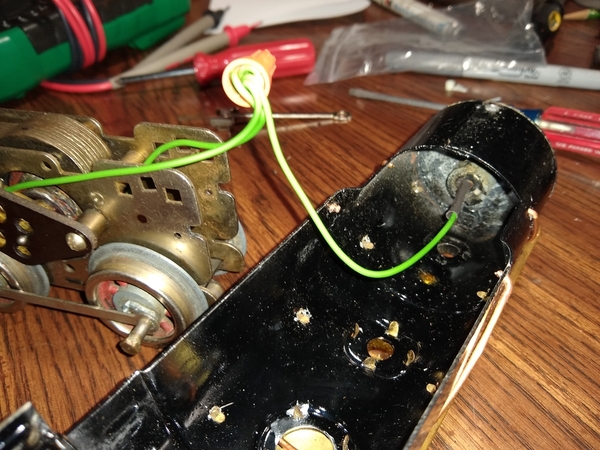
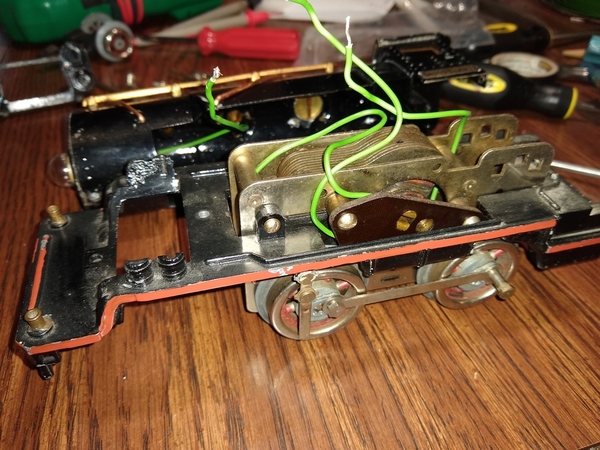
After lots of scrubbing with a IPA-soaked paper towel and a pencil eraser (the secret weapon!) I was able to put a shine onto the armature face. I refaced the original motor brushes, cleaned the whole mechanism thoroughly and replaced all the wiring with good-quality modern stuff. The motor ran smoothly on the bench!
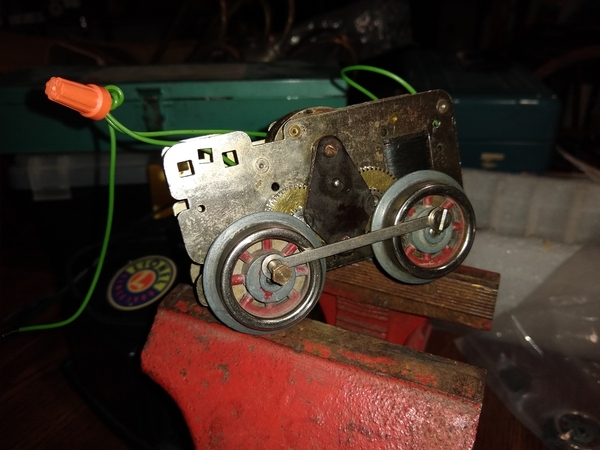
The parts arrived shortly after I got the motor spinning again. The new brass idlers (part SLS-11 from Henning's) seemed to fit pretty well with the original armature and wheel gears. I quartered the wheels and pressed them all back on with my vise.
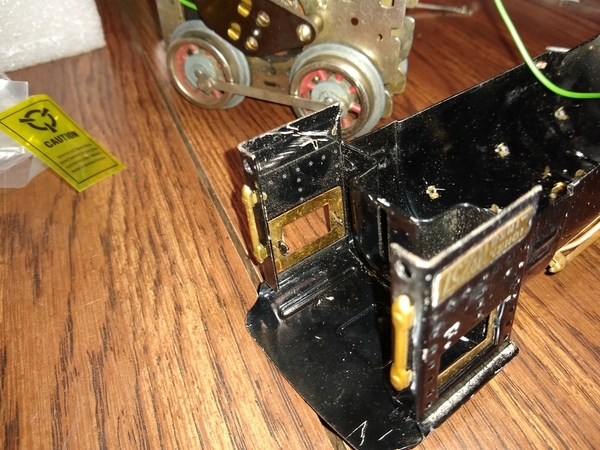
Now that the motor was sorted out I started working on the cab and boiler trim. I had to replace a little grabiron on the back of the cab. Several of the copper pipes on the boiler had come loose over the ages and needed to be put back in. Thankfully all of these little brass and copper details are held on by little tabs that are pretty easy to get on and off with a pair of pliers.
I also needed to rewire the headlight, which took just a hot minute (heh) with the soldering iron.
With all the pieces sorted out, it was finally time to bring everything back together. I started by reattaching the motor to the frame. It goes into a slot in the back and two screws on the front, kind of like a Marx motor.
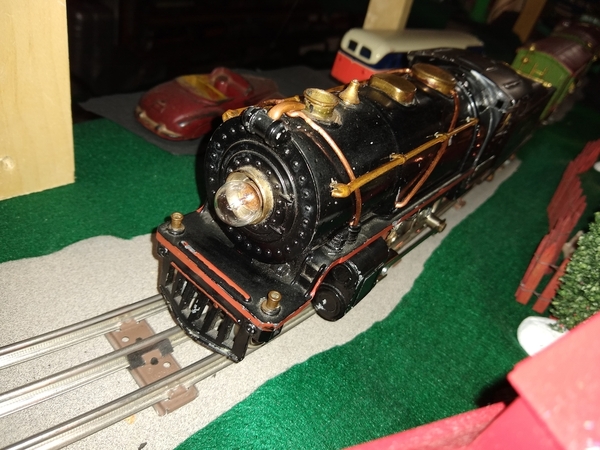
After a bit of monkeying around with the linkage and sourcing some missing hardware, the 257 was finally ready for the track!
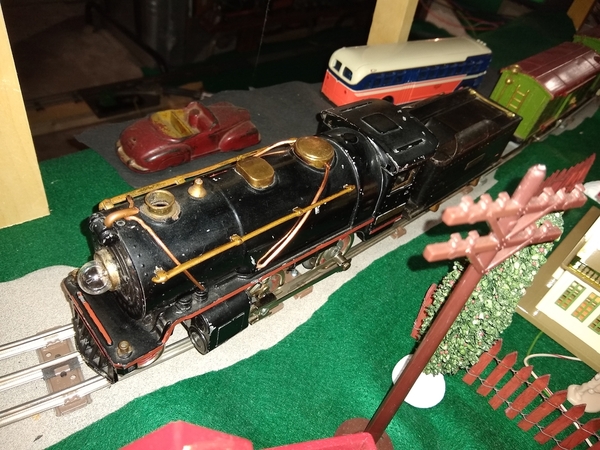
I linked up the rebuilt engine with its tender and dug out some dilapidated 4-wheel freight cars for it to haul around.
Here's a video of the locomotive whirling around the tinplate circle on the main layout table!


