Since I started with this layout, my plans have evolved. First it was about getting things started and running some trains, then I realized I wanted to finish the room – unfortunately around the layout – I migrated to liking more scenery, and so on. Over this time I found I really liked to run longer trains and more running than my current layout could allow. I liked the scenery work I had done (maybe 1/3 done) and I didn’t want to lose the work I had sunk into it. All this had me thinking about ways to expand what I had done, but shift to the approach I was looking for, a new base to grow from.
Here is the basic track plan I started with, while the scenery and building placement is not real accurate here, the track plan is what I have been running, it take up about 24ft x16ft. I use Atlas track and switches.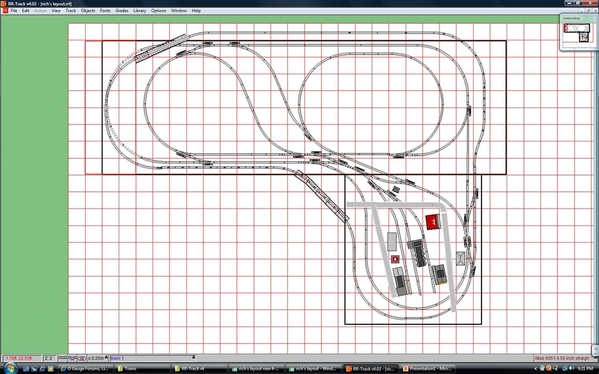
Here are some photos taken a bit before I decided to make some changes.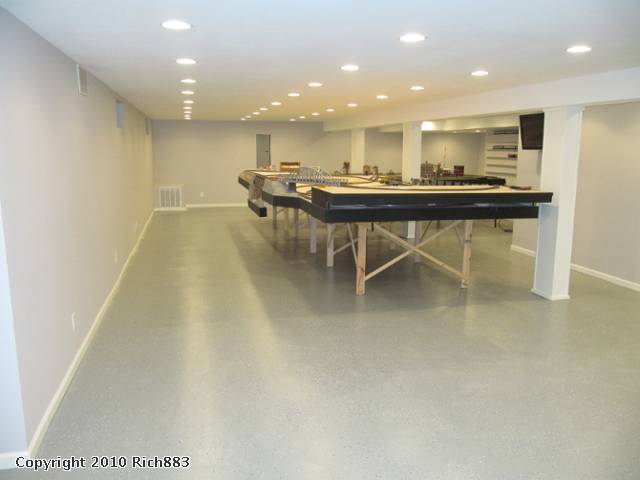
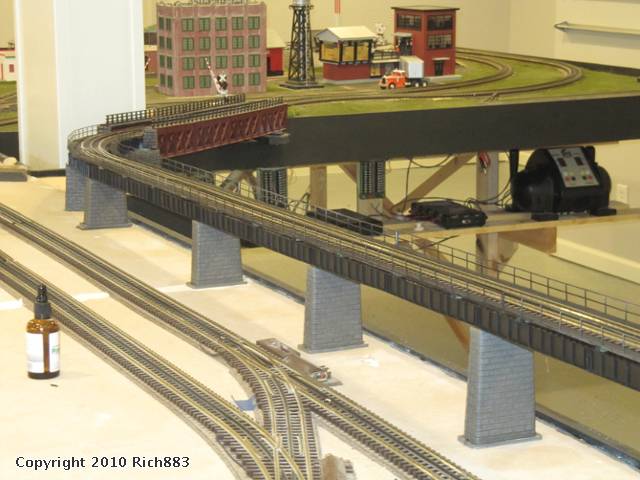
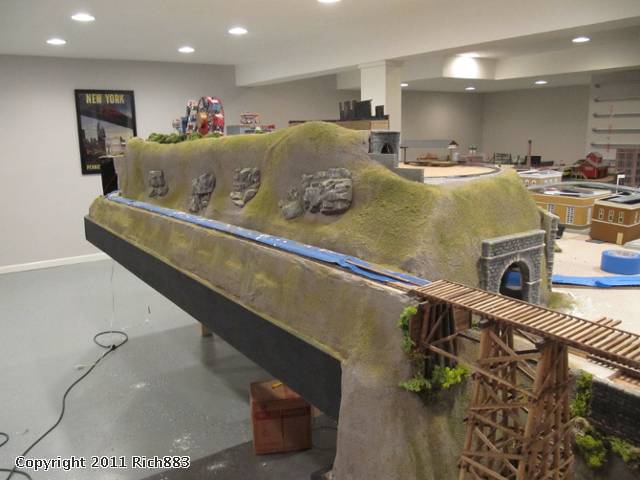
It seemed the sooner I started, the less track I had to rip up (literally in the case)After some thought I looked to move to this track plan, while I expect some changes like adding more sidings for industry, the basic flow will remain the same. I wanted to take advantage of the large wall space I had, and create some peninsulas to break up the viewing angles and set some different scenes. This one is about 43ftx30ft.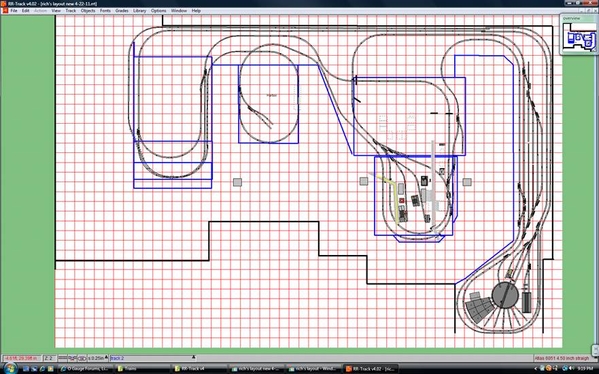
To accomplish this I had to cut the existing bench work apart, and move the two pieces to create two different peninsulas.
The goal was to keep the existing track work and buildings/scenery in place, and move these to a new location, which turned out to be both harder and simpler than I thought. The separate pieces were much too heavy to lift and drag around the room, and while I had leveling feet, I did not build the bench work with wheels. What turned out to be simpler than I thought was to jack up the bench work and place mover’s dollies under it, and once all feet were up, pushing the entire piece into place was not too hard.
Once the existing pieces were in place, I started adding the bench work support structure to tie the pieces together. Construction is with dimensional lumber, mostly 1x4 and 2x4 with a combination of screws and nails to secure it together. I have started covering the frame with ½” OSB, and that will be covered with homasote. The elevated grade at the back will have homasote on it before I lay cork roadbed and track.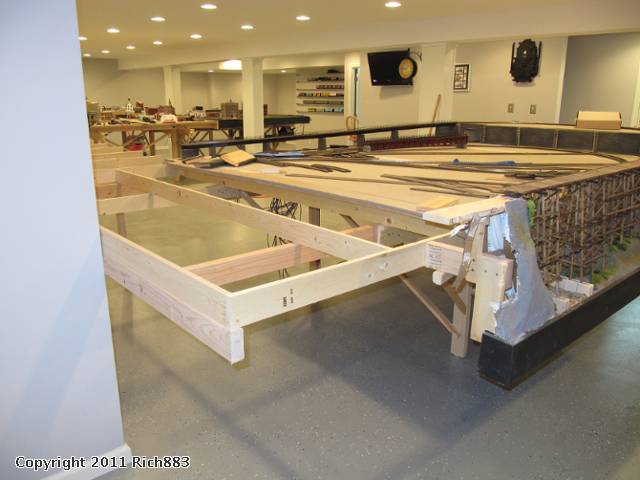
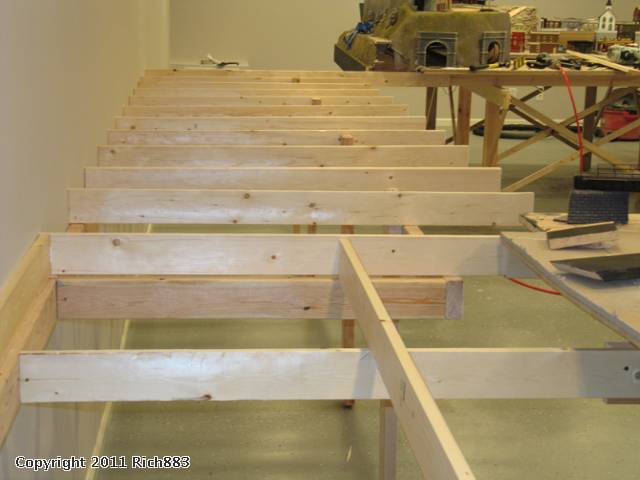
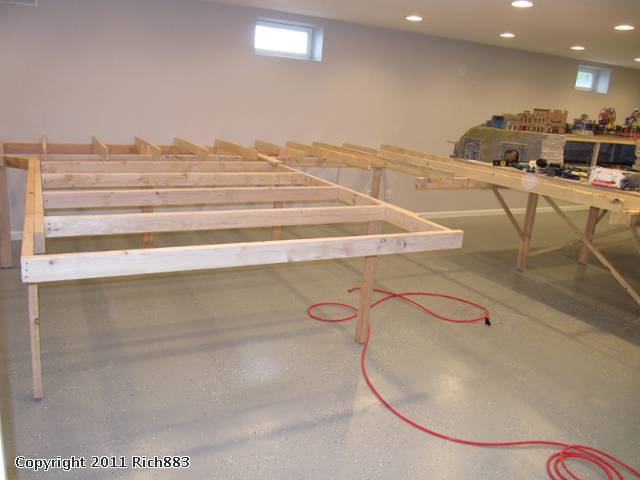
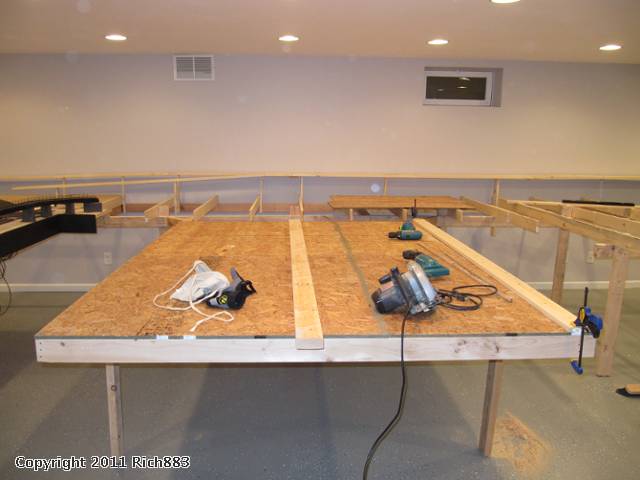
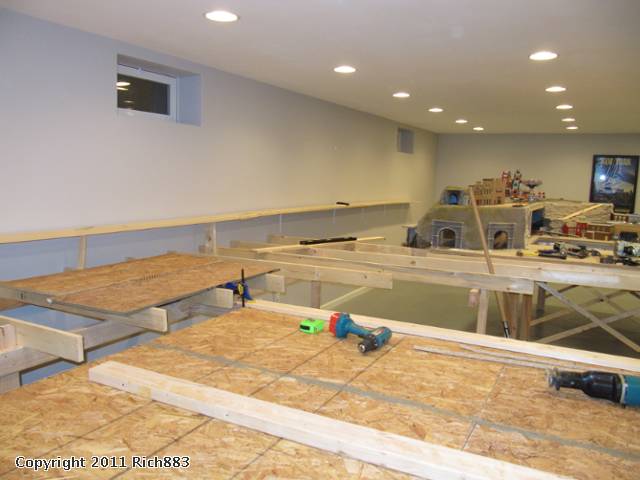
I think I am about half way done with the bench work. I will post more photos as I make some progress, and of course comments welcome.
Attachments
Original Post


