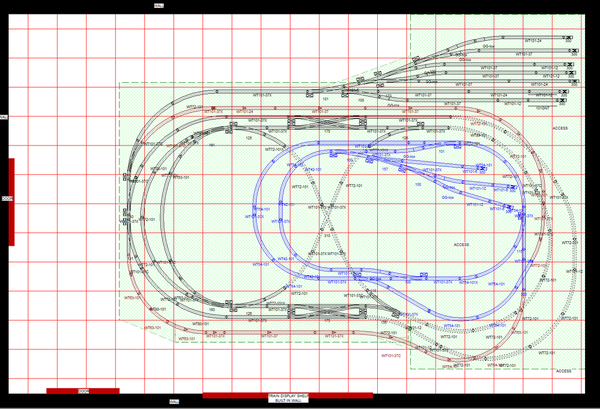
I thought I would clean this up a bit, lay the groundwork for the final layout design and show some of the earlier progress of the build. Here is the final layout design that I settled on. The track is all gargraves phantom and the switches are Ross custom with Midwest cork roadbed for the track and Ross bed for the switches. There are 3 individual loops connected plus the yard. The blue track is a second level and the red tracks are grades going from level 1 to level 2. I am powering this with (2) Z4000's. Each loop will get one side of the transformers and the yard will have one side. I am going to be running the full DCS wifi system. This will allow me to run both my MTH proto 2 & 3 engines in command mode as well as my postwar Lionel's conventionally. I am going to use Z1000's for switch and accessory power.
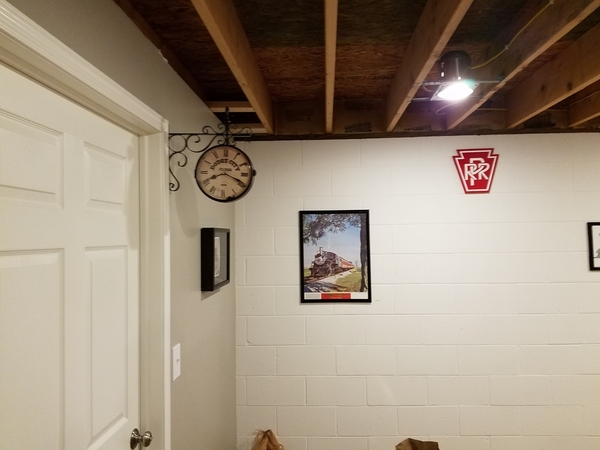
After years of setting up and taking down Christmas layouts I am now blessed to have a dedicated train room in the basement for this permanent layout. 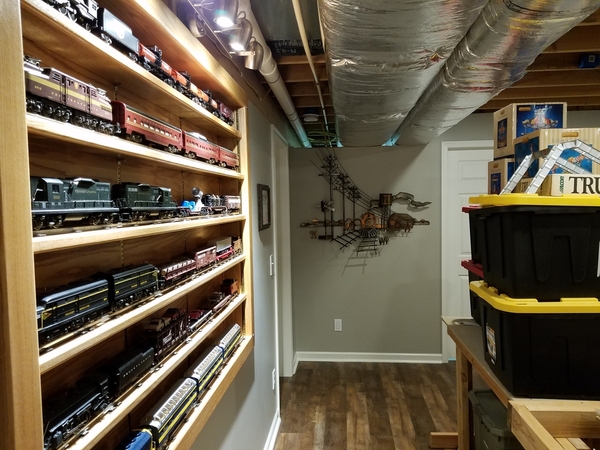
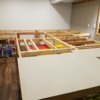
Once I had the room ready, I was ready to start building. I had some leftover bench work from a previous layout that I was able to reuse. I modified some of the framing members to accommodate my new layout and I added additional benchwork. Benchwork consists of 2x4 construction with a 3/4" MDF plywood top.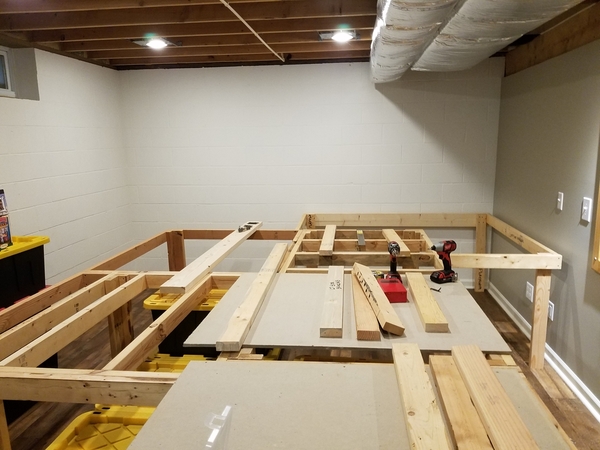

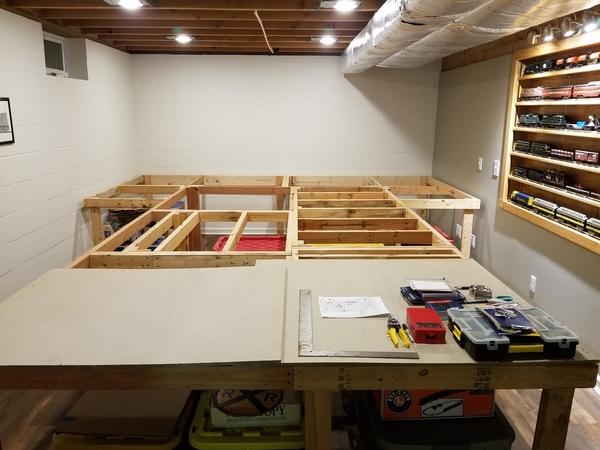
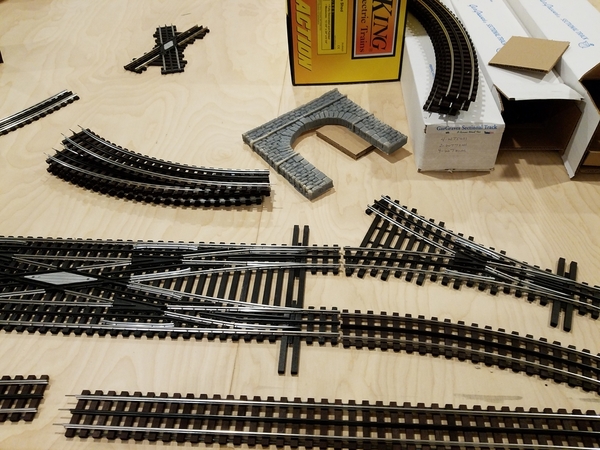
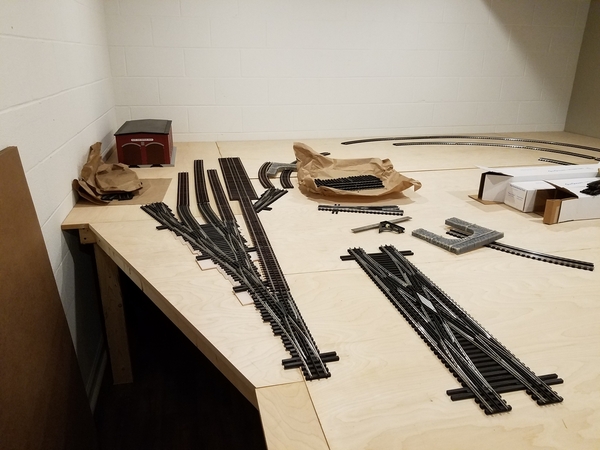
After the lower level benchwork was mostly built I laid the lower level track out to see what it looked like in real space and I traced the layout onto the table top. I also drew the framing members on the table top so I could see where to screw into as well as knowing where the track would lay relative to the benchwork.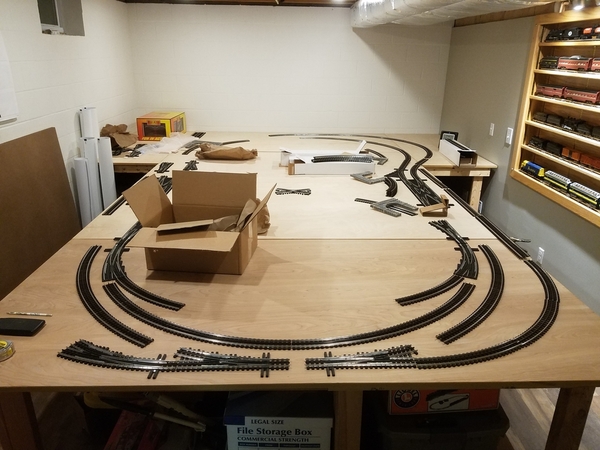
 Additional benchwork modifications were made
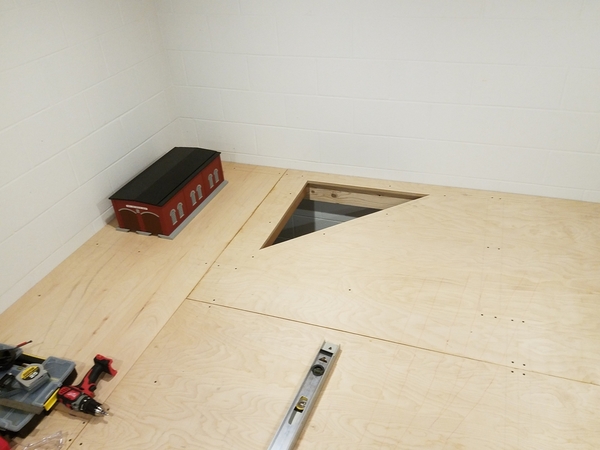
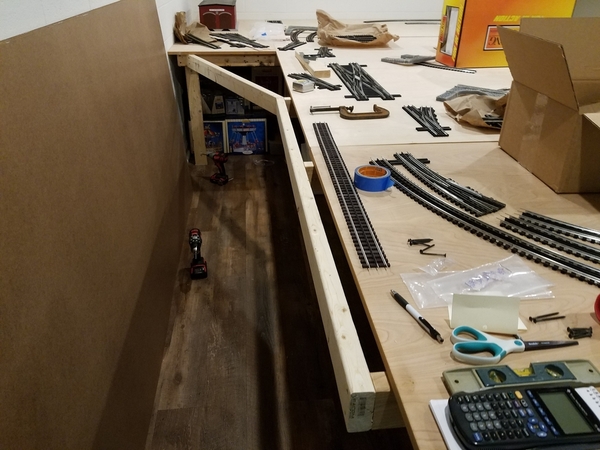 After everything was traced I removed all of the track. I screwed the table top down. I then cut access holes in the back two corners of the layout.
 I have some good helpers! Hopefully I can pass my love of this hobby onto the next generation!
I also cut access holes to access the underside of the second level once it is added later.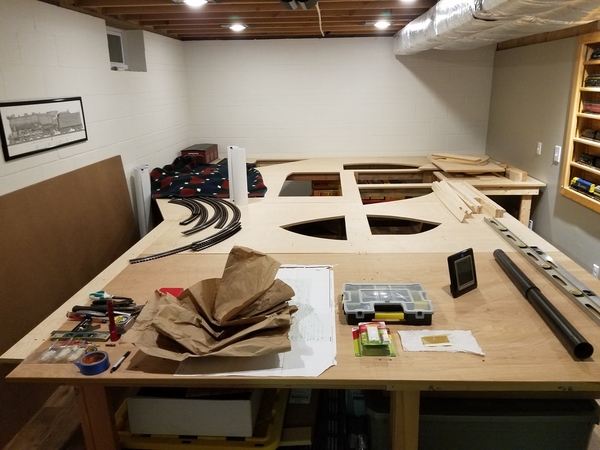
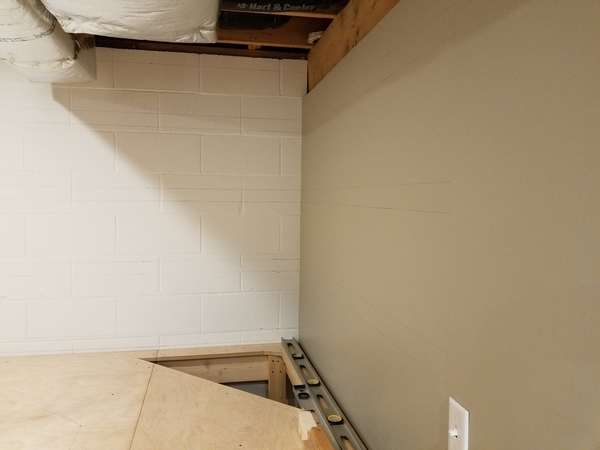
I still have a little addition to the benchwork on the right side but it is almost finished. Next I started adding furring strips to the back and side walls to create the frame for the backdrop.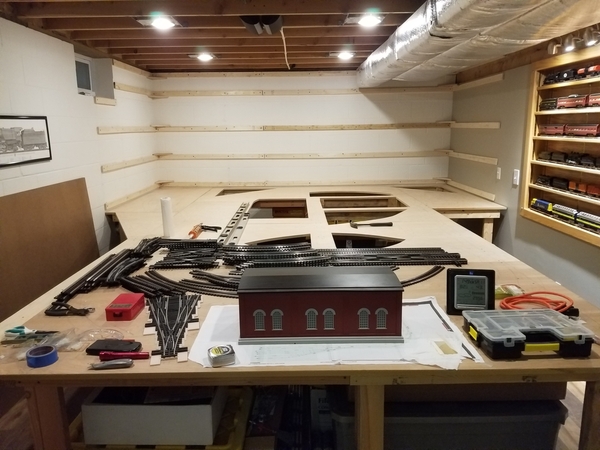 In the upcoming weeks we will be adding 1/8" mdf to the back and side walls which will be the base for the backdrop. After that is mounted we will be ready to mount the backdrop.
I will try to keep this updated with the progress. Thank you for all of your assistance! Hope you enjoy!


