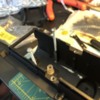
So after many, many long thoughts about how to approach the smoke unit features this is what I did....
When it comes to the main stack, I found that the best look and performance is to make the exhaust port as large as you can but not to large where the smoke wont blow out very well because there isn’t enough air pressure.
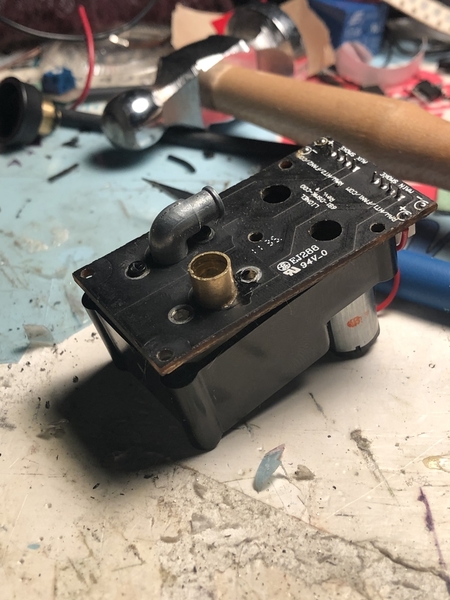
I created the “exhaust funnel” out of brass tubing. First I oversizes the hole in the PCB and stack common to the shell. The tubing became press fit through the PCB. The hole common through the smoke stack was much smaller in diameter. I drilled it up to the same size as the diameter of the brass tubing.
Since the stack on the loco is brass and press fit. I popped it out and solder a small piece of the tubing to the end of it. This gave me just a little bit more material to be able to connect the smoke unit and shell with some silicone tubing. This makes is easier to service later.
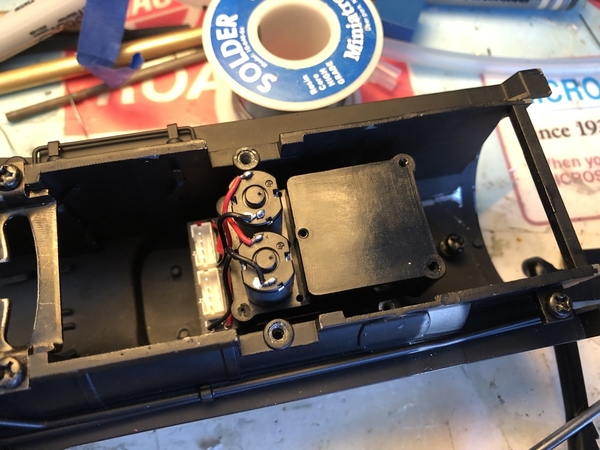
After lots of cutting, filing and soldering you get a exhaust stack. I had to clearance the inside of the shell slightly for the wider smoke unit body. I also had to grind away on the lower pipe detail to fit both fan motors. Insulated the base so the motors don’t ground out.
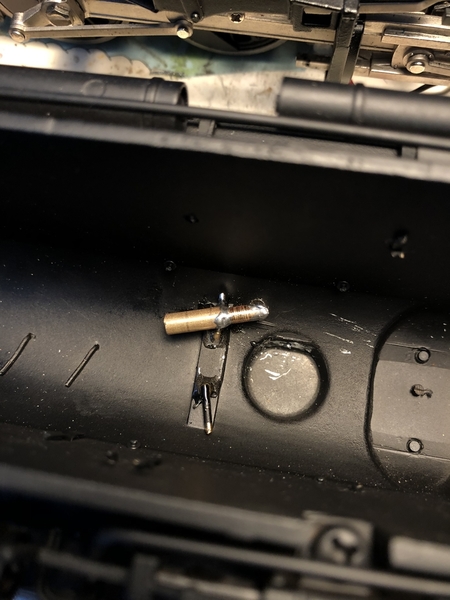
For the whistle steam. I had to remove the actual whistle detail part first. It was incased in epoxy on the inside and had I had to Dremel it away. Once I got the whistle off I could align where I wanted the hole. I painstakingly drilled a hole into the shell underneath where the whistle sits (Killed me a little) and angled it slightly help direct the flow. It matched the outside diameter of the brass tubing I’m using.
Soldered some tubing into an elbow and I lucked out and solder it to some brass standoffs in the shell.
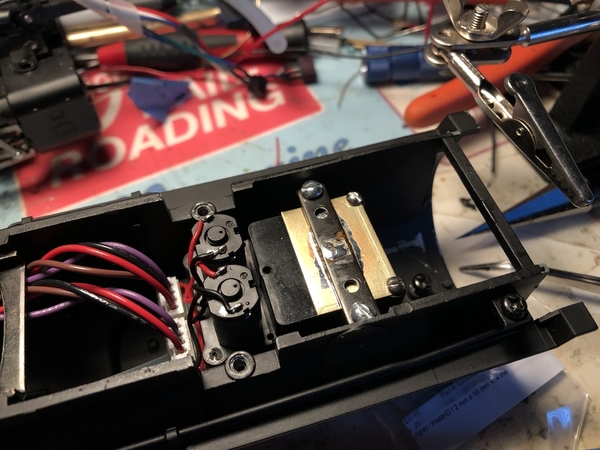
I had to also create a bracket to mount the smoke unit into the shell. I reused the old brace and new brass stock. Made standoffs with the brass tubing and 4-40/2-56 screws.
Had to also create plugs between the RCMC and Smoke unit.


