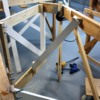
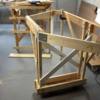
I got done work early today and my wife had a night out with the 'girls', so I worked before AND after dinner on the Swing Gate and it's getting near done. I got the wheels mounted, built the center pillar and braced it. And then built the hinge structure on the door. When it was all done, I realize the the hinge plank was not plumb and will have to be adjusted. I speak more on this later.
I did change the wheel path just a little bit to ensure that their hardware cleared the side planks. I screwed it all together and again used carriage bolts to hold the vertical posts to the L-girders. This makes a very rigid structure. The other holes you see in the L-girders are left over from their previous life when they held up part of the older versions.

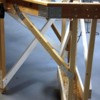
I installed cross-bracing that will stiffer the fore and aft movement using 1 X 3s. and then I installed a diagonal brace on the left. This was a weird angle so I used Simpson Strong-tie straps that could be deformed to conform to the angles. It only has to support the short end and it will work.
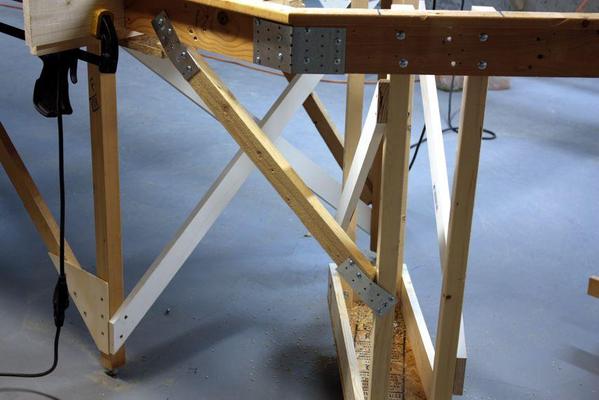
Braces on the right side and back were easier since they were in line with parts on their upper and lower regions. With this, the pedestal is secure.
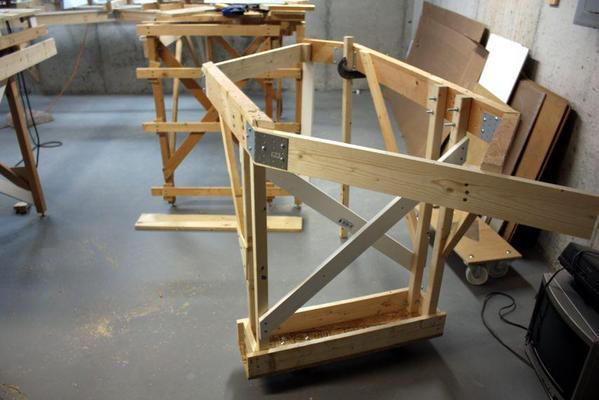
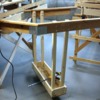
Now it was time to build the hinge post structure. It too had to be rigid in both planes. I used a 1 X 3 for the post itself, and then made a box structure with the left end terminating in a 2 X 2 in the left corner, and a 1 x 6 across the bottom. I then ran a diagonal from the lower right to the upper left to stiffen the side to side direction. For the fore and aft direction I made an angle block to give a plane surface to mount to and ran a diagonal from the bottom plank across the space to the front girder.
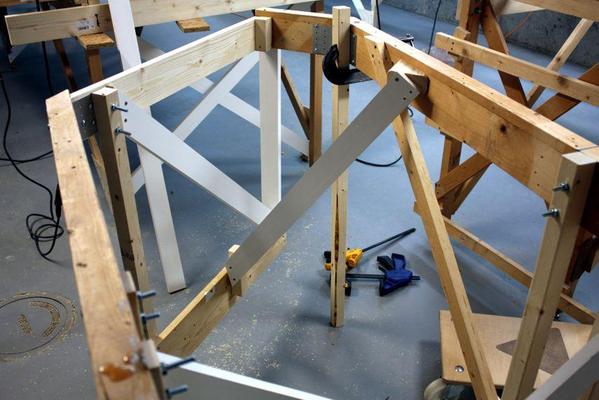
However, when I pushed everything back in place I noticed I have some adjustments to make. The hinge post is not plumb. This picture is supposed to be portrait, and should be rotated 90º CCW, but for some reason, the picture loader turned it to landscape. I will have to remove most of the screws holding the hinge framework in place, pull it into square and then replace the screws in new locations. I if just reinserted them in the same places there's a good chance that it would wrack it again. Once the hinge plane is correct it's time to put the piano hinge on permanently.
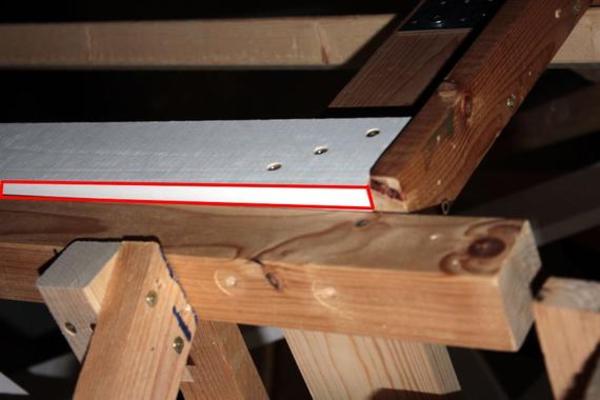
It's proof that the hinge assembly is rigid since I couldn't budge it at all to move it. BTW: the wheels work perfectly and the radius is dead on. Clem said I don't need the additional wheel holding the up the back left corner, and I think he's right. For now, I'm going to see if it works as is.
Once the hinge system works, I'll go back to the jam area and makes some improvements so the gate will be guided to the correct position. The I'll mount the joists and risers and lay in the subroadbed that been patiently waiting piled up on the other part of the layout.


