Track laying continued, but mostly doing problem solving. I suppose the upside of using Gargraves flex track is that you can simply bend the curves to conform to the roadbed regardless of minor changes in radius, and conversely, the downside of using Ross sectional track is that this flexibility is lost. When you design a layout with sectional track in the precise way that it appears in RRTrack software, you get a very accurate layout, but when you transfer it to the real world strange things start to happen. Between making changes in the layout process in CorelDraw, cutting the panels a bit off, and not having the layout exactly sized when overlaying the OSB plan, there have been several close calls, all of which are now fixed except for one.
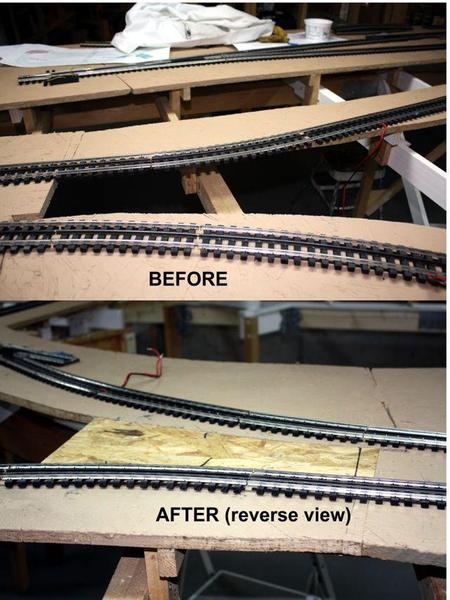
Yesterday and today I did just that. In two cases, I was able to unattached the OSB from the cleats and splice plates and pull them out a bit so the track wasn't hanging over the edge.
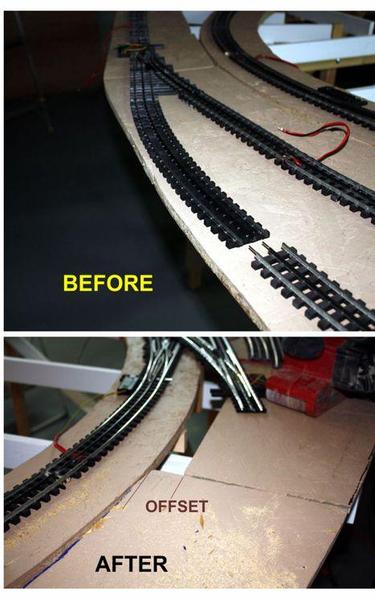
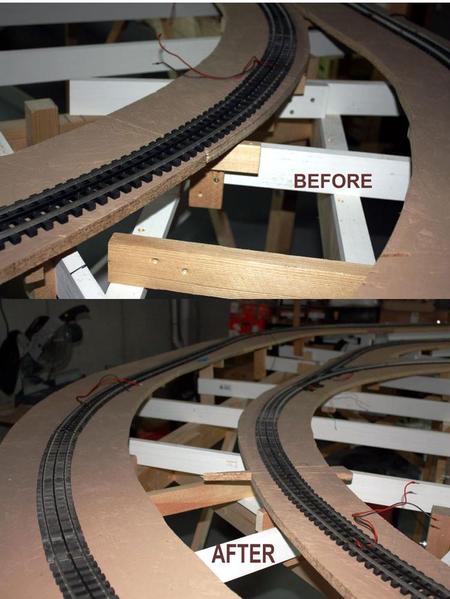
In another I cut a filler-piece to close up one of the two holes in the layout (the other's going to have to be closed up also),
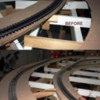
and today, I added a mild "S" curve to bring the track further into the layout and get off the front edge. I generally try to avoid "S" curves especially with what they do with long equipment. I put 10" of straight track in the middle. This brought the two tracks into a 4.5" C-to-C distance and gave me over an inch to the edge. It's still scary, but it's better than the alternative. The alternative was trying to cut a piece of OSB to extend the platform at that notch. The notch was not supposed to be there, but was the result of the complete screw-up I made in cutting the OSB piece in the foreground.

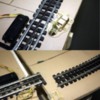
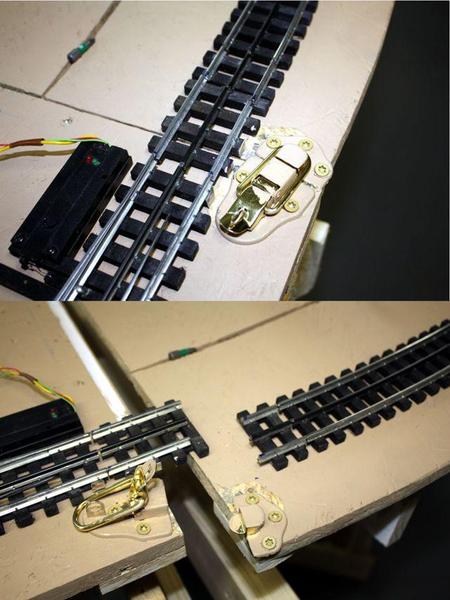
The last thing I did today was do more adjusting of the track union at the swing-out door. I had to re-position the latch closer to the layout front edge to enable the tracks to align properly.
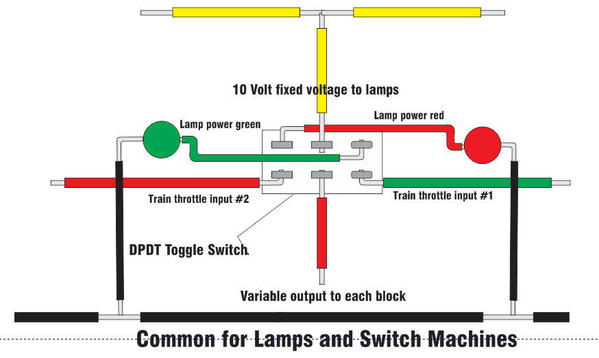
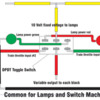
Last night I redrew the panel graphics from the previous layout. Here's the schematic for the pilot lights for each channel in the cab control set up. I may still wire this new layout in cab control and then convert to digital. I was able to work with cab very nicely in the old layout. The reason the lights are on the reverse side of where they're connected is so they light when the toggle switch is thrown in that direction. What's underneath is actually the reverse.
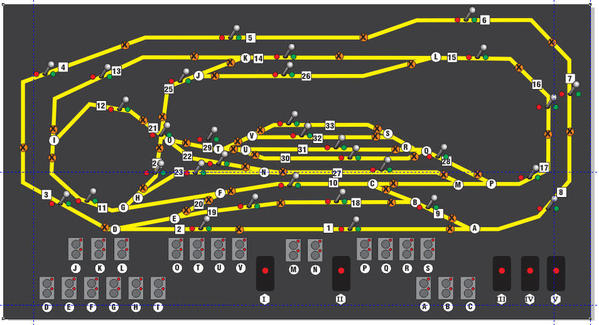
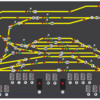
Here's the new panel with the blocks and switches identified. Each block switch lies directly over the track it controls. The switches are arranged in geographic groups corresponding to their place on the diagrams. Blocks are numbered, switches are letters and uncoupling tracks are Roman numerals.
As the last time, the panel will be plexiglass with all the graphics applied on the reverse side. The upside: a smooth professional looking, surface that's quite durable. The downside: the panel is absolutely impossible to modify to add new or change track design. First I put down the numeral graphics, then apply masking strips for the tracks. I spray the back black, then pull up the masking tape and spray the strips yellow. It looks terrific when done this way. I may be adding tracks to both the front yard and the back passing siding so I have to figure out how to make this area modifiable. It would be easier to do front-mounted graphics which could be changed, but it wouldn't be as durable. Another way would be to make the graphics on a separate sheet that would be laminated to the underside of the acrylic. That could be modified by just replacing the graphic. I may try that.
The second challenge is to be able to drill the holes for all the penetrations. Using a standard 118º drill bit tends to grab the plastic just as it breaks through. Plexiglass drills are ground to a more acute included angle.


