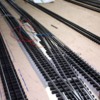
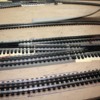
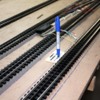
Started marking out and cutting Flexibed roadbed. I also installed the Ross Bed under the switches. I'm not gluing anything down yet... just getting everything in position. I don't want to separate the tracks any more than absolutely necessary so I'm just going to lift the track out of the way when I start gluing things down.
I realigned the 3rd track from the front. The problem with the kink was the connecting track between the #8 cross-over switches being too short AND the #8 being in the wrong place. Moving the switch more to the right and adding the longer connecting track worked and the track is nice and straight leaving the switch. Unfortunately, my Victorian station is too wide to go between track 2 and 3, and will either have to go above track 3 or go somewhere else and I'll use a smaller footprint station to go in the inner-track spot.
Here's the marking gauge in use.
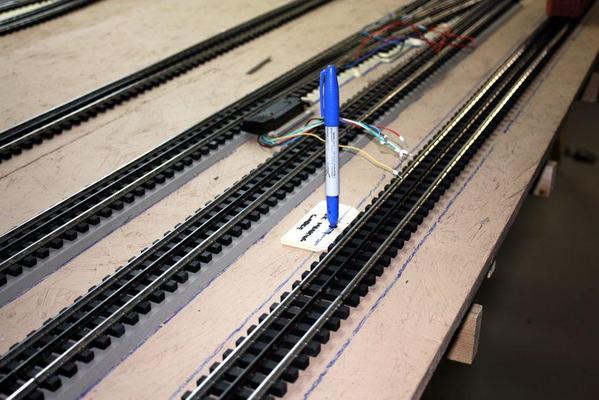
The gauge allows me to mark the outside edge of the Flexibed so I can place the roadbed without consideration of the track's placement above it. The rough texture beats the heck out of the Sharpie's tip, but it's a cheap price to pay to get the lines nice and straight. Oh... and I have been using the laser level to strike straight lines. The only drawback is that the room light need to be off to see it reflected off the center rail. It's a cheap Harbor Freight Tools item, and it shows. The laser exits the nose at an angle that is not in line with the unit itself. I don't believe that's the way it should be.
Here's a couple of shots showing the Ross Bed under the switches, the Flexibed and the marked up OSB for the roadbed.
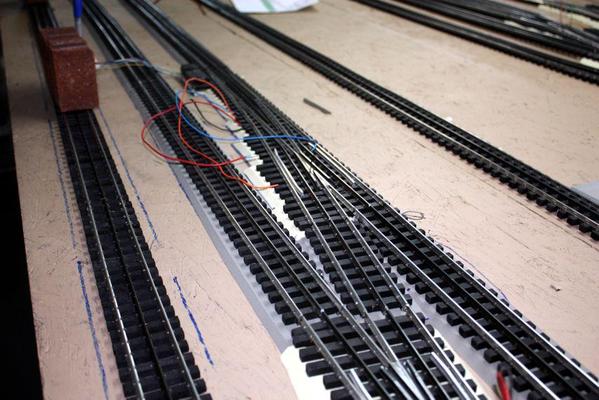
On the top #8 switch in the above picture , you'll see a lot of wires coming out of it. In the previous layout I was using Ross relays on these switches to activate or de-activate the various center rails so they would work well with engines with short roller base distance. It is a significant complication, but may be necessary again. Also, sitting on the track is not a boxcar... it's a brick. I'm using bricks to weigh down and stabilize the track after it's straightened and being marked. I'm doing this instead of screwing blocks down over the track because it's just easier.
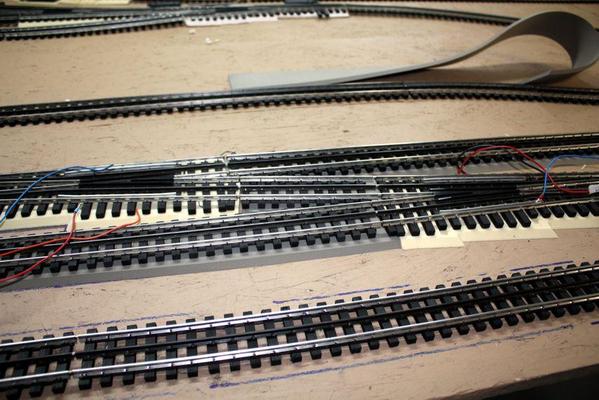
Because I added the extra sidings, I was short some Ross Bed. I called Steve at Ross and ordered 1 each of a RH #100, a RH #4 and a RH O-96. I may also run out of the roadbed since my order was predicated on a slightly smaller design. I don't know the smallest quantity that Flexibed is offered, but I'll cross that bridge when and if I come to it.
I also found out that if you're going to ballast Ross Bed, you don't have to paint it. That's a huge relief. I wasn't looking forward to painting it especially since the fit is tight unpainted and painting could make it worse.
The only area that requires any particular care is fitting the roadbed to the angular rails in the long switches. You have to trim the roadbed pieces so they nest together correctly. With a new sharp blade in the utility knife, this stuff cuts very easily...much easier than their old Vinylbed product which was made with compressed vinyl particles.
I'm off again tomorrow and will continue working my way around the pike. I'm also going to redesign the control panel graphics to accommodate the new trackage. I was going to make the same size as before... 30", but I'm going to enlarge it to 36" wide to give more room for switch controls.


