Had sort of a milestone today! After some more prodding by #1 grandson, we decided to fully power one loop, the outer one, and run a train. He promised that we'd be back to work once we did this. It meant running jumpers from one insulated block to another assuring that every block was captured. We did midway up the grade yesterday and I finished today. I pulled out another engine, the Lima Center Cab, since it was a two-truck engine with only two motors unlike the Veranda which is a pain in the butt to re-rail if something goes awry and it has four motors.
I put the power to it after making the last connection and got 11 volts, but a huge amperage, and then the overload light started blinking. I started troubleshooting and one hour later had a running engine. The problem was we switched which was hot and ground about halfway around. The transformer doesn't like that.
Now you ask, "How the heck does an experienced model railroader who's been around circuitry for 55 years make a bone-headed mistake like that?"
Let me explain. I was using cable that was from my German layout. Some of the cable was two conductor with blue and brown conductors. The other cable was a three-conductor with blue, brown and green/yellow striped. The first cable we attached was the three conductor and I used the blue for hot and the green as common. But shortly after we started we switched to a 2-conductor and the brown became hot and the blue ground. We even had one where the blue was ground on one end and the green at the other. In other words, it wasn't even conducting. I was using the black 2 position barrier strips with a buss bar on one side since we needed to pass the lines through each block while tying the block leads to each strip. It took every strip I had to make this run.
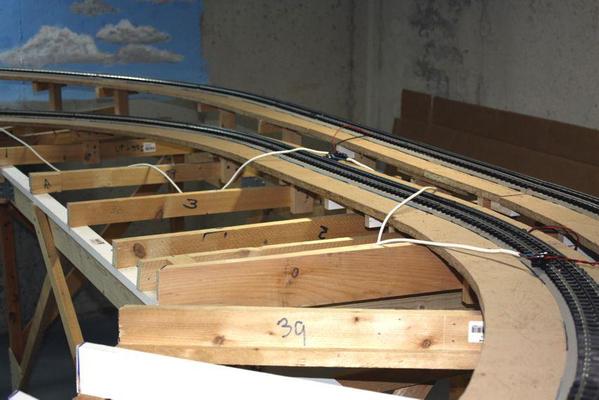
The longest leads I had are 8 foot. That's not a coincidence. I had to make a junction at every subroadbed panel in Germany so the railroad could be taken apart and moved stateside. So in addition to making a place to tie each block into the main, I had to splice together a whole lot of cables just to stretch around the room.
I videoed this maiden run. It's plenty boring! Just one engine and a passenger car going around in a circle... a great big circle. At 17 volts it took 45 seconds to complete a loop. Since nothing else is powered on layout (including all the switches) for the moment this is all the running that's going to happen. Here's links to the two videos.
http://www.youtube.com/watch?v=cOKu0-4pwmE
http://www.youtube.com/watch?v=CeZAbnJ-3RQ
On the second video I ran the engine at a slower speed and filmed it transitioning the swing gate. I'm a little concerned about one rail on the opening side that needs some J-B Weld to stabilize since the spikes are a bit loose and it needs to be a bit smoother on transition. But as you can see, it runs nicely through it. Next I'll bring out a big steamer and see how that works.
What was gratifying—beside having a hundred feet of track that didn't have any operational problems—was the way both my Veranda and the Lima Center-cab came out of their boxes after almost 4 years and ran like tops. I hope my 3rd Rail stuff does the same. I really missed seeing them around!
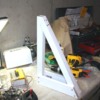
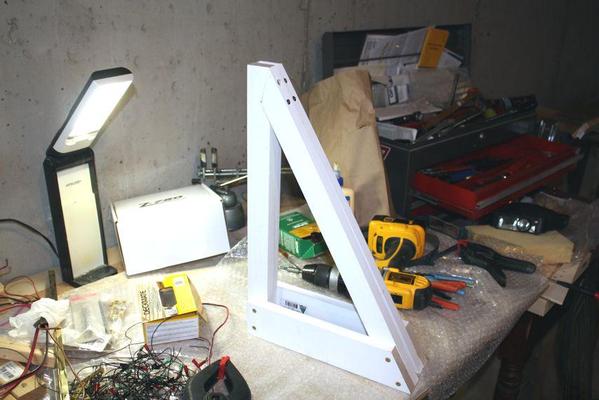
I also finished stripping all the old control panels, and started building the frame for the new one. Here's the two side frames showing the angle that the panel's going to sit.
I also mounted my old transformer stand. I needed to splice on some added length to the support bars since this layout is wider than the old one. It's tied into front and rear L-girders. That rats nest wiring IS NOT the way it's going to look when I'm done. The white 2X3 serves two purposes. It fills out that area where the track was perilously close to the edge and adds a attachment surface for the panel that's to come mounted on the near side of the transformer transformer stand.

This week between work assignments I'll finish up the control panel structure and start building the control system. I want to wire it for cab-control AND DCS/Legacy. I haven't quite figured out how to do this without creating parallel wiring systems and 2,000 feet of wire. As it is, to do star wired cab control will take close to 600 feet of two-conductor twisted pair wire. It's all part of making a layout BIGGER.


