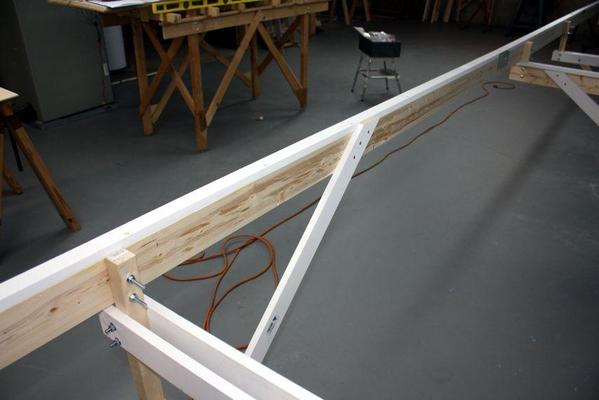
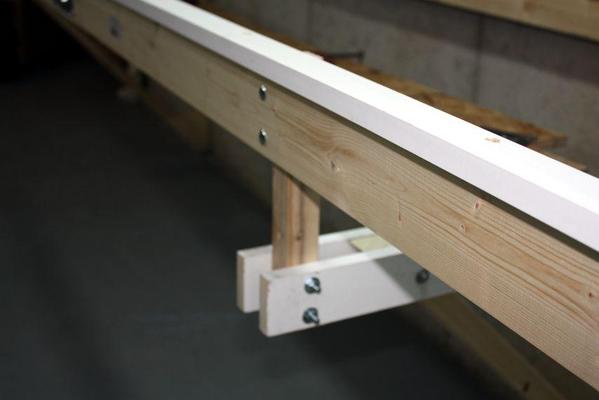
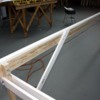
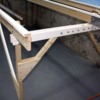
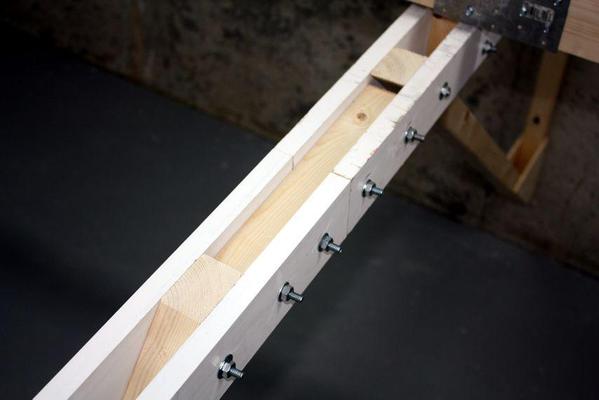
Finished putting up the three girders that line the back of the layout. It was a very productive day. On the right end of the third girder it's sticking out into space so it needed an auxiliary leg. I thought about how I wanted to extend the wall bracket another 24" to capture the leg and came up with a simple approach that was facilitated by have the double horizontal pieces. I simply inserted a 2 X 2 in between the horizontals with 5 inches captivated and five extending outwards. This was clamped with two carriage bolts. I then added the two 24" extension horizontals and bolted them the same way. This made it easy to capture the vertical 2 X 2 which was going to be the leg.
Before cutting the leg, I wanted to have a leveling foot. Unfortunately, I used up the last T-nut on the wall brackets, but on the last two wall brackets, the ends weren't even resting on the floor so the T-nuts were superfluous. "Ah..." I thought. All I have to do is get it out now that it's epoxied in. With some prying with a screwdriver and sheer determination, I got it out and glued it into the end of the new leg. In this case I used Gorilla Glue instead of epoxy.
Here's the detail shot of the extender in place. No comments about the clean shop please... I just vacuumed the entire place. My wife hates the shop vac. I actually tossed the one I had at the old house because it screamed so much. I bought a new Craftsman that was supposedly quieter. It is, but now it's only 100db instead of 120.
To brace the leg in the width direction I added another 2 X 2 angle brace that was also sandwiched in the now-added horizontals with a single carriage bolt just like I did with the wall bracket diagonals. For the other end I used the gusset method. I needed to cut more gussets and I knocked them out with the circular saw this time, which was more consistent than the saber saw for this purpose.
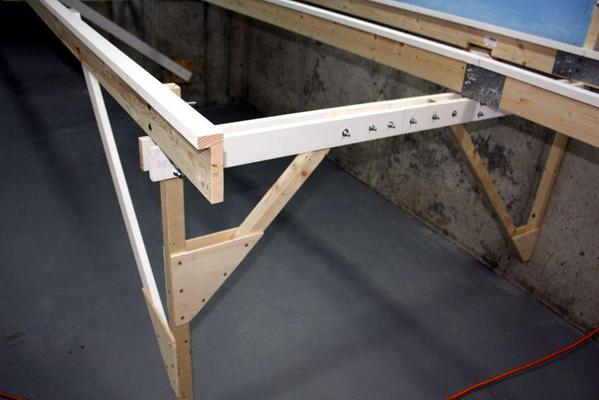
Even more critical with legs than the wall brackets, the legs need another brace in the longitudinal direction. Here I used the same process as in all the other legs previously built; a gusset at the leg end with 6 screws and three screws at the top end directly into the L-girder.
Here's the detail of the upper end.
And here's the detail of the connectors on the other end of this assembly where I had to make up for that 5" drop as explained earlier. Two carriage bolts in each direction make this structure solid as a rock. (Sorry about the focus on this one)
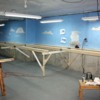
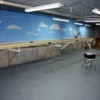
So here's the entire rear array looking from both directions. I've decided to go with the grade based on keeping the railroad less boring. Next step will be to start designing the joists and risers to support the sub-roadbed planks on the backside of the layout.
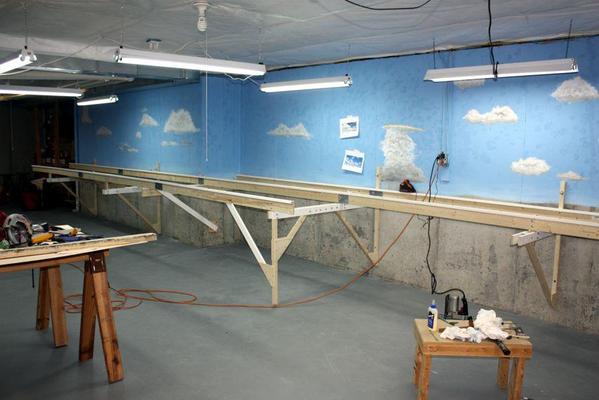
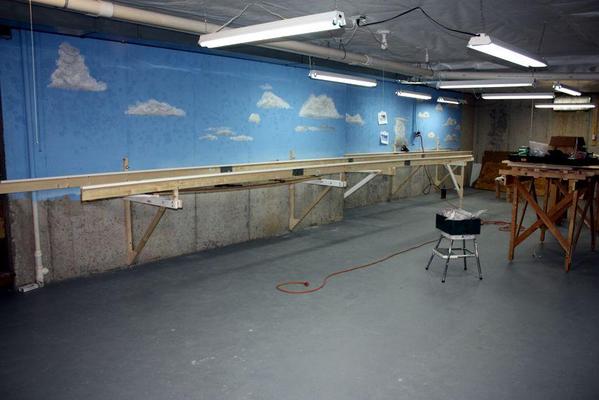
I hope you can start to see the elegance of L-girder construction. It looks frail, but it's quite strong.


